Docker has become one of the most popular technologies for packaging and deploying modern applications. It allows developers to package an application together with its dependencies, configuration, and runtime environment into a portable container.
When combined with AWS EC2, Docker provides a flexible way to deploy web applications, APIs, backend services, and other workloads on cloud infrastructure.
Instead of installing every application dependency directly on an EC2 server, you can run your application inside a Docker container. This makes deployments more consistent and easier to manage across different environments.
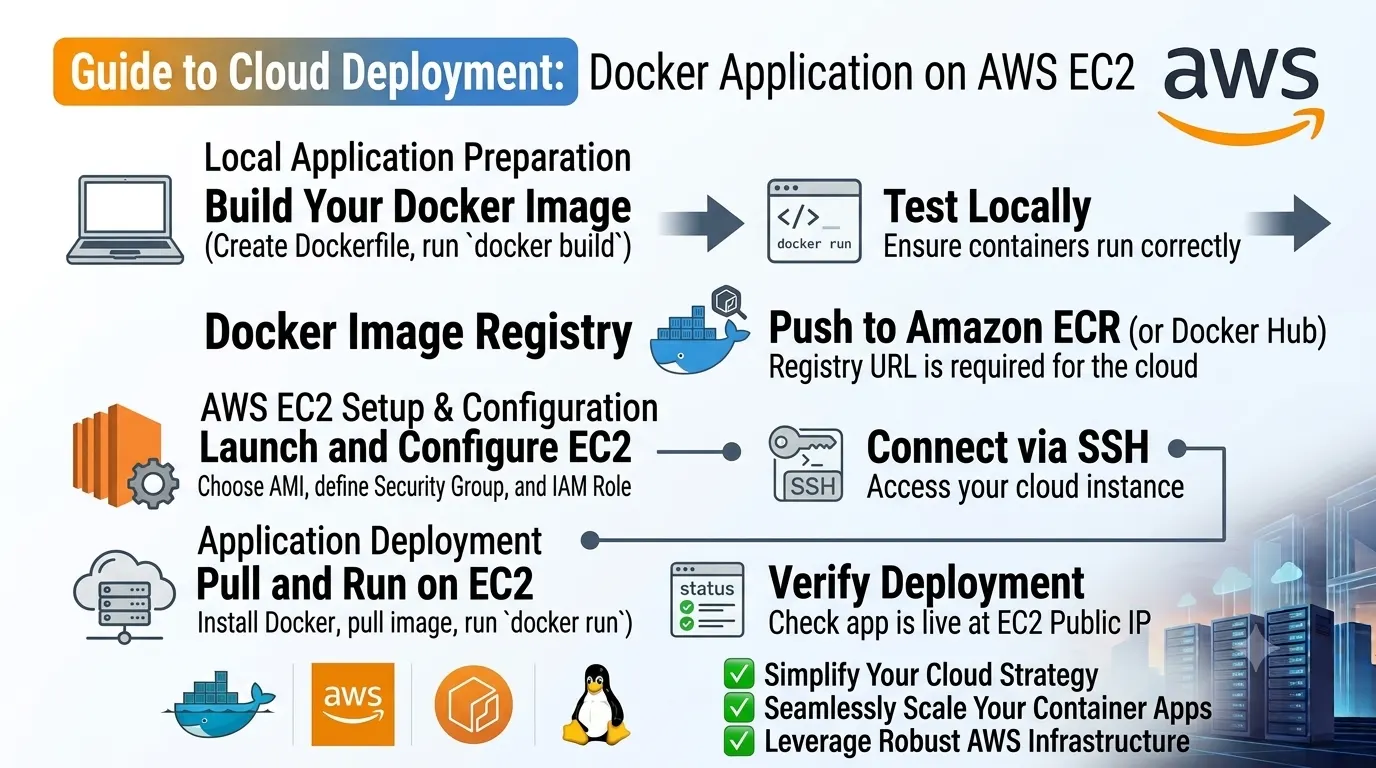
In this guide, we will learn how to deploy a Docker application on AWS EC2 from start to finish. We will cover EC2 setup, Docker installation, creating a Dockerfile, building an image, running a container, configuring ports, using environment variables, connecting Nginx, and managing the application in production.
What Is Docker?
Docker is a containerization platform that allows applications to run in isolated environments called containers.
A Docker container contains the components required to run an application, such as:
- Application code
- Runtime
- Dependencies
- Configuration
- Required system libraries
This helps ensure that an application behaves consistently across development, testing, and production environments.
A simplified workflow looks like this:
Application Code
       ↓
   Dockerfile
       ↓
   Docker Image
       ↓
 Docker Container
       ↓
     AWS EC2
What Is AWS EC2?
Amazon EC2, or Elastic Compute Cloud, provides virtual servers in the AWS cloud.
An EC2 instance gives you control over:
- Operating system
- CPU
- Memory
- Storage
- Network configuration
- Installed software
- Security settings
By installing Docker on an EC2 instance, you can use that server to run one or multiple containers.
A typical architecture looks like:
Internet
   ↓
AWS EC2
   ↓
Docker
   ↓
Application Container
For production applications, Nginx can also be placed in front of the Docker container:
User
  ↓
Domain
  ↓
Nginx
  ↓
Docker Container
  ↓
Application
Why Deploy Docker on AWS EC2?
Using Docker with EC2 provides several advantages.
Consistent Environment
Docker packages your application and its dependencies together, reducing the common problem of applications working differently between development and production.
Easy Deployment
Once you have a Docker image, you can run the same image on different servers.
Application Isolation
Each container runs in its own isolated environment.
Easy Updates
You can replace an old container with a new version instead of manually changing application files on the server.
Flexible Infrastructure
EC2 gives you control over the underlying server while Docker manages application containers.
Prerequisites
Before starting, you should have:
- An AWS account
- An EC2 instance
- SSH access to the instance
- A Docker-ready application
- Basic Linux command-line knowledge
- A Dockerfile
A domain name is optional but recommended for production websites.
Step 1: Create an AWS EC2 Instance
Log in to the AWS Management Console and navigate to the EC2 service.
Create a new EC2 instance.
For a simple application, an Ubuntu-based instance is a common choice.
During instance creation, choose:
- An appropriate instance type
- Ubuntu or another supported Linux distribution
- An SSH key pair
- Appropriate storage
- A suitable security group
The instance size depends on your application’s CPU and memory requirements.
For testing or development, a smaller instance may be enough. Production workloads may require a larger instance.
Step 2: Configure the Security Group
The EC2 security group controls incoming network traffic to your instance.
For a typical Docker web application, you may need:
| Type | Port | Purpose |
|---|---|---|
| SSH | 22 | Server administration |
| HTTP | 80 | Website traffic |
| HTTPS | 443 | Secure website traffic |
| Custom | Application Port | Direct testing if required |
For production deployments, avoid exposing application ports publicly when Nginx or another reverse proxy can handle external traffic.
For example, if your application runs on port 3000 inside the container, you generally do not need to make port 3000 publicly accessible.
Step 3: Connect to the EC2 Instance
After creating the instance, connect through SSH.
For an Ubuntu server, the command generally looks like:
ssh -i your-key.pem ubuntu@your-server-ip
Replace the key filename and IP address with your own values.
Once connected, you can begin configuring Docker.
Step 4: Update the Server
Update the package list before installing Docker:
sudo apt update
You can also upgrade installed packages:
sudo apt upgrade -y
Keeping the operating system updated is an important part of server maintenance.
Step 5: Install Docker
On Ubuntu, Docker can be installed using Docker’s official installation instructions or the distribution’s package management system.
For a basic setup, you can install the Docker package using:
sudo apt install docker.io -y
After installation, check the Docker version:
docker --version
You should see the installed Docker version.
Step 6: Start Docker
Start the Docker service:
sudo systemctl start docker
Enable Docker to start automatically when the server boots:
sudo systemctl enable docker
Check its status:
sudo systemctl status docker
If Docker is running correctly, the service should show as active.
Step 7: Allow the Ubuntu User to Run Docker
Depending on how Docker was installed, you may need to add your current user to the Docker group:
sudo usermod -aG docker $USER
After changing group membership, log out and reconnect to the server.
You can then test:
docker ps
If the command works without sudo, your user has access to the Docker daemon.
Step 8: Prepare Your Application
Now you need to get your application onto the EC2 instance.
You can clone your project from a Git repository:
git clone https://github.com/your-username/your-project.git
Then enter the project directory:
cd your-project
Your project should contain a Dockerfile.
A typical project might look like:
your-project/
├── src/
├── public/
├── package.json
├── Dockerfile
└── .dockerignore
The exact structure depends on the application.
Step 9: Create a Dockerfile
A Dockerfile contains instructions for creating a Docker image.
For example, a simple Node.js application could use:
FROM node:22-alpine

WORKDIR /app

COPY package*.json ./

RUN npm ci

COPY . .

EXPOSE 3000

CMD ["npm", "start"]
This Dockerfile:
- Uses a Node.js base image
- Creates
/appas the working directory - Copies package files
- Installs dependencies
- Copies the application source code
- Documents port 3000
- Starts the application
The Dockerfile should be adapted to the specific framework and application requirements.
Step 10: Create a .dockerignore File
A .dockerignore file prevents unnecessary files from being copied into the Docker image.
For example:
node_modules
.git
.env
npm-debug.log
Dockerfile
.dockerignore
This can help reduce image size and prevent sensitive or unnecessary files from being included in the build context.
Never copy production secrets into a Docker image unnecessarily.
Step 11: Build the Docker Image
From your project directory, build the Docker image:
docker build -t my-app .
Here:
docker buildcreates an image-t my-appassigns a name to the image.specifies the current directory as the build context
Check the image:
docker images
You should see your newly created image.
Step 12: Run the Docker Container
Run the application:
docker run -d -p 3000:3000 --name my-app my-app
The -d option runs the container in the background.
The port mapping:
3000:3000
means:
EC2 Port 3000 → Container Port 3000
Check running containers:
docker ps
You should see your application container.
Step 13: Test the Application
If port 3000 is temporarily allowed in your EC2 security group, you can test the application using:
http://your-server-ip:3000
If the application loads successfully, Docker is running your application correctly.
For production, however, it is usually better to place Nginx in front of the container and expose only ports 80 and 443 publicly.
Step 14: View Container Logs
Docker makes it easy to inspect application logs.
Use:
docker logs my-app
To follow logs in real time:
docker logs -f my-app
Logs can help identify:
- Application startup errors
- Database connection problems
- Missing environment variables
- Port conflicts
- Dependency issues
- Runtime exceptions
Step 15: Configure Environment Variables
Production applications commonly require environment variables.
For example:
DATABASE_URL
API_URL
JWT_SECRET
NODE_ENV
You can provide environment variables when starting the container:
docker run -d \
  -p 3000:3000 \
  --name my-app \
  -e NODE_ENV=production \
  -e API_URL=https://api.example.com \
  my-app
For multiple variables, an environment file can be more convenient:
docker run -d \
  --env-file .env.production \
  -p 3000:3000 \
  --name my-app \
  my-app
Be careful with sensitive values.
Do not commit production .env files containing secrets to a public Git repository.
For more advanced deployments, secrets can be managed using services such as AWS Secrets Manager or AWS Systems Manager Parameter Store.
Step 16: Configure Docker Restart Policy
If the EC2 instance restarts, you generally want your application container to start automatically.
You can use Docker’s restart policy:
docker run -d \
  --restart unless-stopped \
  -p 3000:3000 \
  --name my-app \
  my-app
This allows Docker to restart the container automatically under supported restart conditions.
Step 17: Install Nginx
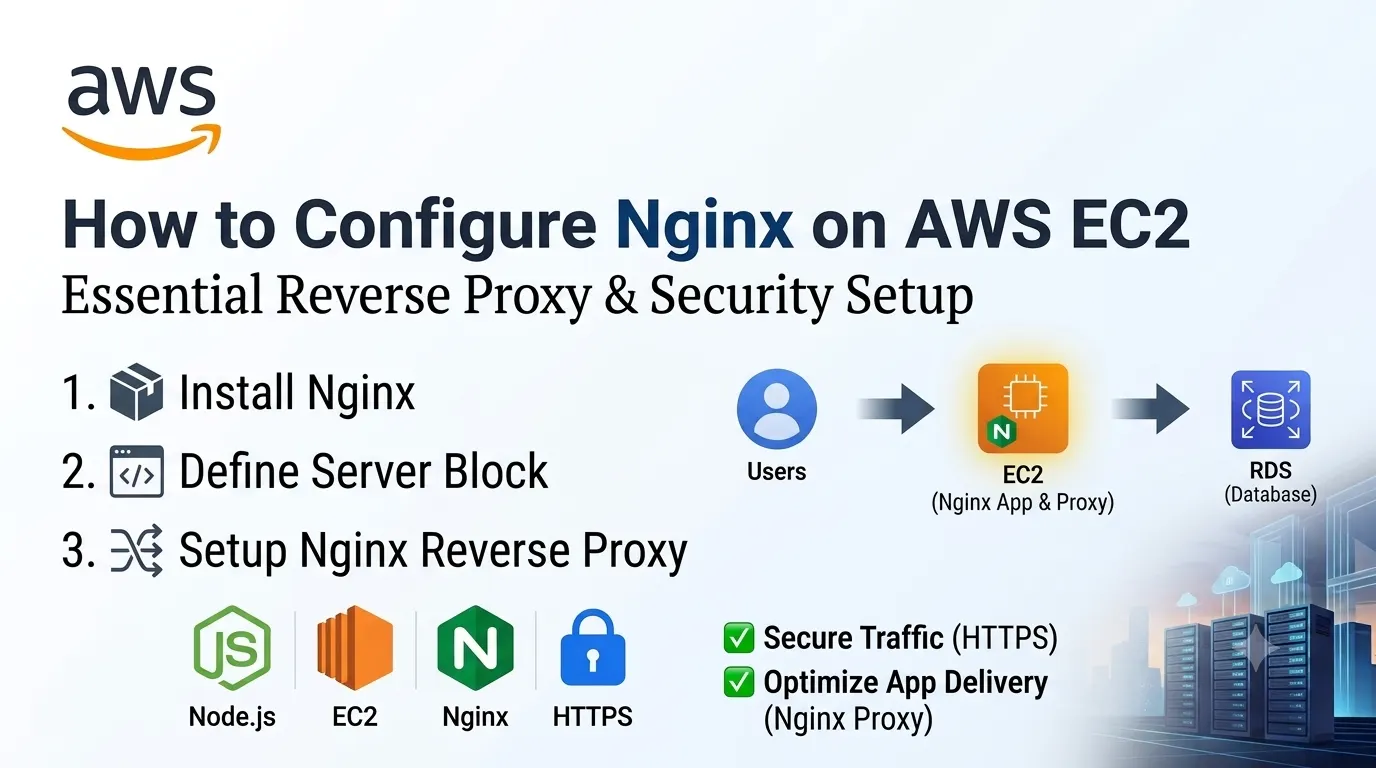
For production applications, Nginx can act as a reverse proxy in front of the Docker container.
Install Nginx:
sudo apt install nginx -y
Start it:
sudo systemctl start nginx
Enable it during system startup:
sudo systemctl enable nginx
Step 18: Configure Nginx as a Reverse Proxy
Create an Nginx server configuration:
sudo nano /etc/nginx/sites-available/my-app
A basic configuration can look like:
server {
    listen 80;

    server_name example.com www.example.com;

    location / {
        proxy_pass http://127.0.0.1:3000;

        proxy_http_version 1.1;

        proxy_set_header Host $host;
        proxy_set_header X-Real-IP $remote_addr;
        proxy_set_header X-Forwarded-For $proxy_add_x_forwarded_for;
        proxy_set_header X-Forwarded-Proto $scheme;
    }
}
Enable the configuration:
sudo ln -s /etc/nginx/sites-available/my-app /etc/nginx/sites-enabled/
Test the configuration:
sudo nginx -t
If the configuration is valid, reload Nginx:
sudo systemctl reload nginx
Now the architecture becomes:
User
 ↓
Nginx :80
 ↓
Docker Container :3000
 ↓
Application
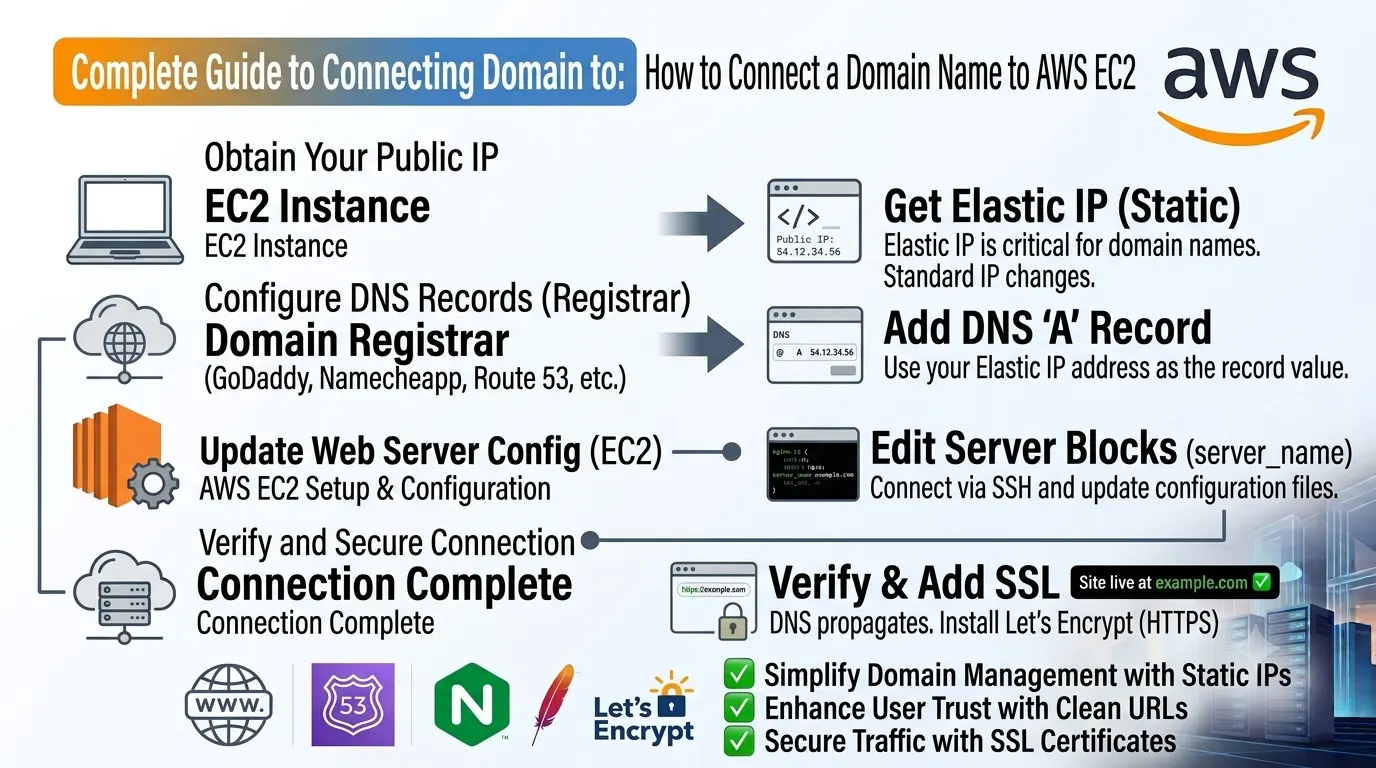
Step 19: Connect Your Domain
If you have a domain name, create an A record pointing to your EC2 instance’s public IP address.
For example:
Type: A
Name: @
Value: EC2 Public IP
You may also configure a www record according to your DNS provider.
For production applications, consider using an Elastic IP or another stable networking architecture so your domain does not break when the instance’s public IP changes.
Step 20: Enable HTTPS
HTTPS is strongly recommended for production applications.
One common option is Let’s Encrypt with Certbot.
Install Certbot and its Nginx integration:
sudo apt install certbot python3-certbot-nginx -y
Then request a certificate:
sudo certbot --nginx -d example.com -d www.example.com
Certbot can configure the Nginx server block to use HTTPS.
Your architecture then becomes:
User
 ↓
HTTPS :443
 ↓
Nginx
 ↓
Docker Container
 ↓
Application
Make sure your EC2 security group allows HTTPS traffic on port 443.
Step 21: Update Your Docker Application
One of the major benefits of Docker is that application updates can be handled by creating and running a new image.
First, pull the latest source code:
git pull
Build a new image:
docker build -t my-app:latest .
Stop the old container:
docker stop my-app
Remove it:
docker rm my-app
Start the new container:
docker run -d \
  --restart unless-stopped \
  -p 3000:3000 \
  --name my-app \
  my-app:latest
This approach provides a straightforward deployment workflow.
For larger production systems, you can use Docker Compose, CI/CD pipelines, container registries, or managed container services to make deployments more automated.
Using Docker Compose
If your application contains multiple services, Docker Compose can simplify deployment.
For example, a project might contain:
Application
   ↓
Node.js Container
   ↓
PostgreSQL Container
   ↓
Redis Container
A Compose file can define these services together.
Example:
services:
  app:
    build: .
    ports:
      - "3000:3000"

  redis:
    image: redis:7-alpine
You can start the services with:
docker compose up -d
Check running services:
docker compose ps
View logs:
docker compose logs
Docker Compose is particularly useful for applications that require multiple containers.
Docker Image vs Docker Container
These two terms are often confused.
Docker Image
A Docker image is a packaged template containing the application and everything required to create a container.
Docker Container
A container is a running instance of a Docker image.
Think of it like this:
Docker Image
     ↓
Docker Container
     ↓
Running Application
You can create multiple containers from the same image.
Docker Volumes and Persistent Data
Containers are designed to be replaceable, so you should be careful about storing important data directly inside a container’s writable filesystem.
For persistent application data, Docker volumes can be used.
For example:
docker volume create app-data
Then mount it into a container:
docker run -d \
  -v app-data:/app/data \
  my-app
However, for production databases, it is often better to use a managed database service such as Amazon RDS rather than running the database directly inside an EC2 container.
Should You Run the Database in Docker?
You can run databases such as PostgreSQL or MySQL in Docker, especially for development and testing.
For production, however, managed services can reduce operational work.
For example:
EC2
 └── Docker
      └── Application

AWS RDS
 └── PostgreSQL / MySQL
This separates the application environment from database infrastructure and provides managed database features.
Docker Security Best Practices
Security should be considered from the beginning.
Keep Docker Updated
Regularly update Docker and the underlying operating system.
Do Not Store Secrets in Images
Avoid placing passwords, API keys, or private credentials directly inside Dockerfiles.
Use Minimal Base Images
Smaller base images can reduce the number of unnecessary packages included in the container.
Do Not Run Containers as Root When Unnecessary
Configure your Dockerfile to use a non-root application user where practical.
Limit Exposed Ports
Only expose the ports required by your application.
Secure the EC2 Instance
Use security groups, SSH restrictions, updates, and appropriate IAM permissions.
Scan Docker Images
Consider using image-scanning tools to identify known vulnerabilities in application dependencies and base images.
Docker Deployment Best Practices
For a production Docker application on EC2:
- Use a stable EC2 networking configuration
- Keep the operating system updated
- Keep Docker updated
- Use a production-ready Dockerfile
- Use
.dockerignore - Avoid storing secrets inside images
- Use environment variables or a secrets manager
- Use restart policies
- Put Nginx or another reverse proxy in front of web applications
- Enable HTTPS
- Monitor application and container logs
- Use managed databases where appropriate
- Create backups for important data
- Use CI/CD for repeatable deployments
- Tag images with meaningful versions
Common Docker Deployment Problems
Container Is Not Running
Check:
docker ps
Then inspect stopped containers:
docker ps -a
View the logs:
docker logs my-app
Port Already in Use
If Docker reports that a port is already in use, identify the process using it.
For example:
sudo ss -ltnp
You can then choose another host port or stop the conflicting service.
Application Works Inside Container but Not Externally
Check:
- Docker port mapping
- EC2 security group
- Nginx configuration
- Application binding address
For many web applications, the application inside the container needs to listen on 0.0.0.0 rather than only 127.0.0.1.
Nginx Returns 502 Bad Gateway
A 502 error often means Nginx cannot connect to the upstream application.
Check whether the Docker container is running:
docker ps
Then check its logs:
docker logs my-app
Also verify that Nginx is forwarding traffic to the correct host and port.
Docker Build Fails
Check:
- Dockerfile syntax
- Dependency installation
- Base image
- Application files
- Network connectivity
- Build logs
Running the build again without hiding the output can often reveal the exact problem.
Docker on EC2 vs Other AWS Services
EC2 is not the only way to run containers on AWS.
Depending on your requirements, you may consider:
- Amazon ECS
- Amazon EKS
- AWS Fargate
- AWS App Runner
- EC2 with Docker
EC2 provides greater control over the underlying server, while managed container services can reduce infrastructure management.
For a small application or a team comfortable managing Linux servers, Docker on EC2 can be a practical approach.
For larger environments, managed container platforms may provide better automation and scalability.
Conclusion
Deploying a Docker application on AWS EC2 provides a flexible way to run modern applications in the cloud.
The overall process is:
- Create an EC2 instance
- Configure the security group
- Connect through SSH
- Install Docker
- Prepare your application
- Create a Dockerfile
- Build the Docker image
- Run the Docker container
- Configure environment variables
- Add a restart policy
- Configure Nginx
- Connect your domain
- Enable HTTPS
- Monitor and update the application
Docker simplifies application packaging, while AWS EC2 provides the infrastructure required to run your containers.
Once you understand this workflow, you can use the same concepts to deploy Node.js, React, Next.js, Python, Django, Laravel, and many other applications in a consistent and repeatable environment.