Nginx is one of the most widely used web servers for hosting modern web applications. When deploying applications on AWS EC2, Nginx can serve as a web server, reverse proxy, load balancer, and SSL termination layer.
Whether you are hosting a React website, Next.js application, Node.js API, Laravel application, or Django project, knowing how to configure Nginx on an EC2 instance is an important deployment skill.
In this guide, we will walk through how to install and configure Nginx on AWS EC2, connect it to your application, configure a domain, enable HTTPS, and troubleshoot common issues.
What Is Nginx?
Nginx is a high-performance web server and reverse proxy commonly used to serve websites and web applications.
It can handle incoming HTTP and HTTPS requests and forward them to the appropriate application running on your server.
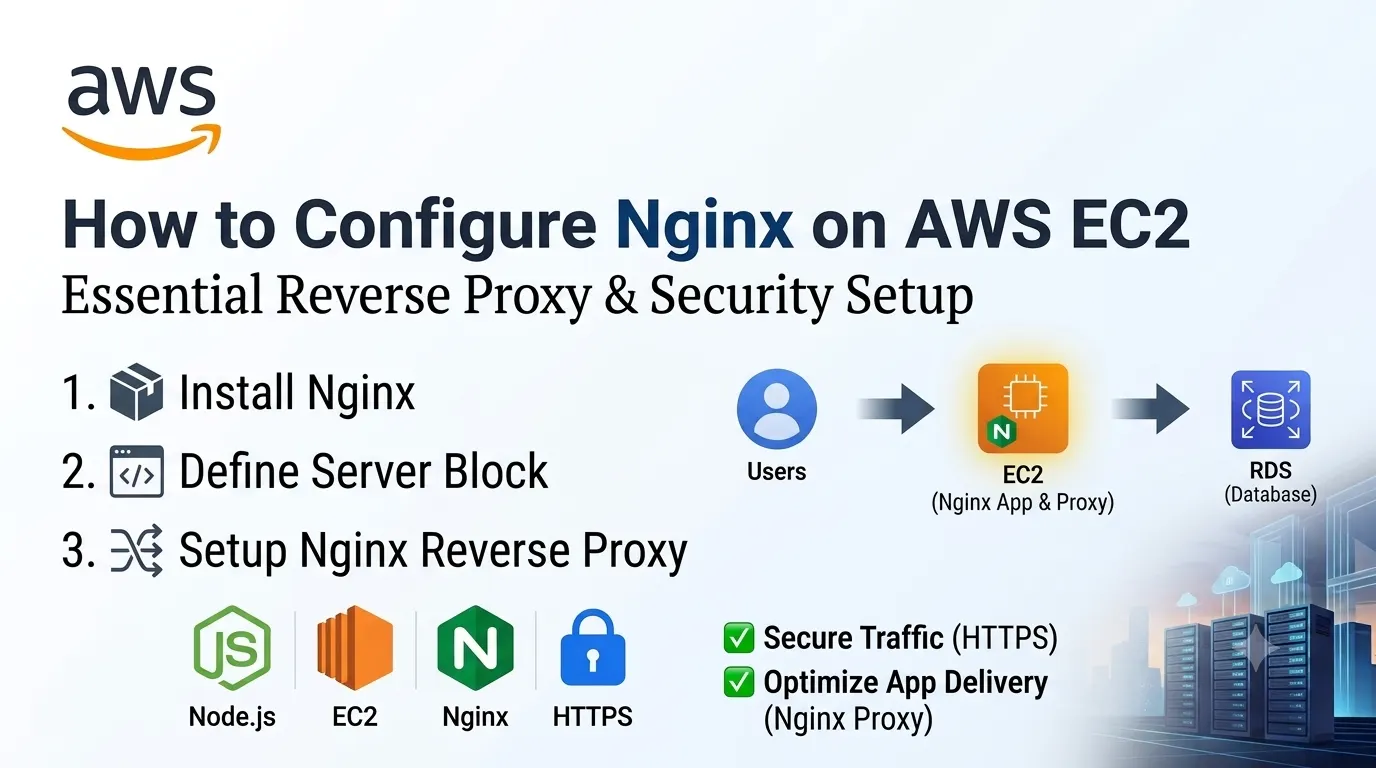
A typical architecture looks like this:
User → Nginx → Application
For example, if your Node.js application is running on port 3000, users do not need to access:
http://your-server-ip:3000
Instead, Nginx can receive requests on port 80 or 443 and forward them internally to:
http://localhost:3000
This makes your application easier to access and provides an additional layer for security, SSL, caching, and traffic management.
Why Use Nginx on AWS EC2?
Nginx provides several benefits when hosting applications on EC2:
- Serves websites efficiently
- Works as a reverse proxy
- Supports HTTPS and SSL certificates
- Can serve static files
- Helps hide internal application ports
- Supports caching and compression
- Can distribute traffic between multiple servers
- Works with Node.js, PHP, Python, and other backend technologies
- Can improve application performance
For production applications, Nginx is commonly placed in front of the application server.
Prerequisites
Before configuring Nginx, you should have:
- An AWS account
- An EC2 instance
- SSH access to the EC2 instance
- A Linux-based operating system such as Ubuntu
- A deployed application or website
- A domain name if you want to use a custom domain
You should also make sure that the required ports are allowed in your EC2 security group.
For a typical web server, you will need:
- Port 22 for SSH
- Port 80 for HTTP
- Port 443 for HTTPS
Avoid opening unnecessary ports to the public internet.
Step 1: Connect to Your AWS EC2 Instance
After creating your EC2 instance, connect to it using SSH.
For an Ubuntu instance, the command generally looks like:
ssh -i your-key.pem ubuntu@your-server-ip
Replace your-key.pem with your private key file and your-server-ip with the public IP address of your EC2 instance.
Once connected, you can begin configuring the server.
Step 2: Update the Server
Before installing Nginx, update the package information on your Ubuntu server.
sudo apt update
sudo apt upgrade -y
Keeping your server packages updated helps maintain security and compatibility.
Step 3: Install Nginx
Install Nginx using the Ubuntu package manager:
sudo apt install nginx -y
After installation, check whether Nginx is running:
sudo systemctl status nginx
If everything is working correctly, you should see that the Nginx service is active.
You can also start Nginx manually with:
sudo systemctl start nginx
To make sure Nginx starts automatically when the server reboots:
sudo systemctl enable nginx
Step 4: Configure the AWS Security Group
Installing Nginx is not enough. AWS must also allow incoming web traffic through the EC2 security group.
Open your EC2 instance in the AWS Console and locate its associated security group.
Add inbound rules for:
| Type | Port | Source |
|---|---|---|
| SSH | 22 | Your IP |
| HTTP | 80 | 0.0.0.0/0 |
| HTTPS | 443 | 0.0.0.0/0 |
For SSH, it is safer to restrict access to your own IP address rather than allowing the entire internet.
HTTP and HTTPS generally need to be publicly accessible if your website is intended for public users.
Step 5: Test the Nginx Installation
Copy your EC2 instance’s public IP address and open it in a browser:
http://your-server-ip
If Nginx has been installed correctly, you should see the default Nginx welcome page.
This confirms that:
- EC2 is reachable
- Port 80 is accessible
- Nginx is running
- The server is responding to HTTP requests
Step 6: Understand the Nginx Configuration Structure
On Ubuntu, Nginx configuration files are commonly located inside:
/etc/nginx/
Some important files and directories include:
/etc/nginx/nginx.conf
/etc/nginx/sites-available/
/etc/nginx/sites-enabled/
The main configuration file is:
/etc/nginx/nginx.conf
For individual websites, it is common to create a separate configuration inside:
/etc/nginx/sites-available/
Then enable it using a symbolic link inside:
/etc/nginx/sites-enabled/
This structure makes it easier to manage multiple websites on the same server.
Step 7: Create a Server Block
Suppose your domain is:
example.com
Create a configuration file:
sudo nano /etc/nginx/sites-available/example.com
Add a configuration similar to:
server {
    listen 80;
    server_name example.com www.example.com;

    location / {
        proxy_pass http://127.0.0.1:3000;
        proxy_http_version 1.1;

        proxy_set_header Host $host;
        proxy_set_header X-Real-IP $remote_addr;
        proxy_set_header X-Forwarded-For $proxy_add_x_forwarded_for;
        proxy_set_header X-Forwarded-Proto $scheme;
    }
}
This configuration tells Nginx to listen on port 80 and forward incoming requests to an application running on port 3000.
This setup is particularly useful for Node.js or Next.js applications.
Step 8: Enable the Nginx Configuration
Create a symbolic link from sites-available to sites-enabled:
sudo ln -s /etc/nginx/sites-available/example.com /etc/nginx/sites-enabled/
You can remove the default configuration if it is no longer needed:
sudo rm /etc/nginx/sites-enabled/default
Then test the Nginx configuration:
sudo nginx -t
You should see a successful syntax check.
Always run this test before reloading Nginx after making configuration changes.
Step 9: Reload Nginx
After confirming that the configuration is valid, reload Nginx:
sudo systemctl reload nginx
You can also restart the service:
sudo systemctl restart nginx
A reload is generally preferable for configuration changes because it allows Nginx to apply the new configuration without unnecessarily stopping the service.
Step 10: Configure Your Application
Nginx usually sits in front of your application.
For example, suppose your Node.js application runs on:
localhost:3000
Nginx receives:
https://example.com
and forwards the request internally to:
http://127.0.0.1:3000
The user only interacts with your domain.
Your application port does not need to be publicly accessible through the EC2 security group.
This is one of the major advantages of using Nginx as a reverse proxy.
Nginx with Next.js
Next.js applications commonly run on port 3000.
A typical Nginx configuration can look like:
server {
    listen 80;
    server_name example.com www.example.com;

    location / {
        proxy_pass http://127.0.0.1:3000;
        proxy_http_version 1.1;

        proxy_set_header Host $host;
        proxy_set_header X-Real-IP $remote_addr;
        proxy_set_header X-Forwarded-For $proxy_add_x_forwarded_for;
        proxy_set_header X-Forwarded-Proto $scheme;
    }
}
The Next.js application can run using a process manager such as PM2, while Nginx handles incoming web traffic.
Nginx with Node.js
For a Node.js API running on port 5000, you can configure:
server {
    listen 80;
    server_name api.example.com;

    location / {
        proxy_pass http://127.0.0.1:5000;
        proxy_http_version 1.1;

        proxy_set_header Host $host;
        proxy_set_header X-Real-IP $remote_addr;
        proxy_set_header X-Forwarded-For $proxy_add_x_forwarded_for;
        proxy_set_header X-Forwarded-Proto $scheme;
    }
}
Now requests to:
http://api.example.com
can be forwarded to your Node.js application running internally on port 5000.
Nginx with Laravel and PHP
Laravel applications commonly use Nginx together with PHP-FPM.
Instead of forwarding requests to a Node.js port, Nginx processes PHP requests through PHP-FPM.
A simplified configuration may look like:
server {
    listen 80;
    server_name example.com;

    root /var/www/example.com/public;
    index index.php index.html;

    location / {
        try_files $uri $uri/ /index.php?$query_string;
    }

    location ~ \.php$ {
        include snippets/fastcgi-php.conf;
        fastcgi_pass unix:/run/php/php-fpm.sock;
    }
}
The exact PHP-FPM socket path depends on the PHP version and server configuration.
The important point is that PHP-FPM is used for PHP applications such as Laravel; it is not required for Node.js, React, or Next.js applications.
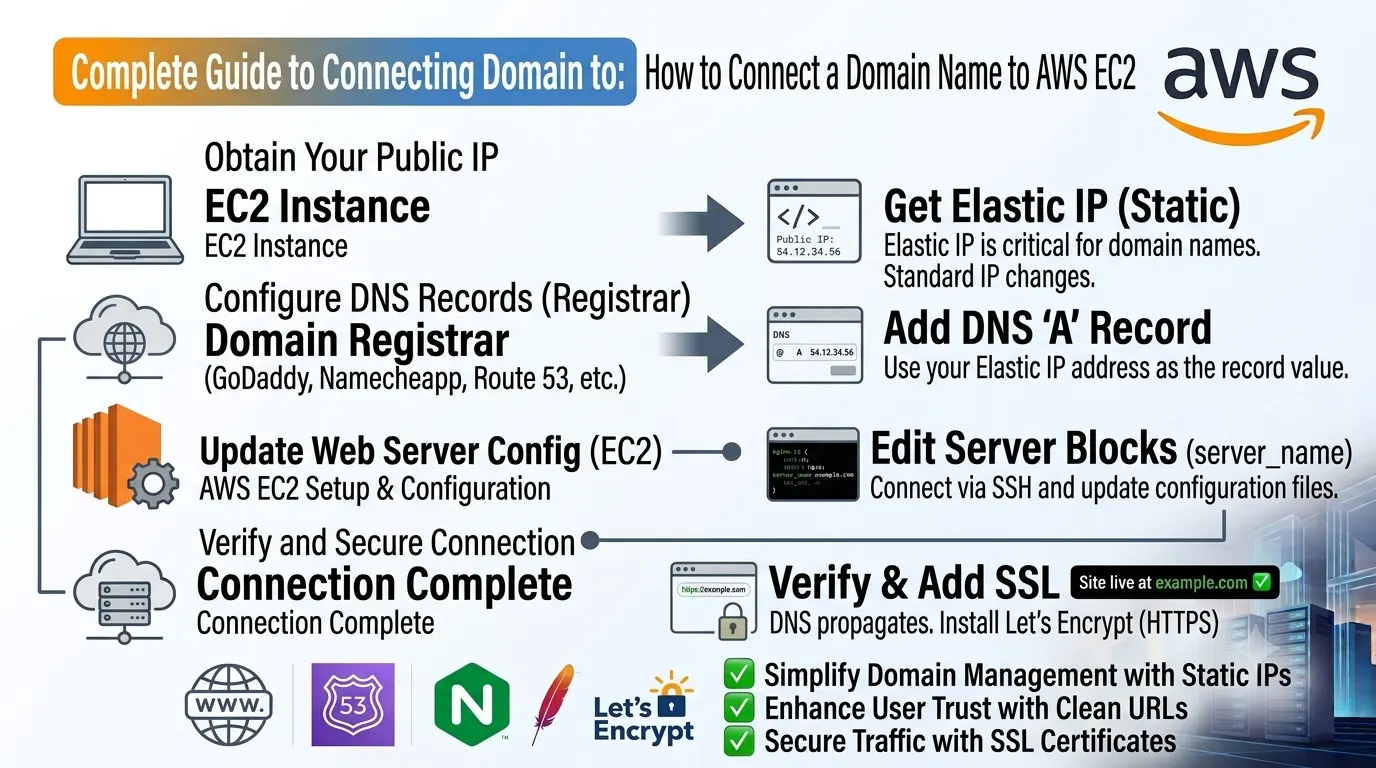
Step 11: Point Your Domain to EC2
If you want to use a custom domain, create a DNS record pointing to your EC2 instance.
For example:
Type: A
Name: @
Value: Your EC2 public IP
For www, you can configure an additional record depending on your DNS provider.
After DNS propagation, your domain should point to the EC2 server.
Important: Use an Elastic IP
EC2 public IP addresses can change when an instance is stopped and started.
For production websites, consider using an Elastic IP so your domain continues pointing to a stable IP address.
Step 12: Configure HTTPS
Running your website over HTTPS is essential for production applications.
One popular option is Let’s Encrypt with Certbot.
Install Certbot and the Nginx plugin:
sudo apt install certbot python3-certbot-nginx -y
Then request a certificate:
sudo certbot --nginx -d example.com -d www.example.com
Certbot can automatically configure Nginx to use the SSL certificate.
After configuration, your website should be accessible through:
https://example.com
You should also verify that automatic certificate renewal is configured.
Step 13: Configure HTTP to HTTPS Redirect
A production website should generally redirect HTTP traffic to HTTPS.
Certbot can often configure this automatically.
The goal is:
http://example.com
        ↓
https://example.com
This ensures users access the secure version of your website.
Step 14: Configure Static Files
Nginx can serve static files directly, which can be more efficient than sending every static asset through your application server.
For example:
location /static/ {
    alias /var/www/example.com/static/;
}
This can be useful for applications that contain CSS, JavaScript, images, fonts, and other static resources.
For frameworks such as React or Next.js, the exact static-file configuration depends on whether the application is being served dynamically or as a static export.
Step 15: Enable Gzip Compression
Nginx can compress certain types of responses to reduce the amount of data transferred to users.
For example:
gzip on;
gzip_types text/plain text/css application/json application/javascript text/xml application/xml application/xml+rss;
Compression can help reduce response sizes and improve page-loading performance.
However, modern applications may already use compressed assets or additional CDN-level optimization, so configuration should be tested rather than blindly enabled for every content type.
Step 16: Check Nginx Logs
Nginx logs are extremely useful when troubleshooting deployment problems.
Common log locations include:
/var/log/nginx/access.log
/var/log/nginx/error.log
To view recent errors:
sudo tail -f /var/log/nginx/error.log
To monitor incoming requests:
sudo tail -f /var/log/nginx/access.log
These logs can help identify:
- Configuration errors
- Connection failures
- Permission problems
- Incorrect upstream ports
- SSL issues
- Missing files
- Bad gateway errors
Common Nginx Errors
502 Bad Gateway
A 502 Bad Gateway error commonly occurs when Nginx cannot connect to the backend application.
For example, if Nginx contains:
proxy_pass http://127.0.0.1:3000;
but the application is not running on port 3000, Nginx may return a 502 error.
Check whether your application is running:
sudo ss -ltnp
If you use PM2:
pm2 status
403 Forbidden
A 403 error can occur because of incorrect permissions or an incorrect document root.
Check your Nginx configuration and make sure Nginx has permission to access the required files.
404 Not Found
A 404 can occur when:
- The requested file does not exist
- The server block is incorrect
- The application routing is misconfigured
- The domain points to the wrong server
Check the Nginx configuration and application logs.
Nginx Configuration Error
If Nginx refuses to reload, run:
sudo nginx -t
This command usually provides useful information about syntax errors or invalid configuration directives.
Useful Nginx Commands
Here are some commands you will frequently use:
Check Nginx status:
sudo systemctl status nginx
Start Nginx:
sudo systemctl start nginx
Stop Nginx:
sudo systemctl stop nginx
Restart Nginx:
sudo systemctl restart nginx
Reload configuration:
sudo systemctl reload nginx
Test configuration:
sudo nginx -t
View error logs:
sudo tail -f /var/log/nginx/error.log
Nginx Security Best Practices
When using Nginx on AWS EC2, security should be a priority.
Keep the Server Updated
Regularly update your operating system and installed packages.
Restrict SSH Access
Do not unnecessarily expose SSH access to the entire internet.
Whenever possible, restrict port 22 to trusted IP addresses.
Use HTTPS
Always use HTTPS for production websites, especially when handling authentication, user information, or API requests.
Do Not Expose Internal Application Ports
If your Node.js application runs on port 3000, you generally do not need to allow port 3000 in the EC2 security group.
Allow Nginx to communicate with the application internally.
Use an Elastic IP
For production EC2 deployments, use a stable IP address so DNS configuration does not break when the instance changes state.
Monitor Logs
Regularly review Nginx and application logs to identify unexpected errors or traffic patterns.
Nginx Configuration Best Practices
For a reliable production setup:
- Keep website configurations separate
- Test configuration changes using
nginx -t - Use HTTPS
- Configure automatic SSL renewal
- Keep application ports private
- Use an Elastic IP for production EC2 instances
- Monitor access and error logs
- Keep the operating system updated
- Use a process manager for long-running Node.js applications
- Consider AWS load balancing for high-traffic applications
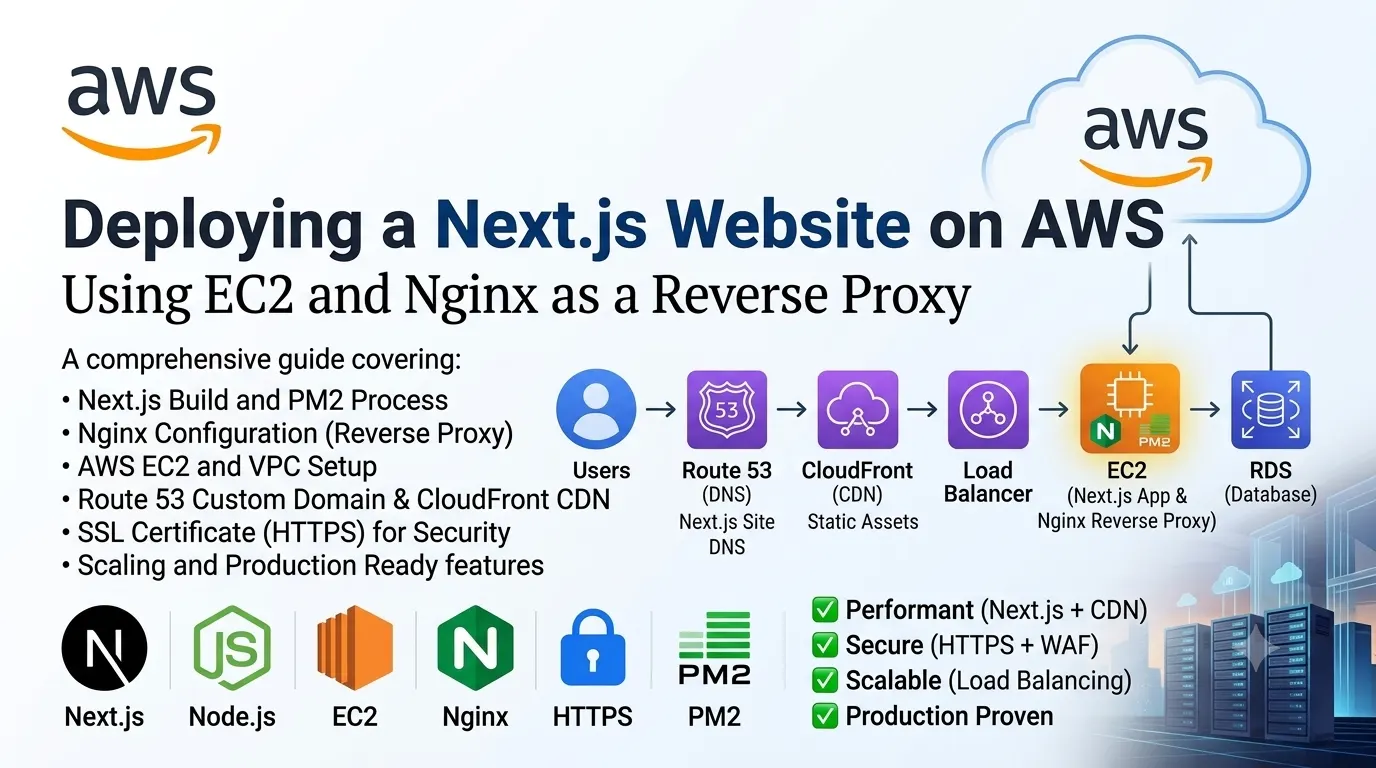
Nginx Architecture on AWS EC2
A typical production architecture may look like:
                    Internet
                       |
                       ↓
                 Domain / DNS
                       |
                       ↓
                    Nginx
                  /       \
                 /         \
                ↓           ↓
          Static Files   Application
                           |
              ┌────────────┼────────────┐
              ↓            ↓            ↓
           Node.js       Next.js      PHP-FPM
For larger applications, you can introduce additional AWS services such as a load balancer, database service, object storage, CDN, monitoring, and auto-scaling.
Conclusion
Configuring Nginx on AWS EC2 is an important step when deploying production websites and web applications.
Nginx can handle incoming HTTP and HTTPS requests, serve static files, act as a reverse proxy, and provide a reliable entry point for applications running on ports such as 3000 or 5000.
The basic process is:
- Create and connect to an EC2 instance
- Update the server
- Install Nginx
- Configure AWS security groups
- Create an Nginx server block
- Connect Nginx to your application
- Configure your domain
- Enable HTTPS
- Test the configuration
- Monitor logs and maintain the server
Once you understand these steps, you can use Nginx to deploy and manage a wide range of applications, including Node.js, Next.js, Laravel, Django, and static websites on AWS EC2.