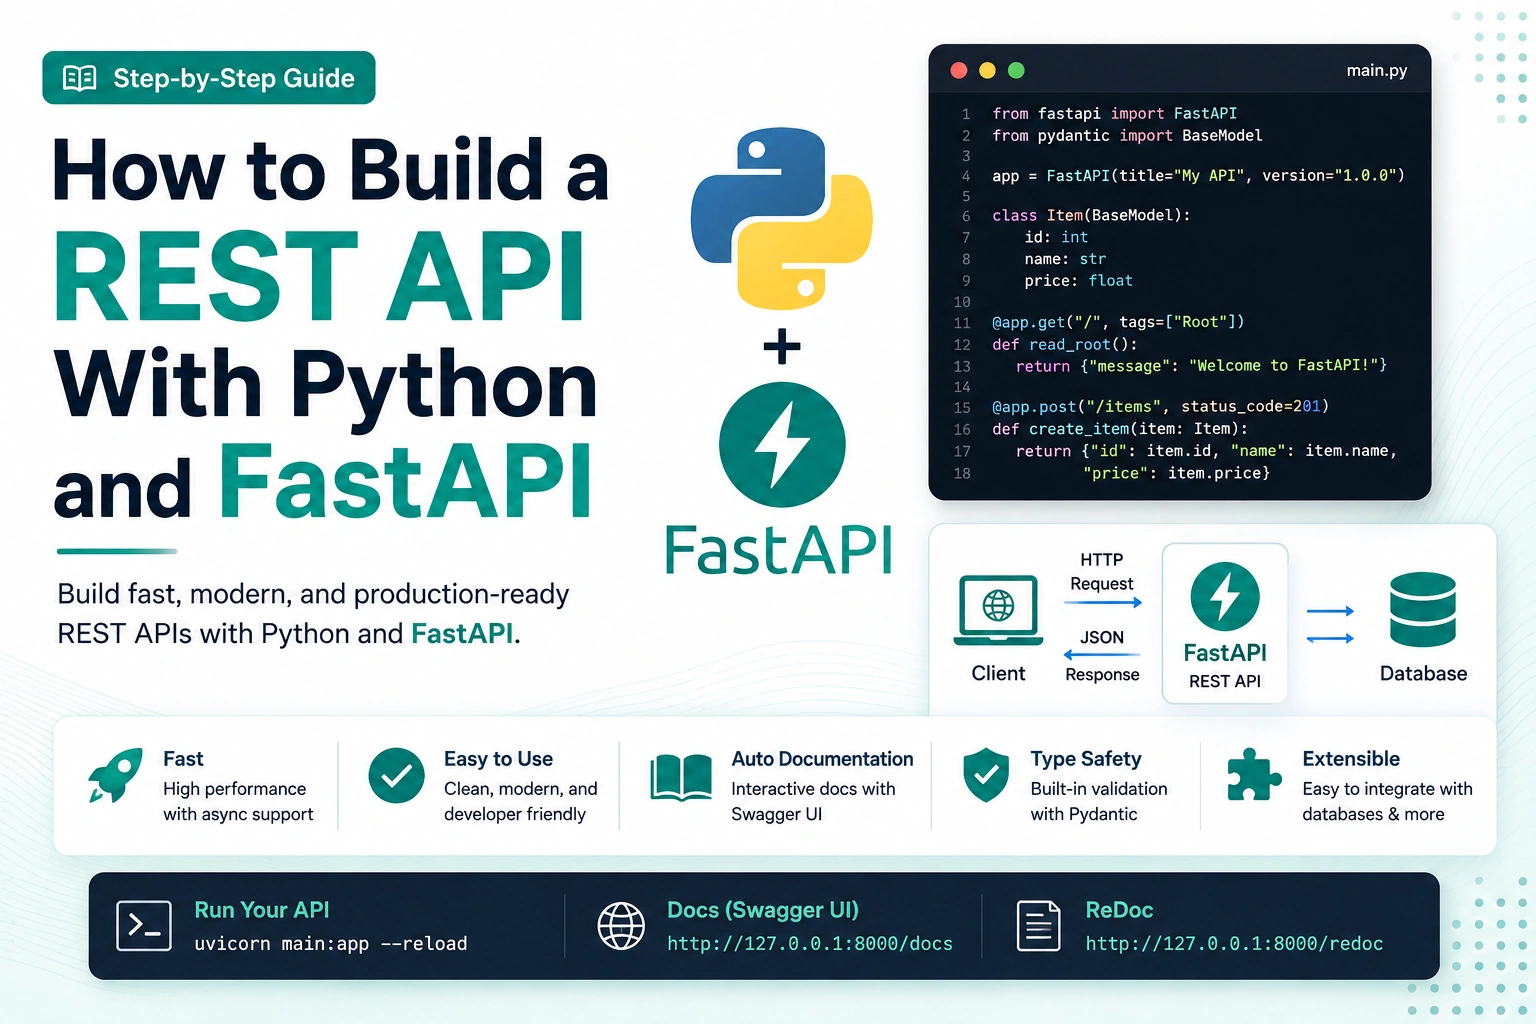
Building APIs is an essential part of modern web development. Whether you’re creating a mobile application, frontend application, SaaS platform, or microservice, you often need a backend API to handle data and business logic.
FastAPI is one of the most popular Python frameworks for building modern REST APIs. It is fast, easy to learn, supports asynchronous programming, and automatically generates interactive API documentation.
In this guide, you’ll learn how to build a REST API with Python and FastAPI from scratch, including project setup, routes, request handling, validation, CRUD operations, and API documentation.
What Is FastAPI?
FastAPI is a modern Python web framework designed for building APIs.
It is built around Python type hints and uses technologies such as Starlette for web functionality and Pydantic for data validation.
Some important FastAPI features include:
- High performance
- Python type hints
- Automatic request validation
- Automatic API documentation
- Support for asynchronous programming
- Easy-to-use routing
- Dependency injection
- Simple project structure
- Built-in support for OpenAPI
FastAPI is particularly useful for building REST APIs, backend services, microservices, and AI-powered applications.
Why Use FastAPI for REST API Development?
There are several reasons developers choose FastAPI for Python backend development.
1. Easy to Learn
FastAPI uses standard Python syntax and type hints, making it relatively easy to understand if you already know Python.
2. High Performance
FastAPI is designed for high-performance API development and works well for applications that need to handle many requests efficiently.
3. Automatic Documentation
FastAPI automatically generates interactive API documentation using OpenAPI.
After starting your application, you can usually access:
/docs
This provides a Swagger UI where you can test your API directly from your browser.
4. Data Validation
FastAPI works with Pydantic to validate incoming request data.
For example, you can define:
from pydantic import BaseModel

class User(BaseModel):
    name: str
    email: str
    age: int
FastAPI can automatically validate requests against this structure.
Prerequisites
Before building a REST API with FastAPI, you should have:
- Basic Python knowledge
- Python installed on your computer
- A code editor such as VS Code
- Basic understanding of HTTP and REST APIs
- Basic knowledge of JSON
You can check whether Python is installed by running:
python --version
Depending on your operating system, you may also need:
python3 --version
Step 1: Create a Python Project
Create a new directory for your FastAPI project:
mkdir fastapi-api
cd fastapi-api
It is recommended to create a virtual environment for the project.
On Windows:
python -m venv venv
venv\Scripts\activate
On macOS or Linux:
python3 -m venv venv
source venv/bin/activate
Using a virtual environment keeps your project’s dependencies separate from other Python projects.
Step 2: Install FastAPI and Uvicorn
Install FastAPI and Uvicorn:
pip install fastapi uvicorn
Uvicorn is an ASGI server that can run your FastAPI application.
You can verify the installation with:
pip show fastapi
Step 3: Create Your FastAPI Application
Create a file named:
main.py
Add the following code:
from fastapi import FastAPI

app = FastAPI()

@app.get("/")
def home():
    return {"message": "Hello, FastAPI!"}
Let’s understand what’s happening.
app = FastAPI()
This creates the FastAPI application.
The following code defines a GET endpoint:
@app.get("/")
def home():
    return {"message": "Hello, FastAPI!"}
When a user sends a GET request to /, FastAPI executes the home() function.
Step 4: Run the FastAPI Server
Start your application with:
uvicorn main:app --reload
The --reload option automatically restarts the development server when you modify your code.
You should see something similar to:
Uvicorn running on http://127.0.0.1:8000
Open the following address in your browser:
http://127.0.0.1:8000
You should receive:
{
  "message": "Hello, FastAPI!"
}
Your first FastAPI REST endpoint is now working.
Step 5: Create REST API Routes
A REST API commonly uses HTTP methods such as:
| HTTP Method | Purpose |
|---|---|
| GET | Retrieve data |
| POST | Create data |
| PUT | Update data |
| PATCH | Partially update data |
| DELETE | Delete data |
FastAPI makes it straightforward to define these routes.
For example:
@app.get("/users")
def get_users():
    return {"message": "Get users"}


@app.post("/users")
def create_user():
    return {"message": "Create user"}


@app.put("/users/{user_id}")
def update_user(user_id: int):
    return {"message": f"Update user {user_id}"}


@app.delete("/users/{user_id}")
def delete_user(user_id: int):
    return {"message": f"Delete user {user_id}"}
These endpoints provide the basic structure of a CRUD API.
Step 6: Create a Request Model
One of the most useful FastAPI features is request validation.
Suppose you want to create a user.
You can define a Pydantic model:
from pydantic import BaseModel

class User(BaseModel):
    name: str
    email: str
    age: int
Then use it in your endpoint:
@app.post("/users")
def create_user(user: User):
    return {
        "message": "User created",
        "user": user
    }
A client can send:
{
  "name": "John",
  "email": "john@example.com",
  "age": 25
}
FastAPI automatically validates the incoming data.
Step 7: Understand Path Parameters
Path parameters allow you to include dynamic values in URLs.
For example:
@app.get("/users/{user_id}")
def get_user(user_id: int):
    return {"user_id": user_id}
A request to:
/users/10
will provide:
{
  "user_id": 10
}
The type hint:
user_id: int
also tells FastAPI that user_id should be an integer.
If an invalid value is provided, FastAPI can automatically return a validation error.
Step 8: Use Query Parameters
Query parameters are useful for filtering, searching, pagination, and sorting.
For example:
@app.get("/users")
def get_users(page: int = 1, limit: int = 10):
    return {
        "page": page,
        "limit": limit
    }
You can call:
/users?page=2&limit=20
The response could be:
{
  "page": 2,
  "limit": 20
}
Query parameters are commonly used when building production REST APIs.
Step 9: Build a Simple CRUD API
Let’s create a simple in-memory CRUD API.
from fastapi import FastAPI, HTTPException
from pydantic import BaseModel

app = FastAPI()


class User(BaseModel):
    name: str
    email: str
    age: int


users = []


@app.get("/users")
def get_users():
    return users


@app.post("/users")
def create_user(user: User):
    users.append(user)
    return user


@app.get("/users/{user_id}")
def get_user(user_id: int):
    if user_id >= len(users):
        raise HTTPException(status_code=404, detail="User not found")

    return users[user_id]


@app.delete("/users/{user_id}")
def delete_user(user_id: int):
    if user_id >= len(users):
        raise HTTPException(status_code=404, detail="User not found")

    users.pop(user_id)

    return {"message": "User deleted"}
This example demonstrates the basic structure of a CRUD-style FastAPI application.
However, storing data in a Python list is not suitable for production applications.
For a real application, you would typically connect FastAPI to a database.
Connecting FastAPI to a Database
FastAPI can work with many databases, including:
- PostgreSQL
- MySQL
- SQLite
- MongoDB
- MariaDB
For example, you could use SQLAlchemy with PostgreSQL or MongoDB drivers for a MongoDB-based application.
A typical production architecture might look like:
Frontend
   |
   v
FastAPI REST API
   |
   v
Business Logic
   |
   v
Database
This separation makes your application easier to maintain and scale.
Step 10: Handle Errors
REST APIs need proper error handling.
FastAPI provides HTTPException for this purpose.
from fastapi import HTTPException

@app.get("/users/{user_id}")
def get_user(user_id: int):

    if user_id != 1:
        raise HTTPException(
            status_code=404,
            detail="User not found"
        )

    return {
        "id": 1,
        "name": "John"
    }
If the user does not exist, the API returns a 404 Not Found response.
Common HTTP status codes include:
200— Successful request201— Resource created400— Bad request401— Unauthorized403— Forbidden404— Resource not found422— Validation error500— Internal server error
Using appropriate HTTP status codes makes your API easier for frontend developers and other clients to consume.
Step 11: Add API Documentation
One of FastAPI’s biggest advantages is automatic API documentation.
Start your application:
uvicorn main:app --reload
Then open:
http://127.0.0.1:8000/docs
You’ll see an interactive Swagger UI containing your API endpoints.
FastAPI also provides an alternative documentation interface at:
http://127.0.0.1:8000/redoc
This documentation is automatically generated from your routes, parameters, request models, and type hints.
Step 12: Use async and await
FastAPI supports asynchronous programming.
For example:
@app.get("/data")
async def get_data():
    return {"message": "Async API response"}
You can use async and await when working with asynchronous libraries and I/O operations.
For example:
@app.get("/users")
async def get_users():
    users = await get_users_from_database()
    return users
Asynchronous programming can be particularly useful for I/O-heavy applications.
However, simply adding async to every function does not automatically make an application faster. You should use asynchronous code when the libraries and operations involved support it appropriately.
Recommended FastAPI Project Structure
As your application grows, keeping everything inside main.py can become difficult to maintain.
A larger FastAPI project might use a structure like:
fastapi-api/
│
├── app/
│   ├── main.py
│   ├── models/
│   ├── schemas/
│   ├── routes/
│   ├── services/
│   ├── database/
│   └── dependencies/
│
├── tests/
│
├── requirements.txt
└── .env
Each directory can have a specific responsibility.
For example:
routes/— API endpointsmodels/— Database modelsschemas/— Request and response schemasservices/— Business logicdatabase/— Database configurationdependencies/— Shared FastAPI dependenciestests/— Automated tests
This structure becomes increasingly useful as your API grows.
FastAPI Best Practices
When building a production REST API with FastAPI, keep these practices in mind.
Use Environment Variables
Do not hardcode passwords, API keys, or database credentials in your source code.
Use environment variables instead:
DATABASE_URL=your_database_url
SECRET_KEY=your_secret_key
Validate Input
Use Pydantic models to validate incoming data.
Use Proper HTTP Status Codes
Return meaningful status codes that clearly communicate the result of each request.
Separate Business Logic
Avoid putting all business logic directly inside route functions.
Move complex logic into service layers.
Add Authentication
Production APIs often require authentication using approaches such as OAuth2, JWT-based authentication, API keys, or another appropriate authentication mechanism.
Write Tests
Automated tests help ensure that your API continues working as it evolves.
Add Pagination
For large datasets, avoid returning thousands of records in a single request.
Use pagination:
/users?page=1&limit=20
Use a Database
In-memory lists are useful for learning, but production applications should use persistent storage.
FastAPI vs Flask
Both FastAPI and Flask are popular Python frameworks, but they have different strengths.
| Feature | FastAPI | Flask |
|---|---|---|
| Performance | High | Good |
| Type hints | Built-in focus | Optional |
| Automatic validation | Yes | Requires additional tools |
| Automatic API docs | Yes | Requires additional setup |
| Async support | Excellent | Supported |
| Learning curve | Easy | Easy |
| API development | Excellent | Very flexible |
If your primary goal is building a modern API with automatic validation and documentation, FastAPI is an excellent choice.
FastAPI vs Django
FastAPI and Django serve somewhat different purposes.
FastAPI is primarily focused on building APIs and lightweight backend services.
Django is a full-featured web framework that provides many built-in features, including an ORM, admin interface, authentication system, and templating system.
For an API-focused microservice, FastAPI can be a great option. For a large full-stack web application requiring many built-in features, Django may be more appropriate.
Conclusion
Learning how to build a REST API with Python and FastAPI gives you a strong foundation for modern Python backend development.
FastAPI provides a clean development experience with:
- Fast API performance
- Automatic validation
- Type hints
- Async support
- OpenAPI documentation
- Interactive Swagger UI
- Simple routing
- Flexible project architecture
You can start with a small API containing a few endpoints and gradually introduce a database, authentication, testing, validation, background tasks, and production deployment.
Once you understand the fundamentals covered in this guide, you’ll be ready to build more advanced Python REST APIs with FastAPI for web applications, mobile apps, SaaS platforms, AI applications, and microservices.
Frequently Asked Questions
Is FastAPI good for beginners?
Yes. FastAPI uses standard Python syntax and type hints, making it relatively beginner-friendly if you already understand basic Python.
Is FastAPI better than Flask?
Neither framework is universally better. FastAPI is particularly attractive for modern API development because of its validation, type hints, asynchronous capabilities, and automatic documentation.
Can FastAPI connect to MongoDB?
Yes. FastAPI can be used with MongoDB through compatible Python MongoDB libraries and database abstractions.
Can FastAPI be used for production?
Yes. FastAPI can be used to build production APIs, although production applications also need appropriate security, database management, testing, monitoring, deployment, and infrastructure practices.
Does FastAPI support asynchronous programming?
Yes. FastAPI supports async and await, making it suitable for applications that perform asynchronous I/O operations.
What is Uvicorn in FastAPI?
Uvicorn is an ASGI server commonly used to run FastAPI applications.
Is FastAPI suitable for microservices?
Yes. Its lightweight architecture, performance, automatic API documentation, and support for asynchronous programming make FastAPI well suited for microservices and API-based architectures.