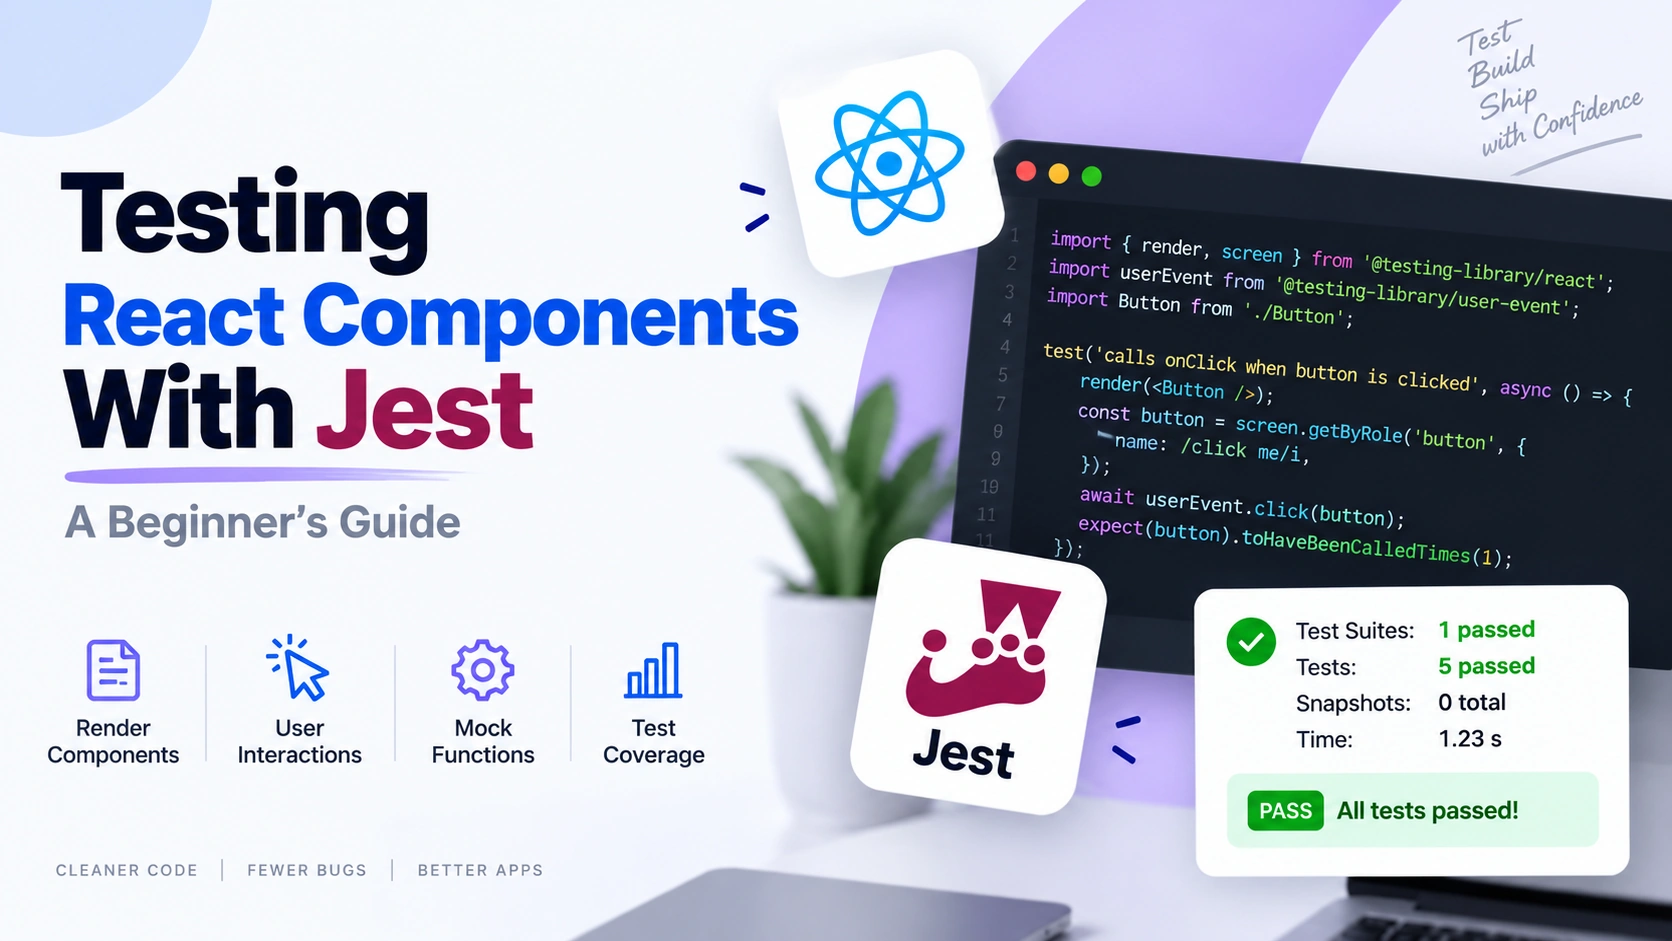
Testing is an important part of React development.
A React application can contain many components, user interactions, API calls, and state changes. As your application grows, it becomes harder to manually check everything after every update.
This is where automated testing helps.
Jest is one of the most popular testing tools in the JavaScript ecosystem. It is commonly used with React to test component logic and application behavior.
In this guide, you will learn how to test React components with Jest. You will also learn how to set up tests, test component output, handle user interactions, mock functions, and test asynchronous behavior.
Let’s get started.
Why Should You Test React Components?
React components are the building blocks of a React application.
A component may display data, handle user input, manage state, or call an API.
Even a small change can break existing behavior.
Testing helps you check whether your components continue to work correctly.
For example, you can test whether:
- A component renders correctly
- Text appears on the screen
- A button is visible
- A user can click a button
- A function runs after an interaction
- Data appears after an API request
- An error message appears when something fails
As a result, testing gives you more confidence when changing your application.
What Is Jest in React Testing?
Jest is a JavaScript testing framework.
It provides tools for writing and running automated tests.
When testing React applications, Jest is often used with React Testing Library.
Jest runs the tests and provides features such as:
- Test functions
- Assertions
- Mock functions
- Test coverage
- Snapshot testing
React Testing Library, on the other hand, helps you render and interact with React components.
Together, these tools make it easier to test React applications.
Setting Up Jest for React Testing
The setup depends on how your React project was created.
Many modern React projects already include a testing setup or support Jest through their tooling.
In a project where you need to install the required packages, you may use:
npm install --save-dev jest
For React component testing, you will usually also need React Testing Library packages.
npm install --save-dev @testing-library/react @testing-library/jest-dom
After setup, you can start creating test files.
A common naming pattern is:
Button.test.jsx
or:
Button.test.js
Your First React Component Test
Let’s start with a simple component.
Create a component called Welcome.
function Welcome() {
  return <h1>Welcome to React</h1>;
}

export default Welcome;
Now create a test file named:
Welcome.test.jsx
Write the following test:
import { render, screen } from "@testing-library/react";
import Welcome from "./Welcome";

test("renders the welcome message", () => {
  render(<Welcome />);

  const heading = screen.getByText("Welcome to React");

  expect(heading).toBeInTheDocument();
});
Let’s understand what happens here.
First, render() displays the component in the test environment.
Then, screen.getByText() finds the text.
Finally, expect() checks whether the element exists.
If the text appears, the test passes.
Understanding Jest and React Testing Library
When testing React components, Jest and React Testing Library have different jobs.
What Does Jest Do?
Jest runs your tests.
It also provides:
test()expect()- Matchers
- Mock functions
- Coverage reports
For example:
expect(5).toBe(5);
What Does React Testing Library Do?
React Testing Library helps you test React components.
It allows you to:
- Render components
- Find elements
- Simulate user actions
- Check what appears on the screen
For example:
render(<Welcome />);
Then you can find an element:
screen.getByText("Welcome to React");
Together, these tools help you test component behavior.
How to Test Text in a React Component
Testing text is one of the simplest types of component tests.
Consider this component:
function Greeting() {
  return <p>Hello, User!</p>;
}

export default Greeting;
You can test it like this:
import { render, screen } from "@testing-library/react";
import Greeting from "./Greeting";

test("renders the greeting", () => {
  render(<Greeting />);

  expect(
    screen.getByText("Hello, User!")
  ).toBeInTheDocument();
});
This test checks whether the expected text appears.
How to Test React Component Props
Props allow components to receive data.
For example:
function Greeting({ name }) {
  return <h1>Hello, {name}!</h1>;
}

export default Greeting;
Now test the component with a prop.
import { render, screen } from "@testing-library/react";
import Greeting from "./Greeting";

test("renders the user name", () => {
  render(<Greeting name="John" />);

  expect(
    screen.getByText("Hello, John!")
  ).toBeInTheDocument();
});
This test checks whether the component displays the correct prop value.
How to Test Buttons and User Interactions
Many React components respond to user actions.
For example, consider a button.
function Button() {
  return <button>Click Me</button>;
}

export default Button;
You can test whether the button appears.
import { render, screen } from "@testing-library/react";
import Button from "./Button";

test("renders the button", () => {
  render(<Button />);

  expect(
    screen.getByRole("button", {
      name: "Click Me"
    })
  ).toBeInTheDocument();
});
Using getByRole() is often a good approach because it reflects how users and assistive technologies identify elements.
How to Test a Button Click
Now let’s test a button that changes state.
import { useState } from "react";

function Counter() {
  const [count, setCount] = useState(0);

  return (
    <>
      <p>Count: {count}</p>

      <button onClick={() => setCount(count + 1)}>
        Increase
      </button>
    </>
  );
}

export default Counter;
To test the click, you can use userEvent.
import { render, screen } from "@testing-library/react";
import userEvent from "@testing-library/user-event";
import Counter from "./Counter";

test("increases the count when the button is clicked", async () => {
  const user = userEvent.setup();

  render(<Counter />);

  const button = screen.getByRole("button", {
    name: "Increase"
  });

  await user.click(button);

  expect(
    screen.getByText("Count: 1")
  ).toBeInTheDocument();
});
This test follows a real user flow.
The user clicks the button.
Then the component updates.
Finally, the test checks the new value.
How to Test Functions Passed as Props
Sometimes a component receives a function as a prop.
For example:
function DeleteButton({ onDelete }) {
  return (
    <button onClick={onDelete}>
      Delete
    </button>
  );
}

export default DeleteButton;
You can create a mock function using Jest.
import { render, screen } from "@testing-library/react";
import userEvent from "@testing-library/user-event";
import DeleteButton from "./DeleteButton";

test("calls onDelete when clicked", async () => {
  const user = userEvent.setup();
  const handleDelete = jest.fn();

  render(
    <DeleteButton onDelete={handleDelete} />
  );

  await user.click(
    screen.getByRole("button", {
      name: "Delete"
    })
  );

  expect(handleDelete).toHaveBeenCalledTimes(1);
});
The jest.fn() function creates a mock function.
This allows you to check whether the function was called.
How to Test Conditional Rendering
React components often display different content based on conditions.
For example:
function Status({ loggedIn }) {
  return (
    <h1>
      {loggedIn ? "Welcome back" : "Please log in"}
    </h1>
  );
}

export default Status;
You can test both conditions.
import { render, screen } from "@testing-library/react";
import Status from "./Status";

test("shows welcome message for logged-in users", () => {
  render(<Status loggedIn={true} />);

  expect(
    screen.getByText("Welcome back")
  ).toBeInTheDocument();
});

test("shows login message for logged-out users", () => {
  render(<Status loggedIn={false} />);

  expect(
    screen.getByText("Please log in")
  ).toBeInTheDocument();
});
This ensures that both paths work correctly.
How to Test Forms
Forms are common in React applications.
Let’s look at a simple example.
import { useState } from "react";

function LoginForm() {
  const [email, setEmail] = useState("");

  return (
    <>
      <label htmlFor="email">
        Email
      </label>

      <input
        id="email"
        value={email}
        onChange={(event) =>
          setEmail(event.target.value)
        }
      />

      <p>{email}</p>
    </>
  );
}

export default LoginForm;
You can test user input with userEvent.
import { render, screen } from "@testing-library/react";
import userEvent from "@testing-library/user-event";
import LoginForm from "./LoginForm";

test("updates the email value", async () => {
  const user = userEvent.setup();

  render(<LoginForm />);

  const input = screen.getByLabelText("Email");

  await user.type(
    input,
    "john@example.com"
  );

  expect(input).toHaveValue(
    "john@example.com"
  );
});
This test checks whether the component responds correctly to user input.
How to Test Asynchronous React Components
Many React components load data asynchronously.
For example, a component may request data from an API.
Consider this simple example:
import { useEffect, useState } from "react";

function User() {
  const [name, setName] = useState("");

  useEffect(() => {
    Promise.resolve("John")
      .then((data) => {
        setName(data);
      });
  }, []);

  return <h1>{name}</h1>;
}

export default User;
The value does not appear immediately.
Therefore, the test needs to wait.
import { render, screen } from "@testing-library/react";
import User from "./User";

test("displays the user name", async () => {
  render(<User />);

  expect(
    await screen.findByText("John")
  ).toBeInTheDocument();
});
findByText() waits for the element to appear.
This makes it useful for asynchronous updates.
How to Mock API Calls in Jest
Real API calls are usually not ideal during tests.
They can be slow.
They can also fail because of network problems.
Instead, you can mock the API response.
For example:
global.fetch = jest.fn();
You can then provide test data.
fetch.mockResolvedValueOnce({
  json: async () => ({
    name: "John"
  })
});
Now your test can use predictable data.
Mocking also prevents your tests from depending on an external API.
How to Test Components With API Data
Suppose you have this component:
import { useEffect, useState } from "react";

function User() {
  const [name, setName] = useState("");

  useEffect(() => {
    fetch("/api/user")
      .then((response) => response.json())
      .then((data) => {
        setName(data.name);
      });
  }, []);

  return <h1>{name}</h1>;
}

export default User;
You can mock the API response in the test.
import { render, screen } from "@testing-library/react";
import User from "./User";

global.fetch = jest.fn();

test("shows user data from the API", async () => {
  fetch.mockResolvedValueOnce({
    json: async () => ({
      name: "John"
    })
  });

  render(<User />);

  expect(
    await screen.findByText("John")
  ).toBeInTheDocument();
});
The component behaves as if it received real data.
However, the test does not make a real network request.
Common Jest Matchers for React Testing
Jest provides matchers that help you check results.
Here are some useful examples.
toBeInTheDocument()
Checks whether an element exists.
expect(element).toBeInTheDocument();
toHaveTextContent()
Checks an element’s text.
expect(element).toHaveTextContent(
  "Hello"
);
toHaveValue()
Checks the value of an input.
expect(input).toHaveValue(
  "john@example.com"
);
toBeVisible()
Checks whether an element is visible.
expect(element).toBeVisible();
toHaveBeenCalled()
Checks whether a mock function was called.
expect(mockFunction)
  .toHaveBeenCalled();
Best Ways to Find Elements
React Testing Library provides several ways to find elements.
Some common methods include:
getByRole()getByLabelText()getByText()getByPlaceholderText()findByText()
In most cases, try to find elements in the same way that a user would.
For example, use:
screen.getByRole("button", {
  name: "Submit"
});
instead of selecting elements based on implementation details.
This makes tests more reliable.
Common Mistakes When Testing React Components
Beginners often make a few common mistakes.
Testing Implementation Details
Avoid testing internal component details.
Instead, test what the user can see and do.
Writing Large Tests
Avoid testing many unrelated things in one test.
Keep each test focused.
Depending on Real APIs
Real APIs can make tests slow and unreliable.
Mock external requests when appropriate.
Using Unclear Test Names
Your test name should explain what is expected.
For example:
test("shows an error when login fails", () => {
});
This is easier to understand than:
test("test 1", () => {
});
Best Practices for Testing React Components
Follow these practices when writing tests.
Test User Behavior
Focus on what users see and do.
Test clicks, typing, navigation, and visible results.
Keep Tests Small
Each test should check one behavior.
Small tests are easier to understand.
They are also easier to fix.
Use Clear Test Names
A good test name explains the expected behavior.
For example:
test("shows the user's name after loading", () => {
});
Test Different Scenarios
Do not test only the happy path.
Also test:
- Empty states
- Loading states
- Error states
- Invalid input
These cases can reveal hidden problems.
Frequently Asked Questions
Can Jest Test React Components?
Yes.
Jest can test React component logic and behavior.
It is commonly used with React Testing Library.
What Is React Testing Library?
React Testing Library is a library that helps you render and interact with React components during tests.
It works well with Jest.
Should I Test React State Directly?
Usually, no.
Instead, test what changes on the screen after the state changes.
This focuses on user behavior.
Can I Test API Calls With Jest?
Yes.
You can mock API calls and test how your component handles successful and failed responses.
What Should I Test in a React Component?
You should test important behavior.
For example:
- What the component displays
- How it handles props
- How it responds to user actions
- Loading states
- Error states
Conclusion
Testing React components helps you build more reliable applications.
Jest provides the tools needed to run tests, create assertions, and mock functions. React Testing Library helps you render components and interact with them like a user.
Start with simple tests.
First, check whether a component renders correctly. Then test props and user interactions.
After that, move on to forms, API calls, loading states, and error handling.
The more you practice React testing, the easier it becomes to catch bugs and make changes with confidence.