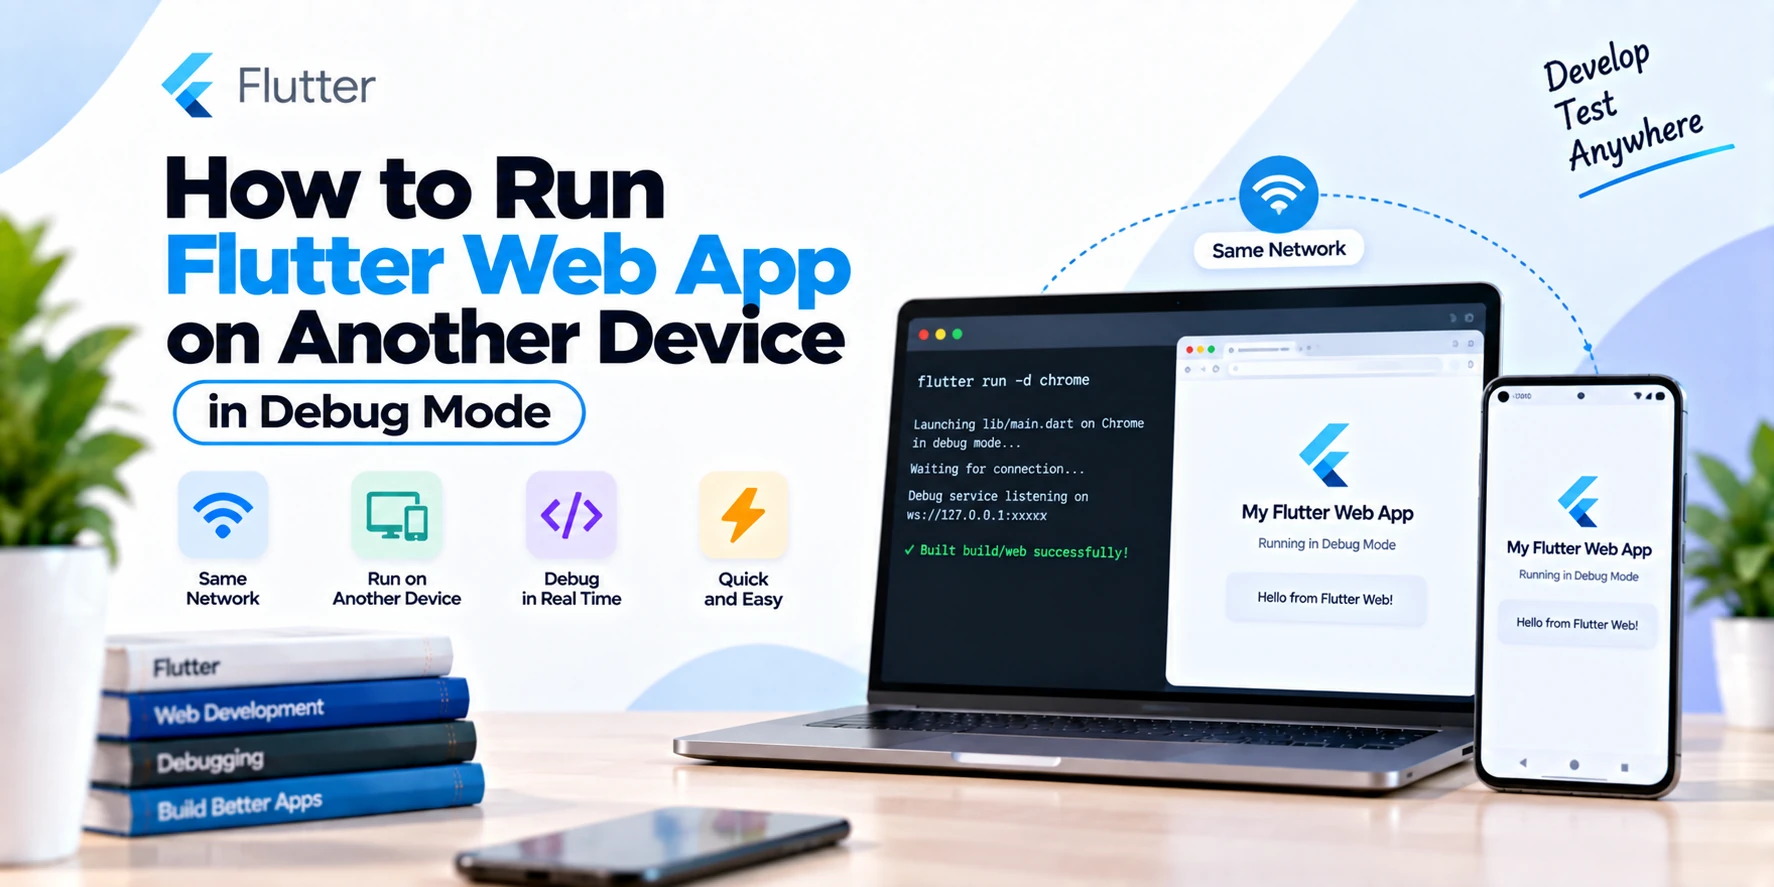
While developing a Flutter web application, you may want to test it on a mobile phone, tablet, laptop, or another computer without deploying the app online.
Flutter makes this possible using a local development web server.
If both devices are connected to the same Wi-Fi or local network, you can run your Flutter web app on your development computer and access it from another device using the computer’s local IP address.
In this guide, you will learn how to run a Flutter web app on another device during development.
Why Test Flutter Web on Another Device?
Running your Flutter web application only in Chrome on your development computer is not always enough.
Testing on another device helps you check:
- Mobile responsive design
- Different screen sizes
- Touch interactions
- Navigation
- Forms and input fields
- Images and animations
- API integration
- Real-device browser behavior
For example, you can develop your Flutter project on a MacBook and open the same running application in Safari or Chrome on your phone.
You do not need to deploy the application every time you want to test it.
Step 1: Make Sure Flutter Web Is Available
First, check the available Flutter devices:
flutter devicesYou should see web-related devices such as Chrome or a web server environment depending on your Flutter setup.
You can also check your Flutter installation using:
flutter doctorFix any important Flutter web-related problems before continuing.
Step 2: Connect Both Devices to the Same Network
Your development computer and testing device should normally be connected to the same local network.
For example:
MacBook
   ↓
Home Wi-Fi
   ↑
Android / iPhone
The devices need to be able to communicate with each other over the local network.
Step 3: Start the Flutter Web Server
Open Terminal inside your Flutter project:
cd your_flutter_projectNow run:
flutter run -d web-server --web-hostname 0.0.0.0 --web-port 8080Let’s understand the important options.
-d web-server
This tells Flutter to run the application using its web-server device instead of automatically launching Chrome.
--web-hostname 0.0.0.0
This is the important part.
Using:
0.0.0.0allows the development server to listen on network interfaces rather than being accessible only through localhost.
--web-port 8080
This tells Flutter to use port:
8080You can choose another available port if necessary.
For example:
flutter run -d web-server --web-hostname 0.0.0.0 --web-port 3000Step 4: Find Your Computer’s Local IP Address
Now you need the local IP address of the computer running Flutter.
It may look similar to:
192.168.1.10or:
192.168.0.105Find Local IP on macOS
You can try:
ipconfig getifaddr en0For a typical Wi-Fi connection, you may get something like:
192.168.1.10You can also find it through macOS network settings.
Go to:
System Settings
→ Network
→ Wi-Fi
→ Details
Look for the IP address.
Find Local IP on Windows
Open Command Prompt and run:
ipconfigFind the active Wi-Fi or Ethernet connection and look for:
IPv4 AddressFor example:
192.168.1.10Step 5: Open Flutter Web on Another Device
Suppose your computer’s local IP address is:
192.168.1.10and Flutter is running on:
8080On your mobile phone or another computer, open a browser and enter:
http://192.168.1.10:8080For example:
MacBook
192.168.1.10
      ↓
Flutter Web Server
Port 8080
      ↓
http://192.168.1.10:8080
      ↓
Phone / Tablet / Laptop
Your Flutter web application should now open on the other device.
Complete Command
In most cases, this is the main command you need:
flutter run -d web-server --web-hostname 0.0.0.0 --web-port 8080Find your computer’s IP:
ipconfig getifaddr en0Suppose the result is:
192.168.1.10Open this address on the other device:
http://192.168.1.10:8080That’s it.
localhost vs 0.0.0.0
This difference is important.
If your development server is available only through:
localhost:8080localhost refers to the device on which the browser is currently running.
Therefore, entering this on your phone:
http://localhost:8080points to the phone itself, not your development computer.
Instead, you need your computer’s local network address:
http://192.168.1.10:8080Running the server with:
--web-hostname 0.0.0.0allows it to listen for connections through the computer’s network interfaces.
What If the Flutter Web App Does Not Open?
If the browser shows errors such as:
This site can't be reachedor:
Connection refusedcheck these common problems.
Check the Same Wi-Fi
Make sure both devices are connected to the same network.
For example, avoid this situation:
MacBook → Home Wi-Fi
Phone   → Mobile Data
Instead:
MacBook → Home Wi-Fi
Phone   → Home Wi-Fi
Check the IP Address
Your computer’s local IP address can change.
Run the IP command again and confirm that you are using the current address.
Check the Port
If Flutter is running on:
8080you must include the same port:
http://192.168.1.10:8080Using only:
http://192.168.1.10will normally try the default HTTP port instead.
Check Your Firewall
Your operating system or security software may block incoming connections.
If Flutter is running correctly but another device cannot connect, check your firewall settings and whether incoming connections to the development server are allowed.
Check Router Client Isolation
Some public, office, guest, or hotel Wi-Fi networks prevent connected devices from communicating with each other.
In that situation, both devices can have internet access while still being unable to connect locally.
Try another trusted local network if necessary.
What About APIs Using localhost?
This is another common Flutter development problem.
Suppose your Flutter application calls:
http://localhost:3000/api/productsIt may work when testing on your development computer.
However, when the application is opened from another device, localhost can refer to that device.
Instead, during local-network testing, your backend may also need to be accessible through your computer’s IP.
For example:
http://192.168.1.10:3000/api/productsYour backend must also listen on an appropriate network interface.
Additionally, browser security rules such as CORS may need to be configured correctly.
Can You Use Hot Reload?
While the Flutter development process is running, you can continue modifying your project.
Depending on the web development workflow and change being made, Flutter development tooling can apply updates or require a restart/refresh.
Keep the terminal running while testing:
flutter run -d web-server --web-hostname 0.0.0.0 --web-port 8080Do not close the process until you finish testing.
Is This Safe for Production?
No. This method is intended for local development and testing.
Do not expose your development server directly to the public internet as a production deployment.
For production, build your Flutter web application:
flutter build webThen deploy the generated web output through a proper hosting service.
Popular options include:
- Firebase Hosting
- Cloudflare Pages
- Netlify
- Vercel
Useful Flutter Resources
For Flutter web development and debugging, these official resources are useful:
Flutter Web Documentation:
https://docs.flutter.dev/platform-integration/web
Build Flutter for Web:
https://docs.flutter.dev/platform-integration/web/building
Flutter DevTools:
https://docs.flutter.dev/tools/devtools
Flutter Web FAQ:
https://docs.flutter.dev/platform-integration/web/faq
Conclusion
You do not need to deploy your Flutter web application every time you want to test it on another device.
Run the development server with:
flutter run -d web-server --web-hostname 0.0.0.0 --web-port 8080Find your computer’s local IP address and open:
http://YOUR_LOCAL_IP:8080from another phone, tablet, or computer connected to the same network.
This simple setup is extremely useful for testing responsive layouts, mobile browsers, touch interactions, forms, navigation, and real-device Flutter web behavior during development.