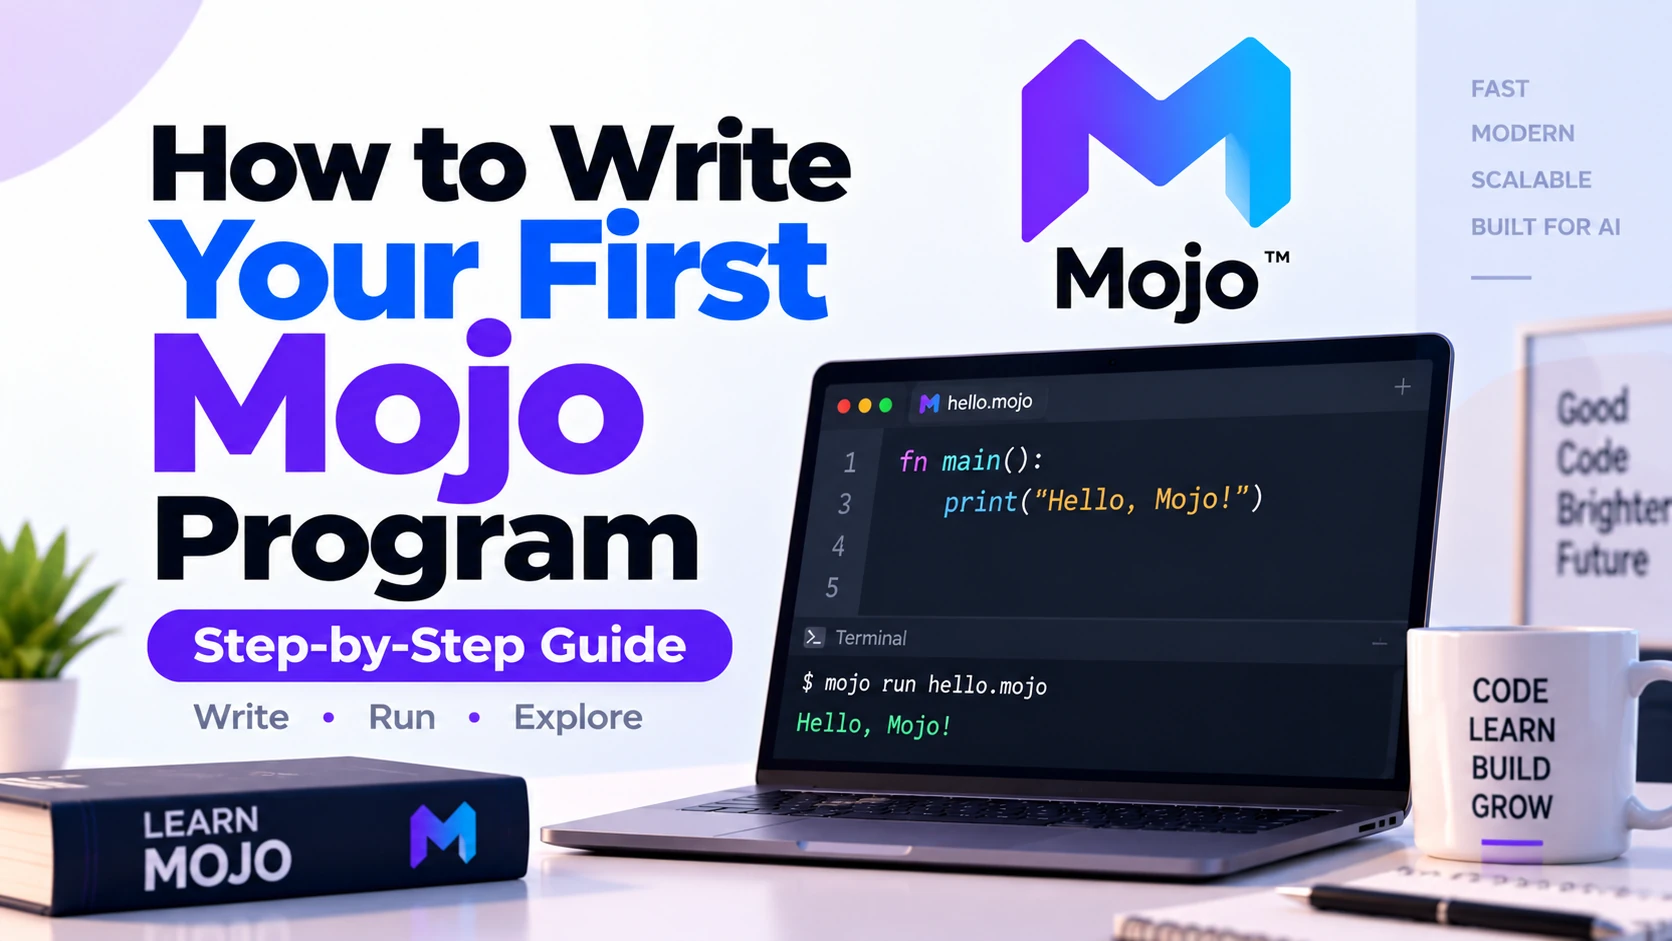
Writing your first Mojo program is a good way to understand the basic structure and syntax of the Mojo programming language.
Mojo uses syntax that feels familiar to Python developers, but it is a compiled language designed for high-performance programming.
A basic Mojo program can be as simple as:
def main():
    print("Hello, World!")
When you run this program, the output is:
Hello, World!
The current Mojo documentation uses a no-argument main() function as the entry point for executable programs. You can run a .mojo source file directly with the mojo command, or compile it into an executable using mojo build.
In this guide, you will learn how to create your first Mojo file, understand each line of code, run the program, use variables, take user input, create functions, use conditions and loops, and build a small beginner project.
What Do You Need Before Writing Mojo Code?
Before creating your first Mojo program, you need:
- Mojo installed
- A text editor or IDE
- A terminal
- A folder for your project
The current Mojo 1.0 documentation recommends uv or pixi for installing and managing Mojo.
You can verify your installation with:
mojo --version
If Mojo is installed correctly, the command displays your installed version.
Create Your First Mojo Project
You can create a simple folder manually:
first-mojo-program/
Move into the folder:
cd first-mojo-program
Then create a file named:
hello.mojo
Mojo source files use the .mojo extension.
Your project can initially look like this:
first-mojo-program/
└── hello.mojo
You do not need a complicated project structure for your first program.
Write Your First Mojo Program
Open hello.mojo in your editor and add:
def main():
    print("Hello, World!")
Save the file.
That is a complete executable Mojo program.
The official Mojo beginner documentation uses essentially this same structure and explains that executable Mojo programs start from main().
Understanding Your First Mojo Program
Let us understand each line.
The def Keyword
This line:
def main():
defines a function.
The def keyword is used to create a function.
If you have used Python, this syntax will look familiar.
For example:
def greet():
    print("Hello")
defines a function called:
greet
What Is main()?
In an executable Mojo program, main() is the program’s entry point.
Consider:
def main():
    print("Hello, World!")
When you run the program, Mojo automatically begins execution from:
main()
The flow is:
Start Program
     ↓
main()
     ↓
Execute Statements
     ↓
Program Ends
According to the official Mojo documentation, an executable program requires a no-argument main() function as its entry point.
Understanding Indentation
Mojo uses indentation to organize code blocks.
Correct:
def main():
    print("Hello")
Incorrect:
def main():
print("Hello")
The statement inside main() must be indented.
The official tutorial recommends consistently using four spaces, following common Python-style formatting.
As your programs grow, proper indentation becomes very important.
Understanding print()
The print() function displays information in the terminal.
Example:
def main():
    print("Learning Mojo")
Output:
Learning Mojo
print() is built into Mojo, so you do not need to import another library just to print basic output.
Run Your First Mojo Program
Open your terminal inside the folder containing:
hello.mojo
Then run:
mojo hello.mojo
You should see:
Hello, World!
The Mojo CLI allows a file to be run simply by passing its filename to the mojo command.
Your workflow is now:
Write Code
   ↓
Save hello.mojo
   ↓
Run mojo hello.mojo
   ↓
See Output
What Happens When You Run Mojo Code?
Mojo is a compiled programming language.
When you run:
mojo hello.mojo
Mojo can perform just-in-time compilation and then execute the resulting program.
This differs from the normal way people think about interpreted Python scripts.
The official Mojo tutorial describes this direct execution process as JIT compilation followed by execution.
Compile Your First Mojo Program
You can also build your program into an executable.
Run:
mojo build hello.mojo
For a file named:
hello.mojo
the default output executable is generally named:
hello
You can then run it on a Unix-like system with:
./hello
Output:
Hello, World!
The mojo build command is the official CLI command for building an executable from a Mojo source file.
Add More Output
Your program does not need to contain only one print() statement.
Example:
def main():
    print("Hello, World!")
    print("I am learning Mojo.")
    print("This is my first program.")
Output:
Hello, World!
I am learning Mojo.
This is my first program.
Each statement executes from top to bottom.
Create Your First Variable
Variables store values.
Mojo supports the var keyword.
Example:
def main():
    var age = 25
    print(age)
Output:
25
The official language basics documentation shows variables declared using var. Mojo variables are statically typed, although their type can often be inferred automatically.
Create a String Variable
You can store text using a String.
Example:
def main():
    var name: String = "Alex"
    print(name)
Output:
Alex
Here:
name
is the variable name.
And:
String
is its type.
Create an Integer Variable
Example:
def main():
    var age: Int = 25
    print(age)
Output:
25
Here:
Int
represents an integer type.
Mojo Type Inference
You do not always need to explicitly write the type.
For example:
var number = 100
Mojo can determine the type based on the initial value.
So this:
def main():
    var number = 100
    print(number)
is valid.
Mojo performs static type checking, and if a variable’s type is inferred as an integer, it cannot later simply become an unrelated type such as a string.
Perform Basic Calculations
You can use Mojo for arithmetic.
Example:
def main():
    var a = 10
    var b = 20
    var result = a + b

    print(result)
Output:
30
Common arithmetic operators include:
+  Addition
-  Subtraction
*  Multiplication
/  Division
For example:
def main():
    var a = 20
    var b = 5

    print(a + b)
    print(a - b)
    print(a * b)
Create Your First Function
Functions help organize reusable logic.
Example:
def add(a: Int, b: Int) -> Int:
    return a + b

def main():
    var result = add(10, 20)
    print(result)
Output:
30
Here:
a: Int
b: Int
define integer parameters.
And:
-> Int
means the function returns an integer.
Understanding Function Flow
The program works like this:
main()
   ↓
add(10, 20)
   ↓
10 + 20
   ↓
return 30
   ↓
print(30)
Functions become especially useful as your programs become larger.
Create a Greeting Function
Example:
def greet(name: String):
    print("Hello,", name)

def main():
    greet("Alex")
Output:
Hello, Alex
You can call the function multiple times:
def greet(name: String):
    print("Hello,", name)

def main():
    greet("Alex")
    greet("John")
    greet("Sara")
Take User Input
The current Mojo beginner tutorial includes the built-in input() function for reading text entered by a user. Because input operations can raise errors, its example uses main() raises.
Example:
def main() raises:
    var name: String = input("What is your name? ")
    print("Hello,", name)
When you run:
mojo hello.mojo
you may see:
What is your name?
If the user enters:
Alex
the program can display:
Hello, Alex
Why Does This Example Use raises?
You may notice:
def main() raises:
instead of:
def main():
Some Mojo operations can produce errors that need to be propagated or handled.
The input() example in the official tutorial therefore defines main() with raises.
For a basic Hello World program, you do not need it:
def main():
    print("Hello")
Create a Personalized Greeting Program
Now combine variables and user input:
def main() raises:
    var name: String = input("Enter your name: ")
    var greeting: String = "Hello, " + name + "!"

    print(greeting)
Example output:
Enter your name: Alex
Hello, Alex!
This is already more useful than a simple Hello World program.
Use an if Statement
Programs often need to make decisions.
Example:
def main():
    var age = 20

    if age >= 18:
        print("You are an adult.")
    else:
        print("You are a minor.")
Output:
You are an adult.
The logic is:
Check Age
   ↓
Age >= 18?
 ↙       ↘
Yes       No
 ↓         ↓
Adult    Minor
Use Multiple Conditions
You can extend the logic:
def main():
    var score = 85

    if score >= 90:
        print("Excellent")
    elif score >= 70:
        print("Good")
    else:
        print("Keep practicing")
For:
85
the output is:
Good
Write Your First Loop
Loops repeat code.
A simple for loop can look like:
def main():
    for i in range(5):
        print(i)
This allows the same code block to execute multiple times.
Loops are useful when processing:
- Numbers
- Collections
- Repeated calculations
- Data
Combine Variables and Loops
Example:
def main():
    for i in range(5):
        var result = i * 2
        print(result)
This program calculates a new value for every iteration.
Write Comments
Comments explain your code.
A single-line Mojo comment starts with:
#
Example:
# My first Mojo program

def main():
    print("Hello, Mojo!")
You can also add comments beside code:
var age = 25 # Store age
Comments are ignored when the program executes.
Build a Small First Mojo Project
Instead of stopping at Hello World, let us create a small calculator.
Create:
calculator.mojo
Then add:
def add(a: Int, b: Int) -> Int:
    return a + b

def subtract(a: Int, b: Int) -> Int:
    return a - b

def multiply(a: Int, b: Int) -> Int:
    return a * b

def main():
    var a = 20
    var b = 10

    print("Addition:")
    print(add(a, b))

    print("Subtraction:")
    print(subtract(a, b))

    print("Multiplication:")
    print(multiply(a, b))
Run:
mojo calculator.mojo
The output should represent:
Addition:
30
Subtraction:
10
Multiplication:
200
This simple project teaches you:
- Variables
- Types
- Functions
- Return values
- Arithmetic
- Program structure
Another Beginner Project: Square a Number
Create:
square.mojo
Add:
def square(number: Int) -> Int:
    return number * number

def main():
    var number = 5
    var result = square(number)

    print(result)
Output:
25
The program flow is:
number = 5
    ↓
square(5)
    ↓
5 × 5
    ↓
25
    ↓
print(25)
Recommended First Mojo Project Structure
For a beginner, keep your project simple:
mojo-learning/
│
├── hello.mojo
├── calculator.mojo
└── square.mojo
As you learn more, you can move reusable code into modules.
Common Beginner Error: Missing main()
This program:
print("Hello")
does not follow the standard executable program structure.
Instead, use:
def main():
    print("Hello")
Executable Mojo programs use main() as their entry point.
Common Error: Wrong Indentation
Incorrect:
def main():
print("Hello")
Correct:
def main():
    print("Hello")
Keep indentation consistent throughout the same code block.
Common Error: Wrong File Extension
Do not save your Mojo code as:
hello.txt
or:
hello.py
Use:
hello.mojo
Common Error: Running From the Wrong Directory
Suppose your file is located in:
Documents/mojo-project/hello.mojo
You should first move into that folder:
cd Documents/mojo-project
Then run:
mojo hello.mojo
Otherwise, Mojo may not find your file.
Common Error: mojo: command not found
If you see:
mojo: command not found
check:
mojo --version
Possible causes include:
- Mojo is not installed
- Your environment is not active
- Your terminal needs restarting
- The executable is not available in your PATH
If using Pixi, you may need:
pixi shell
before running the mojo command.
The official setup documentation uses pixi shell when running programs inside a Pixi-managed project environment.
Common Error: Type Mismatch
Mojo variables are statically typed.
For example, if you write:
var value = 10
Mojo determines that the variable has an integer-compatible type.
Trying to later assign a string to the same variable can cause a compile-time error.
Static type checking is one of the important differences between Mojo and ordinary dynamically typed Python code.
Run Mojo From VS Code
You can write Mojo in Visual Studio Code.
The official Mojo extension provides features such as:
- Syntax highlighting
- Code completion
- Debugging support
The extension is available through supported VS Code extension marketplaces.
A simple workflow is:
Open VS Code
    ↓
Open Mojo Project
    ↓
Create hello.mojo
    ↓
Write Code
    ↓
Open Terminal
    ↓
mojo hello.mojo
Run Mojo Using the REPL
Mojo also provides a REPL.
According to the Mojo CLI documentation, running:
mojo
without a filename or command can launch the REPL.
A REPL can be useful for quickly experimenting with language features without creating a complete project every time.
Format Your Mojo Code
Mojo’s CLI includes a formatting command.
For supported source files, the CLI provides:
mojo format
The current CLI also includes commands for running, building, debugging, formatting, documentation generation, and package-related operations.
Formatting code consistently makes it easier to read and maintain.
Running vs Building a Mojo Program
These two commands have different purposes.
Run Directly
mojo hello.mojo
Use this while developing and testing.
Build an Executable
mojo build hello.mojo
Use this when you want a compiled executable.
The workflow is:
Development
    ↓
mojo hello.mojo
    ↓
Testing
    ↓
mojo build hello.mojo
    ↓
Executable
Your First Mojo Learning Path
After completing your first program, learn Mojo in this order:
Hello World
    ↓
Variables
    ↓
Types
    ↓
Operators
    ↓
Conditions
    ↓
Loops
    ↓
Functions
    ↓
Structs
    ↓
Collections
    ↓
Modules
    ↓
Error Handling
    ↓
Ownership
    ↓
Memory Concepts
Do not immediately jump into advanced GPU programming.
Build a strong understanding of basic Mojo syntax first.
Beginner Practice Programs
After Hello World, try creating these small programs:
1. Addition Program
10 + 20 = 30
2. Even or Odd Checker
Determine whether a number is even or odd.
3. Grade Checker
Input a score and display a result.
4. Multiplication Table
Use a loop to generate a multiplication table.
5. Simple Calculator
Create functions for:
- Addition
- Subtraction
- Multiplication
6. Temperature Converter
Convert between temperature values.
7. Number Squaring Program
Calculate:
number × number
These projects help reinforce basic programming concepts.
Best Practices for Your First Mojo Program
Keep the Program Small
Do not start with AI models or GPU kernels immediately.
Type the Code Yourself
Do not only copy and paste examples.
Typing helps you understand syntax.
Run the Program Frequently
After every small change, test it.
Read Error Messages
Compiler errors can teach you a lot about Mojo’s type system and syntax.
Change the Examples
Instead of only running:
print("Hello, World!")
try:
print("Hello, Mojo!")
Then experiment with variables and functions.
Build Small Projects
Small programs are better for learning than one giant unfinished project.
First Mojo Program Checklist
Before moving forward, make sure you can:
- Create a
.mojofile - Define
main() - Use
print() - Run a file with
mojo - Create variables
- Use basic types
- Write a simple function
- Use conditions
- Understand basic indentation
- Build an executable
Once you can do these things comfortably, you are ready for more advanced Mojo topics.
Frequently Asked Questions
What is the simplest Mojo program?
A basic Mojo program is:
def main():
    print("Hello, World!")
What file extension does Mojo use?
Mojo source files use:
.mojo
How do I run a Mojo program?
Use:
mojo filename.mojo
For example:
mojo hello.mojo
The Mojo CLI officially supports running a file directly this way.
Does every Mojo executable need main()?
Current Mojo executable programs use a no-argument main() function as their entry point.
Is Mojo syntax similar to Python?
Yes. Basic syntax such as def, indentation, and control flow feels familiar to Python developers, although Mojo also introduces static typing and more systems-level programming concepts.
Is Mojo compiled?
Yes. Mojo is a compiled language. Direct source execution can use JIT compilation, and mojo build can create an executable.
How do I compile a Mojo program?
Use:
mojo build filename.mojo
For example:
mojo build hello.mojo
Can I use variables in my first Mojo program?
Yes.
Example:
def main():
    var number = 10
    print(number)
Does Mojo require explicit types everywhere?
No. Mojo supports type inference, so types can often be determined from assigned values. However, Mojo variables are statically typed.
What should I build after Hello World?
Good beginner projects include:
- Calculator
- Number checker
- Temperature converter
- Multiplication table
- Simple text-based program
Final Thoughts
Writing your first Mojo program is straightforward.
The basic process is:
Install Mojo
    ↓
Create hello.mojo
    ↓
Write main()
    ↓
Use print()
    ↓
Run the File
    ↓
Experiment With Variables
    ↓
Add Functions
    ↓
Build Small Projects
Your first program can be:
def main():
    print("Hello, World!")
Run it with:
mojo hello.mojo
Then gradually move from simple output to:
Variables → Types → Conditions → Loops → Functions → Structs → Modules → Advanced Mojo concepts
The most important goal of your first Mojo program is not to create something complex.
It is to understand how a Mojo source file is structured, how main() works, how to run code, and how the language handles basic values and functions.
Once you understand those fundamentals, you have a solid foundation for learning more advanced Mojo programming.