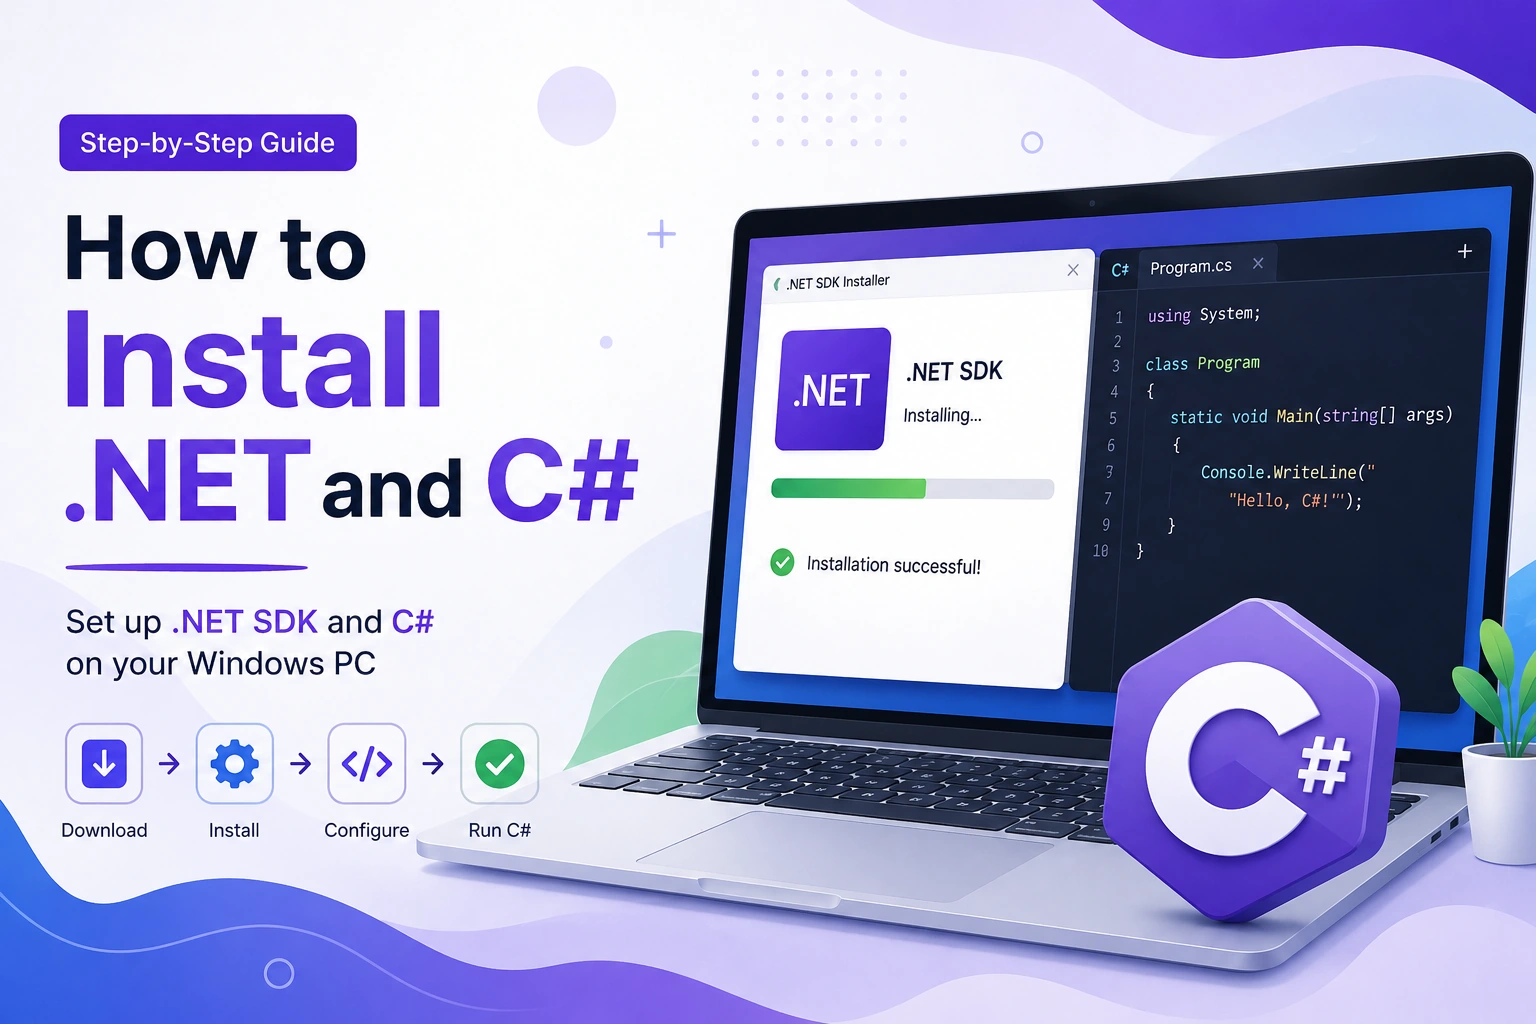
If you want to start learning C# programming, build web applications with ASP.NET Core, create desktop applications, develop APIs, or work with modern .NET applications, the first step is setting up the .NET development environment on your computer.
Many beginners get confused about whether they need to install C# separately, which .NET version they should choose, whether they need the SDK or Runtime, and which code editor they should use.
The good news is that setting up C# is relatively simple.
In this guide, we will explain how to install .NET and C# step by step on Windows, macOS, and Linux, how to verify the installation, create your first C# application, and troubleshoot common installation problems.
Important: You generally do not install C# as a separate programming language package. C# development is normally done using the .NET SDK, which provides the tools required to create, build, run, and manage C# applications.
What Is .NET?
.NET is a free, open-source, cross-platform development platform created and maintained by Microsoft.
It can be used to build:
- Web applications
- REST APIs
- Desktop applications
- Cloud applications
- Mobile applications
- Games
- Console applications
- IoT applications
- AI and machine-learning applications
- Enterprise software
Modern .NET works across Windows, macOS, and Linux.
Microsoft’s official documentation describes .NET as a developer platform for building different types of applications across multiple platforms.
Useful official link
Official .NET Documentation – Microsoft Learn
What Is C#?
C# (pronounced “C Sharp”) is a modern, object-oriented programming language developed by Microsoft.
C# is commonly used with the .NET platform.
For example, you can use C# to build:
using System;

Console.WriteLine("Hello, World!");
C# is used for many types of applications, including:
- ASP.NET Core web applications
- REST APIs
- Windows applications
- .NET MAUI applications
- Cloud applications
- Unity games
- Console applications
- Enterprise applications
Microsoft provides an extensive official C# documentation and learning path for beginners and experienced developers.
Useful official link
C# Documentation – Microsoft Learn
Do You Need to Install C# Separately?
This is one of the most common questions beginners ask.
No, you normally do not need to install C# separately.
When you install the .NET SDK, you get the tools required to create and run C# applications.
The .NET SDK includes the:
- .NET CLI
- C# compiler
- Build tools
- Project templates
- Runtime components
- Package management tools
- Development libraries
Therefore, if your goal is to learn C# programming, the recommended starting point is to install the .NET SDK.
.NET SDK vs .NET Runtime
Before installing .NET, it is important to understand the difference between the SDK and Runtime.
.NET SDK
The SDK is designed for developers.
You need the SDK if you want to:
- Create C# projects
- Compile applications
- Run development commands
- Build applications
- Add packages
- Create APIs
- Create ASP.NET Core applications
- Work with project templates
For C# development, install the .NET SDK.
.NET Runtime
The Runtime is primarily required to run applications that have already been built.
If you only need to run an existing .NET application and are not developing applications yourself, you may only need the appropriate runtime.
Microsoft explains that the SDK is used to create applications, while the runtime is used to run them.
Simple comparison
| Feature | .NET SDK | .NET Runtime |
|---|---|---|
| Create applications | Yes | No |
| Compile C# code | Yes | No |
| Run applications | Yes | Yes |
| Create projects | Yes | No |
| Development tools | Yes | Limited |
| Recommended for beginners learning C# | Yes | No |
Which .NET Version Should You Install?
.NET has multiple supported versions, so beginners often wonder which one to choose.
The safest approach is to use the current supported release recommended by Microsoft, unless your project specifically requires another version.
At the time of writing, Microsoft lists .NET 10 as the latest .NET release.
However, an existing project may require a particular version such as .NET 8 or .NET 9.
General rule
If you are starting a new project:
Use the current supported version recommended by Microsoft.
If you are working on an existing project:
Install the version required by that project.
You can also install multiple .NET versions side by side when required.
Official download page
How to Install .NET on Windows
Windows is one of the most common platforms for C# development.
There are several ways to install .NET on Windows, but the easiest method for beginners is the official installer.
Step 1: Open the .NET Download Page
Go to the official Microsoft .NET download page:
Choose the version you want to install.
For development, look for the SDK.
Step 2: Select the Correct Architecture
You may see options such as:
- x64
- Arm64
- x86
For most modern Windows computers, x64 is the correct choice.
If you are using an ARM-based Windows computer, choose Arm64.
Microsoft’s Windows installation documentation explains that the installer provides different downloads according to CPU architecture.
Step 3: Download the .NET SDK
Download the Windows installer for the SDK.
The downloaded file will generally be an executable installer.
Open the downloaded file.
Step 4: Install the SDK
Follow the installation instructions shown by the installer.
The installer will configure the required .NET components.
After installation is complete, open:
Command Prompt or PowerShell.
Step 5: Verify the Installation
Run:
dotnet --version
If the installation was successful, you should see a version number.
For example:
10.0.xxx
The exact version number can change as Microsoft releases updates.
You can also run:
dotnet --info
This provides more detailed information about your installed .NET environment.
Install .NET Using WinGet on Windows
Windows users can also install the SDK from the command line using WinGet.
Open PowerShell or Command Prompt and run:
winget install Microsoft.DotNet.SDK.10
Microsoft documents WinGet as one of the supported ways to install and manage .NET on Windows.
After installation, verify it:
dotnet --version
This method can be particularly useful for developers who prefer command-line tools.
How to Install .NET on macOS
macOS is also an excellent platform for C# and .NET development.
The installation process is straightforward.
Step 1: Open the Official .NET Download Page
Visit:
Select the .NET version you want.
Then select the SDK.
Step 2: Choose Apple Silicon or Intel
This is important for Mac users.
Modern Macs using Apple Silicon processors such as:
- M1
- M2
- M3
- M4
generally require the Arm64 version.
Older Intel-based Macs generally use x64.
Microsoft’s macOS documentation specifically explains the distinction between Arm64 and x64 downloads.
Step 3: Install the SDK
Open the downloaded installer and follow the installation instructions.
After installation, open Terminal.
Run:
dotnet --version
If everything is configured correctly, the installed version will be displayed.
You can also use:
dotnet --info
Installing .NET on macOS Using the Terminal
Advanced users can also use Microsoft’s installation script.
The official documentation provides the dotnet-install.sh script for installing the SDK or runtime.
For example:
./dotnet-install.sh
After installation, verify it with:
dotnet --info
For most beginners, however, the standard installer is easier.
How to Install .NET on Linux
.NET supports several Linux distributions.
Depending on your distribution, you can use:
- Package managers
- Microsoft package repositories
- Snap
- Installation scripts
- Manual installation
Microsoft provides separate installation instructions for supported Linux distributions.
Official Linux installation guide
Install .NET on Linux – Microsoft Learn
Install .NET on Ubuntu
If you’re using Ubuntu, the preferred approach is generally to use the appropriate package installation method documented by Microsoft for your Ubuntu version.
After installing the SDK, verify it:
dotnet --version
You can also check all installed SDKs:
dotnet --list-sdks
And installed runtimes:
dotnet --list-runtimes
These commands are useful when multiple .NET versions are installed.
How to Install a C# Development Environment
Installing the .NET SDK gives you the core development tools, but you also need a code editor or IDE.
There are two popular choices:
- Visual Studio
- Visual Studio Code
Option 1: Visual Studio
Visual Studio is a full-featured IDE from Microsoft.
It is particularly popular among Windows developers.
It provides:
- Code editor
- Debugger
- Project templates
- NuGet integration
- Testing tools
- Git integration
- Visual designers
- .NET development workloads
Visual Studio can be used to create:
- Console applications
- ASP.NET Core applications
- Windows applications
- Windows Forms applications
- .NET MAUI applications
- Other C# projects
Official Visual Studio website
Visual Studio – Official Microsoft Website
Official C# with Visual Studio guide
C# Development with Visual Studio – Microsoft Learn
Option 2: Visual Studio Code
Visual Studio Code is a lightweight and cross-platform code editor.
It works on:
- Windows
- macOS
- Linux
For C# development, Microsoft provides the C# Dev Kit extension.
Microsoft’s .NET documentation recommends using Visual Studio Code together with the C# Dev Kit for .NET development.
Official Visual Studio Code website
Visual Studio Code – Official Website
How to Set Up C# in Visual Studio Code
After installing Visual Studio Code, open the Extensions section.
Search for:
C# Dev Kit
Install the Microsoft extension.
Make sure the .NET SDK is already installed or allow the development environment to help install the required SDK.
Then restart Visual Studio Code if necessary.
Create Your First C# Application
Once .NET is installed, you can create your first C# application directly from the terminal.
Open Terminal, PowerShell, or Command Prompt.
Run:
dotnet new console -n MyFirstCSharpApp
This creates a new console application named:
MyFirstCSharpApp
Move into the project:
cd MyFirstCSharpApp
Then run:
dotnet run
You should see:
Hello, World!
Congratulations!
You have successfully created and executed your first C# application.
Understanding the C# Project Structure
After creating the project, you will see files similar to:
MyFirstCSharpApp/
│
├── MyFirstCSharpApp.csproj
└── Program.cs
Program.cs
This is where your initial C# code is located.
For example:
Console.WriteLine("Hello, World!");
.csproj
The .csproj file contains project configuration.
It can define information such as:
- Target framework
- Package references
- Project settings
- Build configuration
Change Your First C# Program
Open Program.cs.
Replace the existing code with:
string name = "Developer";

Console.WriteLine($"Hello, {name}!");
Run:
dotnet run
Output:
Hello, Developer!
You have now created a basic C# program using a variable and string interpolation.
Important .NET CLI Commands
The .NET CLI is one of the most useful tools for C# developers.
Here are some commands beginners should know.
Check installed version
dotnet --version
Display complete information
dotnet --info
List installed SDKs
dotnet --list-sdks
List installed runtimes
dotnet --list-runtimes
Create a new console application
dotnet new console
Create a named project
dotnet new console -n MyApp
Run a project
dotnet run
Build a project
dotnet build
Restore dependencies
dotnet restore
Create an ASP.NET Core web project
dotnet new webapp -n MyWebApp
The .NET CLI allows developers to create, build, run, test, and manage .NET applications directly from the terminal.
How to Check Whether C# Is Working
There is no need to search for a separate C# installation command.
Create a console project:
dotnet new console -n TestCSharp
Enter the directory:
cd TestCSharp
Run:
dotnet run
If the application prints:
Hello, World!
your C# and .NET development environment is working.
Common .NET Installation Problems
Even though installation is usually simple, beginners may encounter a few common issues.
1. dotnet: command not found
If you see something like:
dotnet: command not found
your terminal may not be able to find the .NET installation.
Possible causes include:
- .NET is not installed
- PATH is not configured
- Terminal was opened before installation
- Incorrect architecture was installed
- A custom installation directory is being used
First, close and reopen your terminal.
Then run:
dotnet --info
If it still does not work, check Microsoft’s installation and troubleshooting documentation.
2. Wrong SDK Version
You may have multiple .NET SDK versions installed.
Run:
dotnet --list-sdks
For example:
8.0.xxx
9.0.xxx
10.0.xxx
This is not necessarily a problem.
Different projects can target different .NET versions.
3. Project Requires a Different .NET Version
Suppose you clone a project and receive an error indicating that a particular SDK version is missing.
Check the project directory for a file named:
global.json
This file can specify which .NET SDK version the project expects.
You may need to install that specific SDK version.
4. SDK vs Runtime Confusion
If you only install the Runtime, you may not be able to create or build C# projects.
For example, commands such as:
dotnet new
and:
dotnet build
require the development tooling provided by the SDK.
For learning C#
Install:
.NET SDK
not just the Runtime.
5. Architecture Mismatch on Mac
Mac users should pay particular attention to processor architecture.
If you have an Apple Silicon Mac, use:
Arm64
If you have an Intel Mac, use:
x64
Installing the wrong package can cause unnecessary compatibility issues.
.NET and C# Installation Checklist
Before starting your first serious C# project, make sure you have completed these steps:
- Install the latest supported .NET SDK or the version required by your project.
- Verify the installation with
dotnet --version. - Install Visual Studio or Visual Studio Code.
- Install the C# development tools if using VS Code.
- Create a test console project.
- Run
dotnet run. - Confirm that the application executes successfully.
Recommended Setup for Beginners
If you are completely new to C#, a simple setup is enough.
Windows
.NET SDK + Visual Studio
This is a good choice if you want a complete IDE and primarily work on Windows.
Windows, macOS, or Linux
.NET SDK + Visual Studio Code + C# Dev Kit
This is a lightweight and cross-platform setup.
macOS
For Mac developers, install the correct .NET SDK for your processor architecture and use Visual Studio Code with the C# Dev Kit.
What Can You Build After Installing .NET and C#?
Once your environment is ready, you can start building real applications.
Console Applications
Great for learning programming fundamentals.
dotnet new console
ASP.NET Core Web Applications
You can build modern websites and web applications using ASP.NET Core.
REST APIs
C# and ASP.NET Core are widely used for backend API development.
Desktop Applications
You can create Windows desktop applications using technologies such as Windows Forms and WPF.
Cross-Platform Applications
.NET MAUI can be used to build applications for multiple platforms using C#.
Games
C# is also widely associated with game development through Unity.
Cloud Applications
.NET is commonly used to build cloud services, APIs, microservices, and enterprise applications.
Microsoft’s official .NET learning resources cover web, mobile, desktop, cloud, games, IoT, and other development scenarios.
Where Should You Learn C# After Installation?
Once .NET is installed, you can start learning C# fundamentals.
A good learning order is:
- Variables and data types
- Operators
- Conditional statements
- Loops
- Methods
- Arrays
- Collections
- Classes and objects
- Object-oriented programming
- Interfaces
- Exception handling
- LINQ
- Async and await
- File handling
- Generics
- APIs
- ASP.NET Core
Microsoft provides interactive beginner tutorials covering topics such as Hello World, numbers, tuples, branches, loops, collections, and pattern matching.
Recommended learning resource
C# Interactive Tutorials – Microsoft Learn
You can also start with Microsoft’s beginner module:
Write Your First C# Code – Microsoft Learn
Useful Official Links for This Blog
If you want readers to continue learning from authoritative sources, these are the best links to include in your article:
1. Download .NET
Use this link when telling readers where to download the .NET SDK.
2. Install .NET
Install .NET on Windows, Linux, and macOS – Microsoft Learn
Use this as the main installation reference.
3. C# Documentation
C# Documentation – Microsoft Learn
Use this when directing readers toward C# language documentation.
4. C# Tutorials
C# Interactive Tutorials – Microsoft Learn
Use this for beginners who want practical C# exercises.
5. Visual Studio
Visual Studio – Official Microsoft Website
Use this when discussing the Visual Studio IDE.
6. Visual Studio Code
Visual Studio Code – Official Website
Use this when recommending a lightweight cross-platform editor.
Final Thoughts
Installing .NET and C# is much easier once you understand the difference between the .NET SDK, .NET Runtime, and C# language.
If your goal is to develop C# applications, start with the .NET SDK. After installation, verify it using:
dotnet --version
Then create a simple project:
dotnet new console -n MyFirstApp
cd MyFirstApp
dotnet run
If you see:
Hello, World!
your environment is ready.
From there, you can continue learning C# fundamentals and eventually move into ASP.NET Core, APIs, desktop development, cloud applications, mobile development, and other areas of the .NET ecosystem.
The most important thing is not to overcomplicate the initial setup. Install the SDK, verify it, create your first project, and start writing C# code.