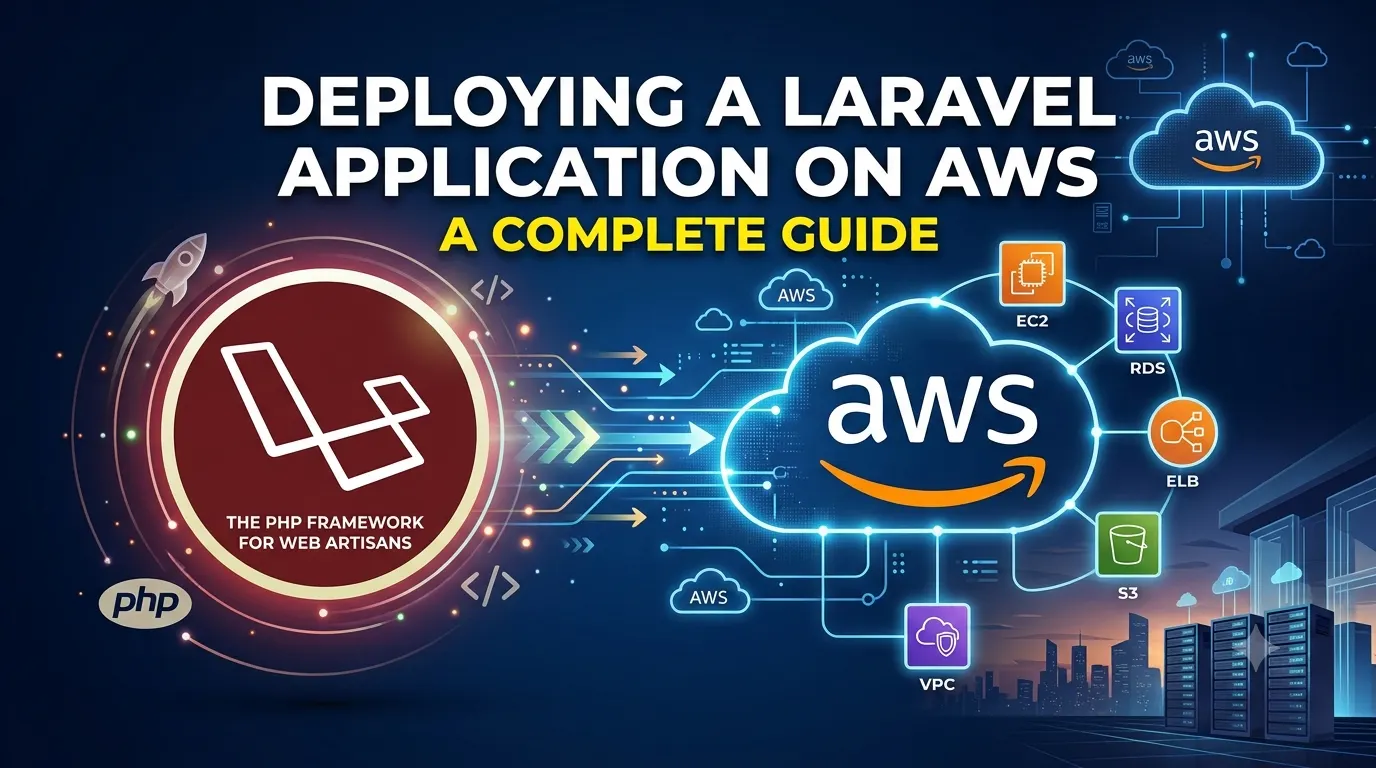
Laravel is one of the most popular PHP frameworks for developing modern web applications. It provides developers with a clean architecture and powerful features for routing, authentication, database management, APIs, queues, caching, and more.
When a Laravel application is ready for production, it needs a reliable hosting environment that can handle users, database requests, security requirements, and increasing traffic. Amazon Web Services (AWS) provides flexible cloud infrastructure that makes it possible to deploy Laravel applications efficiently.
In this guide, we will explore how to deploy a Laravel application on AWS using Amazon EC2, Nginx, PHP-FPM, MySQL, Composer, and SSL.
What Is Laravel?
Laravel is an open-source PHP web application framework that follows the Model-View-Controller (MVC) architecture. It is designed to simplify common web development tasks while providing developers with a structured and maintainable codebase.
Laravel includes several features that make application development easier, including:
- MVC architecture
- Routing
- Authentication and authorization
- Eloquent ORM
- Database migrations
- Middleware
- Blade templates
- REST API development
- Queues and jobs
- Task scheduling
- Caching
- File storage
- Email support
Because of its extensive ecosystem and developer-friendly syntax, Laravel is widely used for building websites, APIs, SaaS platforms, eCommerce applications, dashboards, and enterprise applications.
Why Deploy Laravel on AWS?
AWS provides a wide range of cloud services that can be used to host and scale Laravel applications.
Some of the major benefits include:
Scalability
AWS allows you to increase computing resources as your application’s traffic grows. You can start with a small EC2 instance and upgrade or expand the infrastructure when required.
Flexible Infrastructure
You can choose the server configuration based on your application’s CPU, memory, storage, and networking requirements.
Security
AWS provides services such as IAM, security groups, encryption, monitoring, and access management to help protect your infrastructure.
Managed Database Services
Instead of running a database directly on the application server, you can use Amazon RDS to manage MySQL or PostgreSQL databases.
Reliability
AWS provides multiple services that can be combined to build highly available and fault-tolerant application architectures.
Laravel Deployment Architecture on AWS
A simple Laravel deployment on AWS can use the following architecture:
User → Nginx → PHP-FPM → Laravel → MySQL
Each component performs a different role.
Nginx receives HTTP and HTTPS requests and serves static files.
PHP-FPM processes PHP requests and executes the Laravel application.
Laravel handles application logic, routing, authentication, APIs, database operations, and other application functionality.
MySQL stores application data such as users, products, orders, transactions, and other records.
For larger applications, additional AWS services such as Amazon RDS, Amazon S3, CloudFront, Elastic Load Balancing, and Auto Scaling can be introduced.
Prerequisites
Before deploying a Laravel application on AWS, you should have:
- A Laravel application
- An AWS account
- A Git repository containing the project
- Basic Linux command-line knowledge
- A domain name, if required
- A production database
- A compatible PHP version
- Composer
- Required Laravel dependencies
You should also make sure that sensitive information such as database passwords and application credentials is not committed to your Git repository.
Step 1: Create an AWS EC2 Instance
The first step is to create a virtual server using Amazon EC2.
Log in to the AWS Management Console and create a new EC2 instance.
You can choose a Linux-based operating system such as Ubuntu Server and select an instance type according to your application’s requirements.
For a small Laravel application, a basic instance may be sufficient during the initial stage. Applications with higher traffic will require more CPU, memory, and potentially multiple servers.
During the EC2 configuration process, create a security group that allows the required traffic.
For a typical Laravel application, you may need:
- SSH — Port 22
- HTTP — Port 80
- HTTPS — Port 443
Avoid opening unnecessary ports because publicly accessible services can increase security risks.
Once the EC2 instance has been created, connect to it using SSH.
Step 2: Update the Server
After connecting to the EC2 instance, update the operating system packages.
Keeping the server updated helps improve security and compatibility.
Next, install the software required to run Laravel.
A typical Laravel production server requires:
- PHP
- PHP-FPM
- Composer
- Git
- Nginx
- Required PHP extensions
- Database drivers
The exact PHP version and extensions depend on the Laravel version and packages used by your application.
Step 3: Install PHP and PHP-FPM
Laravel requires a compatible PHP version.
Install the PHP version supported by your Laravel application along with the necessary PHP extensions.
PHP-FPM, or PHP FastCGI Process Manager, allows Nginx to communicate with PHP and execute Laravel requests.
The basic request flow is:
Browser → Nginx → PHP-FPM → Laravel
Using PHP-FPM provides a production-ready way to process PHP requests behind Nginx.
Step 4: Install Composer
Composer is the dependency manager used by Laravel applications.
It manages the PHP packages required by your application.
After installing Composer, verify that it is working correctly.
Once Composer is ready, you can install the dependencies required by your Laravel project.
Step 5: Clone the Laravel Application
After configuring the server, clone your Laravel project from your Git repository.
Move into the project directory and install the production dependencies using Composer.
For production deployments, development dependencies generally do not need to be installed.
Your server should now contain the Laravel application and its required packages.
Step 6: Configure the Laravel Environment
Laravel uses an environment file to store application-specific configuration.
The .env file typically contains settings such as:
- Application environment
- Application URL
- Application key
- Database configuration
- Cache configuration
- Queue configuration
- Mail configuration
- Storage configuration
The application should be configured for production rather than development.
Make sure debugging is disabled in production.
The application key should also be securely configured.
Never expose your .env file publicly or commit it to a public Git repository because it can contain sensitive credentials.
Step 7: Configure the Database
Laravel applications commonly use MySQL or PostgreSQL for persistent data storage.
AWS provides multiple ways to host a database.
MySQL on EC2
You can install MySQL directly on your EC2 instance.
This approach can be suitable for development or smaller applications, but you are responsible for database maintenance, security, backups, updates, and recovery.
Amazon RDS
Amazon RDS provides a managed database service that can be used with Laravel.
Using RDS can reduce the operational work involved in managing the database server.
For production applications, keeping the application server and database server separate is often a better architecture.
Step 8: Run Laravel Database Migrations
Once the database configuration has been completed, apply your Laravel database migrations.
Laravel migrations create the database tables and apply changes to the database schema.
If your project uses seeders, you can also populate the database with required initial data.
After running migrations, verify that Laravel can successfully connect to the production database.
Step 9: Configure Laravel Storage
Laravel provides a storage system for managing uploaded files and application-generated content.
If your application allows users to upload images, documents, or other files, configure Laravel’s storage correctly.
For smaller applications, files can be stored on the EC2 instance.
For applications that need scalable and durable storage, Amazon S3 is a better option.
Using Amazon S3 separates user-uploaded files from the application server and makes it easier to scale the application across multiple servers.
Step 10: Configure Laravel Cache
Caching can significantly improve Laravel application performance.
Laravel supports several caching systems, including file-based caching and external cache stores.
For production applications, services such as Redis can be used for caching, sessions, and queues.
Caching frequently accessed data reduces unnecessary database queries and can improve application response times.
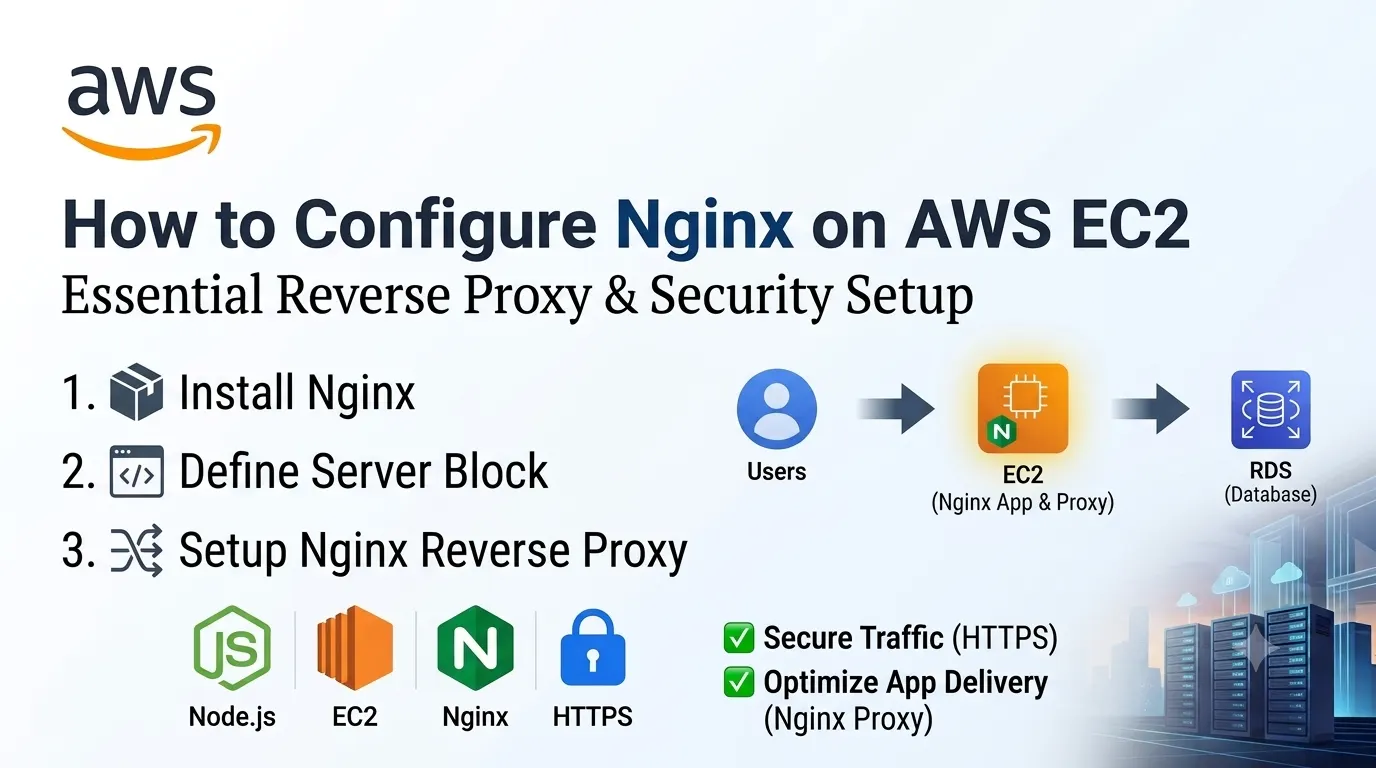
Step 11: Configure Nginx
Nginx should be configured as the web server and reverse proxy for your Laravel application.
The Nginx document root should point to Laravel’s public directory rather than the root of the project.
This is important because Laravel’s public directory is intended to be the publicly accessible part of the application.
The request flow becomes:
User → Nginx → Laravel public directory → PHP-FPM → Laravel application
Nginx can also serve static files such as CSS, JavaScript, images, and fonts directly.
Step 12: Configure Laravel Permissions
Laravel requires appropriate permissions for certain directories.
In particular, Laravel needs write access to directories used for:
- Application cache
- Logs
- Compiled views
- Uploaded files
Incorrect permissions can result in errors when Laravel attempts to write files.
However, avoid giving excessive permissions to the entire application directory. Permissions should be configured according to the application’s actual requirements.
Step 13: Optimize Laravel for Production
Before launching the application, Laravel provides several optimization commands that can improve production performance.
Configuration, routes, events, and views can be cached where appropriate.
Production optimization can help reduce application startup overhead and improve response times.
You should also make sure that unnecessary development packages and debugging features are disabled.
Step 14: Configure Laravel Queues
If your application performs time-consuming tasks such as:
- Sending emails
- Processing images
- Generating reports
- Sending notifications
- Processing background jobs
you can use Laravel queues.
Instead of making users wait for these operations to finish, Laravel can place jobs into a queue and process them in the background.
For production applications, queue workers should be managed using a process manager such as Supervisor or an appropriate cloud-based service.
Step 15: Configure Laravel Scheduler
Laravel provides a task scheduling system for recurring jobs.
Applications may need scheduled tasks for:
- Database cleanup
- Sending notifications
- Generating reports
- Processing subscriptions
- Removing expired data
- Running automated jobs
A server-side scheduler can be configured to trigger Laravel’s scheduler at the required interval.
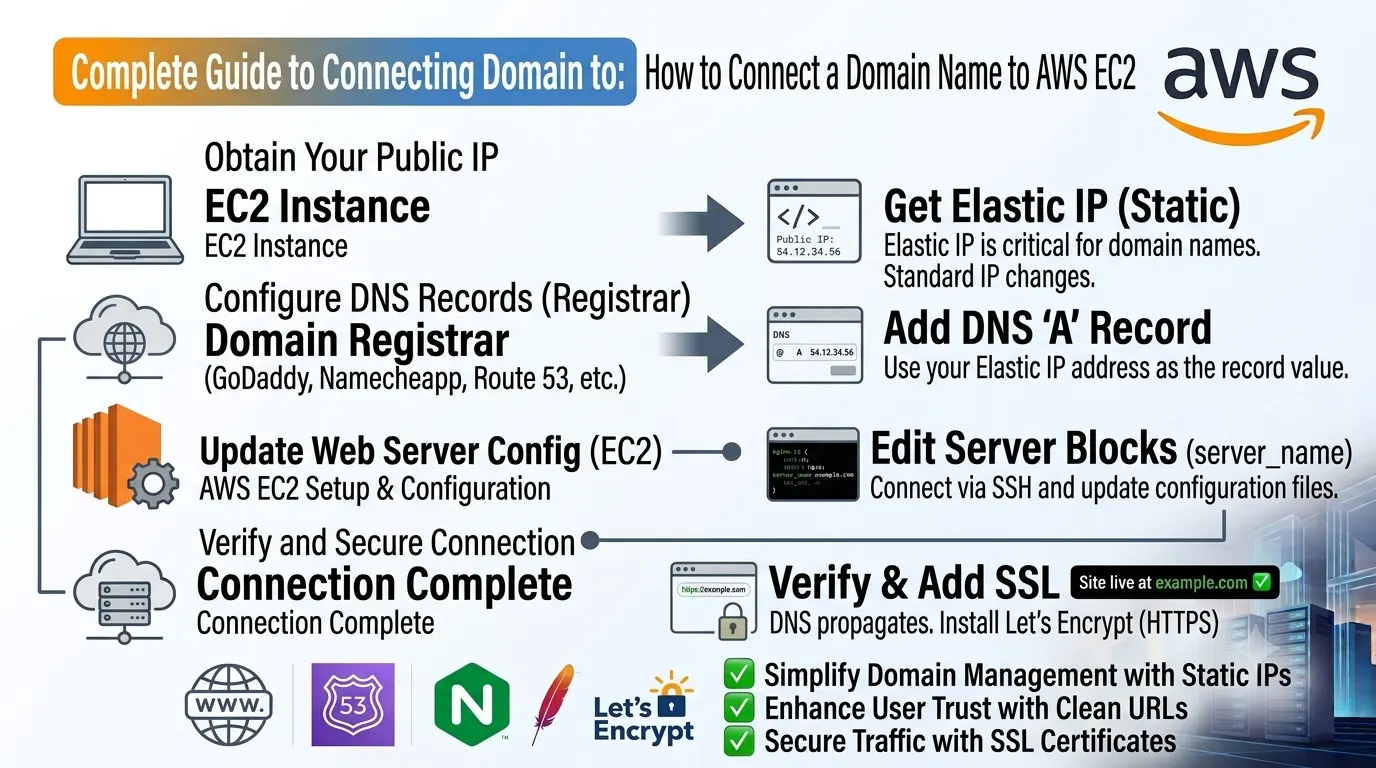
Step 16: Connect Your Domain
After the Laravel application is running on EC2, connect your domain name to the server.
Your domain’s DNS records should point to the appropriate AWS infrastructure.
If you are using a single EC2 server, an Elastic IP can help provide a stable public IP address.
After DNS configuration and propagation, your Laravel application should be accessible through your domain.
Step 17: Enable HTTPS
HTTPS is essential for production web applications.
It encrypts communication between users and your server and protects sensitive information such as login credentials and application data.
AWS Certificate Manager can be used to manage SSL/TLS certificates depending on the deployment architecture.
For a server-level setup, an SSL certificate can also be configured with Nginx.
HTTP traffic should generally be redirected to HTTPS once SSL has been configured.
Step 18: Configure Laravel Security
Security should be considered throughout the deployment process.
Important Laravel production security practices include:
- Disable debugging
- Use a strong application key
- Protect environment variables
- Use HTTPS
- Keep Laravel and PHP dependencies updated
- Configure secure cookies
- Validate user input
- Use proper authentication and authorization
- Restrict database access
- Configure AWS security groups correctly
- Regularly review server logs
You should also avoid exposing unnecessary services or ports on your EC2 instance.
Step 19: Test the Application
Before making your application available to users, test the production environment thoroughly.
Check the following:
- Homepage
- User registration
- Login and logout
- Forms
- APIs
- Database operations
- File uploads
- Email functionality
- Queue processing
- Scheduled tasks
- Static files
- HTTPS
- Domain configuration
- Error pages
Testing the production environment helps identify configuration problems before they affect users.
Common Laravel Deployment Problems
502 Bad Gateway
A 502 Bad Gateway error can occur when Nginx cannot communicate correctly with PHP-FPM.
Check that PHP-FPM is running and that the Nginx configuration points to the correct PHP-FPM socket or service.
500 Internal Server Error
Laravel application errors can result in a 500 response.
Check the Laravel application logs and server logs to identify the underlying issue.
Permission Denied
Incorrect file permissions can prevent Laravel from writing logs, cache files, or compiled views.
Check the permissions of Laravel’s required writable directories.
Database Connection Error
Database errors can be caused by incorrect credentials, database host configuration, network rules, security groups, or database availability.
CSS or JavaScript Not Loading
If frontend assets are missing, check the Laravel public directory, asset build process, Nginx configuration, and file permissions.
Environment Configuration Problems
Incorrect .env values can cause issues with databases, mail services, storage, queues, and application URLs.
Always verify production environment variables carefully.
How to Scale Laravel on AWS
A single EC2 server can be enough for a small Laravel application, but growing applications may require a more advanced architecture.
AWS provides several services that can help scale Laravel applications.
Amazon RDS
Use RDS for managed MySQL or PostgreSQL databases.
Amazon S3
Use S3 for scalable storage of user uploads and application files.
Amazon CloudFront
CloudFront can distribute static content through a global content delivery network.
Elastic Load Balancing
A load balancer can distribute incoming requests across multiple application servers.
Auto Scaling
Auto Scaling can automatically add or remove EC2 instances based on application demand.
Amazon ElastiCache
Redis through Amazon ElastiCache can be used for caching and other high-speed data operations.
Amazon ECS
Containerized Laravel applications can be deployed using Amazon ECS for more flexible infrastructure management.
Best Practices for Laravel Deployment on AWS
Following deployment best practices can improve your application’s security, reliability, and performance.
Keep Secrets Secure
Never store database passwords, API keys, or other sensitive credentials directly in your source code.
Use HTTPS
Always protect production applications with HTTPS.
Use a Managed Database
For many production applications, Amazon RDS can be preferable to running a database directly on the application server.
Use S3 for Important Files
Storing user uploads in Amazon S3 can make your application easier to scale.
Monitor Your Application
Use monitoring and logging tools to track server health, application errors, database performance, and resource usage.
Configure Backups
Regular backups are essential for protecting important application and database data.
Keep Software Updated
Regularly update Laravel, PHP, Composer packages, operating system packages, and other dependencies.
Minimize Server Access
Use AWS security groups and IAM permissions to restrict access to your infrastructure.
Conclusion
Deploying a Laravel application on AWS requires more than simply uploading project files to a server. A production-ready deployment involves configuring PHP, PHP-FPM, Nginx, Composer, databases, environment variables, storage, security, and monitoring.
A simple Laravel deployment can use:
EC2 + Nginx + PHP-FPM + Laravel + MySQL
As your application grows, you can introduce additional AWS services such as Amazon RDS, S3, CloudFront, ElastiCache, Elastic Load Balancing, Auto Scaling, and ECS.
With the right architecture, security practices, and monitoring strategy, AWS provides a flexible environment for deploying Laravel applications and scaling them as your business grows.