Modern applications often need to perform repetitive tasks automatically. Sending emails, processing files, generating reports, calling APIs, creating database backups, and sending notifications are just a few examples.
Instead of performing these tasks manually, developers can build automation systems that execute them based on schedules, events, or specific conditions.
Node.js is a popular choice for building task automation tools because it provides a lightweight runtime, a large ecosystem of packages, and excellent support for asynchronous operations.
In this guide, we’ll explore how to build a simple task automation tool with Node.js, how the architecture works, how to schedule tasks, handle failures, and extend the system for real-world applications.
What Is a Task Automation Tool?
A task automation tool is a system that executes predefined tasks automatically.
For example:
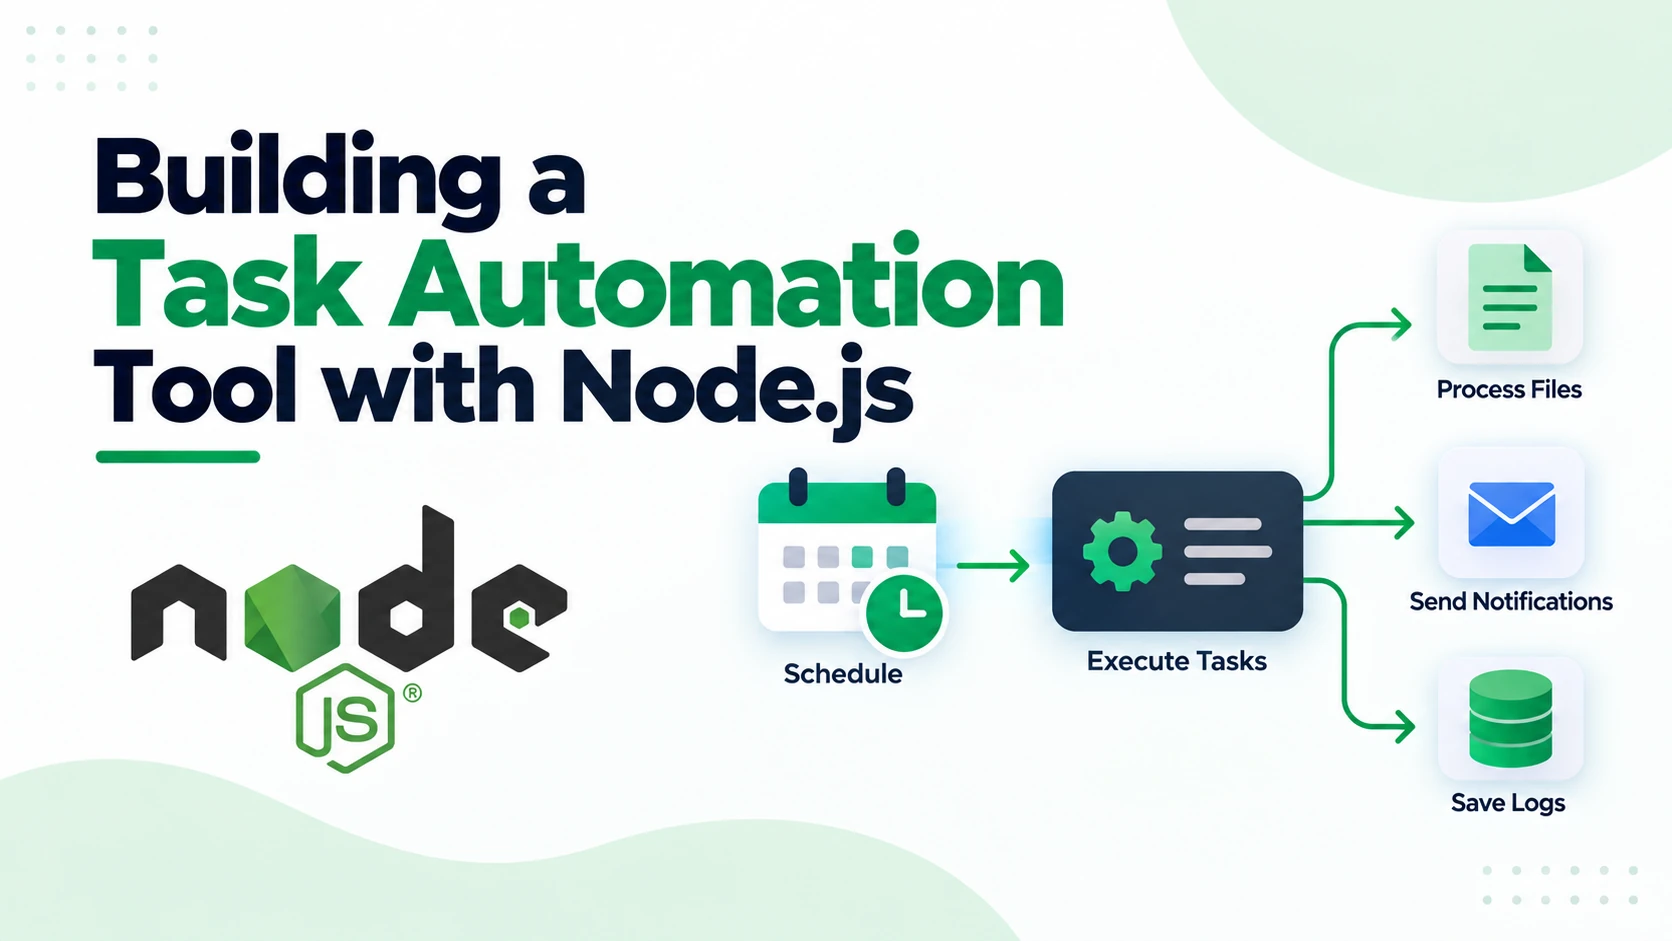
Schedule
   ↓
Task Runner
   ↓
Execute Task
   ↓
Check Result
   ↓
Log Result
   ↓
Notify if Failed
A task could be anything from sending an email to processing a file or making an API request.
Examples include:
- Sending scheduled emails
- Database backups
- Generating reports
- File processing
- API synchronization
- Data cleanup
- Notifications
- Image processing
- Scheduled database queries
- Automated deployments
Why Use Node.js for Task Automation?
Node.js works well for automation tools because of its asynchronous programming model and extensive package ecosystem.
1. Easy to Build
Node.js provides a straightforward environment for creating command-line tools, background workers, APIs, and scheduled jobs.
2. Excellent Async Support
Automation tasks frequently involve operations such as:
- Reading files
- Calling APIs
- Accessing databases
- Uploading files
- Sending emails
Node.js handles these operations efficiently using asynchronous APIs.
3. Large Ecosystem
The Node.js ecosystem includes packages for scheduling, queues, databases, cloud services, email, logging, and more.
4. Easy Integration
A Node.js automation tool can connect to external services through APIs and SDKs.
For example:
Node.js
   ├── PostgreSQL
   ├── MongoDB
   ├── REST APIs
   ├── Email Services
   ├── Cloud Storage
   └── Notification Services
Architecture of a Task Automation Tool
A basic automation system can be divided into several components.
                 ┌──────────────┐
                 │ Task Manager │
                 └──────┬───────┘
                        ↓
                 ┌──────────────┐
                 │ Task Scheduler│
                 └──────┬───────┘
                        ↓
                 ┌──────────────┐
                 │ Task Worker  │
                 └──────┬───────┘
                        ↓
                 ┌──────────────┐
                 │ Task Handler │
                 └──────┬───────┘
                        ↓
                 ┌──────────────┐
                 │ Logs/Status  │
                 └──────────────┘
The main components are:
Task Manager
Stores task definitions and configuration.
Scheduler
Determines when a task should run.
Worker
Executes the task.
Task Handler
Contains the actual business logic.
Logger
Records successful and failed executions.
Setting Up the Node.js Project
Start by creating a new project:
mkdir task-automation
cd task-automation
npm init -y
Create a basic project structure:
task-automation/
├── src/
│   ├── tasks/
│   ├── scheduler/
│   ├── workers/
│   └── index.js
├── logs/
├── package.json
└── .env
This structure keeps scheduling logic separate from task implementation.
Installing a Task Scheduler
One simple approach is to use a cron-based scheduler.
Install node-cron:
npm install node-cron
You can then create a scheduled task.
For example:
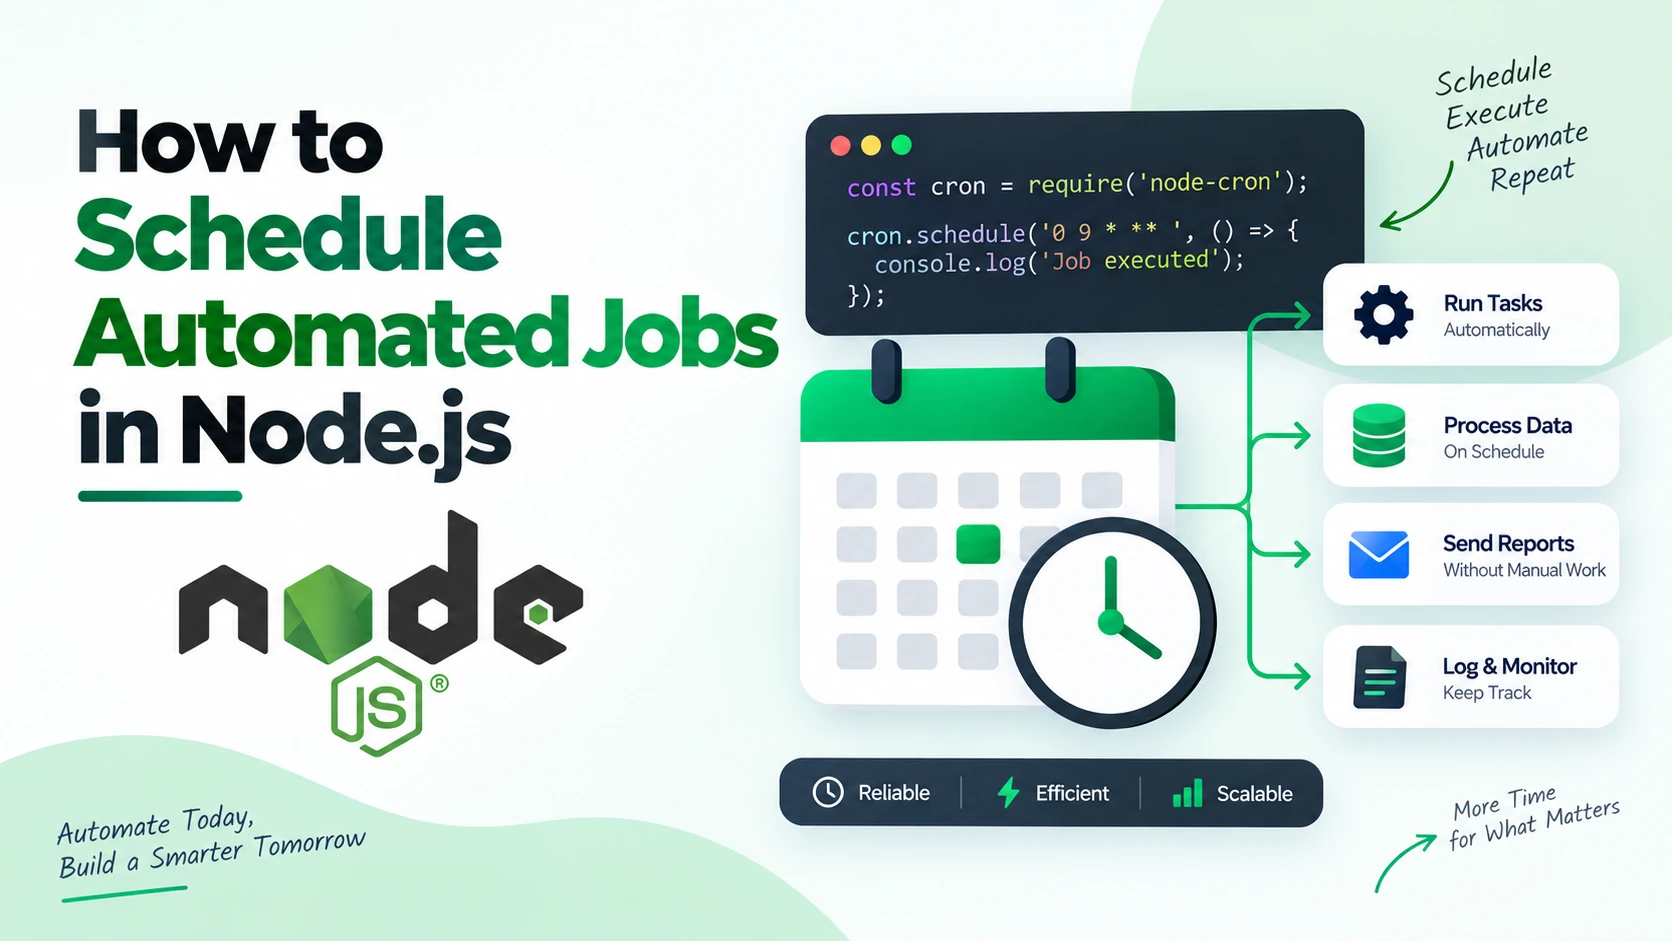
const cron = require("node-cron");

cron.schedule("0 9 * * *", () => {
  console.log("Running daily task...");
});
This task runs every day at 9:00 AM according to the server’s timezone configuration.
The cron expression:
0 9 * * *
means:
Minute: 0
Hour: 9
Every day
Every month
Every weekday
Creating Your First Automated Task
Let’s create a simple task that generates a report.
Create:
src/tasks/generateReport.js
Then:
async function generateReport() {
  console.log("Generating report...");

  // Perform report generation here

  console.log("Report generated successfully.");
}

module.exports = generateReport;
Now connect it to the scheduler:
const cron = require("node-cron");
const generateReport = require("./tasks/generateReport");

cron.schedule("0 9 * * *", async () => {
  await generateReport();
});
Your Node.js application can now automatically execute the report task every day.
Adding Multiple Tasks
A real automation tool will usually need more than one task.
For example:
Daily Report       → 9:00 AM
Database Backup    → 2:00 AM
Data Cleanup       → 3:00 AM
Email Summary      → 6:00 PM
Each task can have its own schedule.
cron.schedule("0 2 * * *", backupDatabase);

cron.schedule("0 3 * * *", cleanupData);

cron.schedule("0 9 * * *", generateReport);

cron.schedule("0 18 * * *", sendSummary);
As the number of tasks grows, keeping each task in a separate module makes the project easier to maintain.
Handling Task Failures
A production automation system should expect tasks to fail.
For example:
- API may be unavailable.
- Database may be offline.
- Network request may timeout.
- File may not exist.
- Authentication may fail.
- External service may return an error.
Use try...catch to handle failures.
async function runTask() {
  try {
    await performTask();

    console.log("Task completed successfully.");
  } catch (error) {
    console.error("Task failed:", error.message);
  }
}
This prevents a single task failure from crashing the entire automation process.
Adding Task Logging
Logging is important because you need to know what happened after an automated task ran.
A simple log entry could contain:
{
  task: "generateReport",
  status: "success",
  startedAt: "2026-09-11T09:00:00",
  duration: 3200
}
For production applications, logs can be stored in:
- Files
- Databases
- Cloud logging systems
- Monitoring platforms
Useful information to record includes:
- Task name
- Start time
- End time
- Status
- Error message
- Execution duration
Adding Retry Logic
Temporary failures shouldn’t always cause a task to fail permanently.
For example, an API request may fail because of a temporary network problem.
A retry mechanism can attempt the task again.
async function runWithRetry(task, retries = 3) {
  for (let attempt = 1; attempt <= retries; attempt++) {
    try {
      return await task();
    } catch (error) {
      console.log(`Attempt ${attempt} failed`);

      if (attempt === retries) {
        throw error;
      }
    }
  }
}
A production implementation should also consider delays between attempts, commonly called backoff.
Preventing Duplicate Task Execution
Another important problem is preventing the same task from running multiple times simultaneously.
For example:
09:00 → Task starts
09:01 → Previous task still running
09:01 → Scheduler triggers again
This can cause duplicate processing.
A simple lock can help:
let isRunning = false;

async function runTask() {
  if (isRunning) {
    console.log("Task already running.");
    return;
  }

  isRunning = true;

  try {
    await performTask();
  } finally {
    isRunning = false;
  }
}
For multiple application instances, an in-memory lock isn’t sufficient. A shared mechanism such as Redis or a database-backed lock may be required.
Using Environment Variables
Automation tools often require credentials and configuration.
Examples include:
- Database URLs
- API keys
- Email credentials
- Cloud credentials
- Webhook URLs
Don’t hardcode these values in source code.
Use environment variables instead.
Install dotenv:
npm install dotenv
Then:
require("dotenv").config();

const databaseUrl = process.env.DATABASE_URL;
Your .env file might contain:
DATABASE_URL=your-database-url
API_KEY=your-api-key
The .env file should normally be excluded from Git.
Building an API for Task Management
A more advanced automation tool can provide an API for creating and managing tasks.
For example:
POST   /tasks
GET    /tasks
GET    /tasks/:id
PUT    /tasks/:id
DELETE /tasks/:id
POST   /tasks/:id/run
This allows users or other applications to manage tasks programmatically.
A simple Express server can be used:
npm install express
Example:
const express = require("express");

const app = express();

app.use(express.json());

app.get("/tasks", (req, res) => {
  res.json({
    tasks: []
  });
});

app.listen(3000, () => {
  console.log("Automation server running on port 3000");
});
The API can later be connected to a database.
Storing Tasks in a Database
Instead of hardcoding schedules, tasks can be stored in a database.
For example:
tasks
--------------------------------
id
name
schedule
status
lastRun
nextRun
enabled
createdAt
updatedAt
A task record could look like:
{
  "name": "Daily Report",
  "schedule": "0 9 * * *",
  "enabled": true
}
The automation service can read enabled tasks from the database and schedule them dynamically.
This makes the tool much more flexible.
Adding a Job Queue
Cron-based scheduling works well for simple applications, but larger systems may need a job queue.
A queue separates task scheduling from task execution.
For example:
Scheduler
    ↓
Job Queue
    ↓
Worker 1
Worker 2
Worker 3
Popular technologies in the Node.js ecosystem include Redis-based queue systems.
A queue can provide features such as:
- Retry handling
- Delayed jobs
- Job priorities
- Concurrency control
- Failed-job tracking
- Multiple workers
This architecture is useful when tasks can take a long time or when many jobs need to run simultaneously.
Example End-to-End Workflow
A production-ready task automation system could look like this:
User Creates Task
       ↓
Task Stored in Database
       ↓
Scheduler Checks Task
       ↓
Task Becomes Due
       ↓
Job Added to Queue
       ↓
Worker Picks Up Job
       ↓
Task Executes
       ↓
Result Stored
       ↓
Success / Failure Notification
This architecture separates task management, scheduling, execution, and monitoring.
Adding Notifications
A useful automation tool should notify users when important tasks succeed or fail.
For example:
Database Backup
       ↓
Success
       ↓
Notification
If a task fails:
Database Backup
       ↓
Failure
       ↓
Retry
       ↓
Still Failed
       ↓
Alert Administrator
Notifications can be sent through:
- Slack
- Webhooks
- SMS
- Internal dashboards
Only important events should generate alerts to avoid notification overload.
Securing the Automation Tool
Automation tools can have access to databases, cloud services, files, and APIs, so security is important.
Use Authentication
If the tool exposes an API or dashboard, require authentication.
Protect Secrets
Never commit API keys, passwords, or tokens to Git.
Limit Permissions
Give each task only the permissions it actually needs.
Validate User Input
If users can create tasks through an API, validate schedules, task names, parameters, and other input.
Audit Task Execution
Keep records of who created, modified, enabled, or manually triggered tasks.
Monitoring the Automation System
Once automation becomes part of a production workflow, monitoring becomes essential.
Track metrics such as:
- Number of successful jobs
- Number of failed jobs
- Task duration
- Queue length
- Retry count
- Last successful execution
- Worker health
A dashboard could show:
Daily Report       ✓ Success
Database Backup    ✓ Success
Data Cleanup       ✓ Success
Email Sync         ✗ Failed
This gives administrators a quick overview of the automation system.
Common Mistakes to Avoid
Running Important Tasks Without Logging
Without logs, troubleshooting failed automation becomes difficult.
No Retry Strategy
Temporary network or API failures can cause unnecessary task failures.
Hardcoding Credentials
Secrets should always be managed securely.
Running Long Tasks Directly in the Scheduler
Long-running jobs are often better handled by workers and queues.
No Failure Notifications
A failed backup or synchronization task can go unnoticed without alerts.
No Duplicate Protection
The same task running twice can result in duplicate emails, records, payments, or other unwanted operations.
Manual vs Automated Task Execution
| Feature | Manual Tasks | Automated Tasks |
|---|---|---|
| Execution | Human initiated | Automatic |
| Scheduling | Manual | Predefined |
| Repetition | Time-consuming | Automatic |
| Error handling | Manual | Programmatic |
| Logging | Often limited | Automated |
| Retry | Manual | Automated |
| Notifications | Manual | Automated |
| Scalability | Limited | High |
| Monitoring | Manual | Automated |
Where Can a Node.js Automation Tool Be Used?
A Node.js task automation system can be used for many different applications.
Examples include:
- Database backup systems
- Email automation
- CRM synchronization
- File processing
- Report generation
- Data migration
- API synchronization
- Notification systems
- Scheduled maintenance
- Cloud operations
- ETL workflows
The same core architecture can be adapted to different business requirements.
Conclusion
Building a task automation tool with Node.js can help eliminate repetitive manual work and create reliable, repeatable workflows.
A basic system can start with a scheduler such as node-cron, while more advanced applications can introduce databases, job queues, workers, retries, logging, notifications, APIs, and monitoring.
The most important part is to design automation with reliability in mind. Tasks should be observable, failures should be handled, sensitive credentials should be protected, and important operations should have safeguards against duplicate execution.
A practical approach is to start small:
Define the task → Schedule it → Execute it → Log the result → Handle failures → Add monitoring
Once that foundation is reliable, you can gradually turn the project into a complete task automation platform capable of managing complex business workflows.