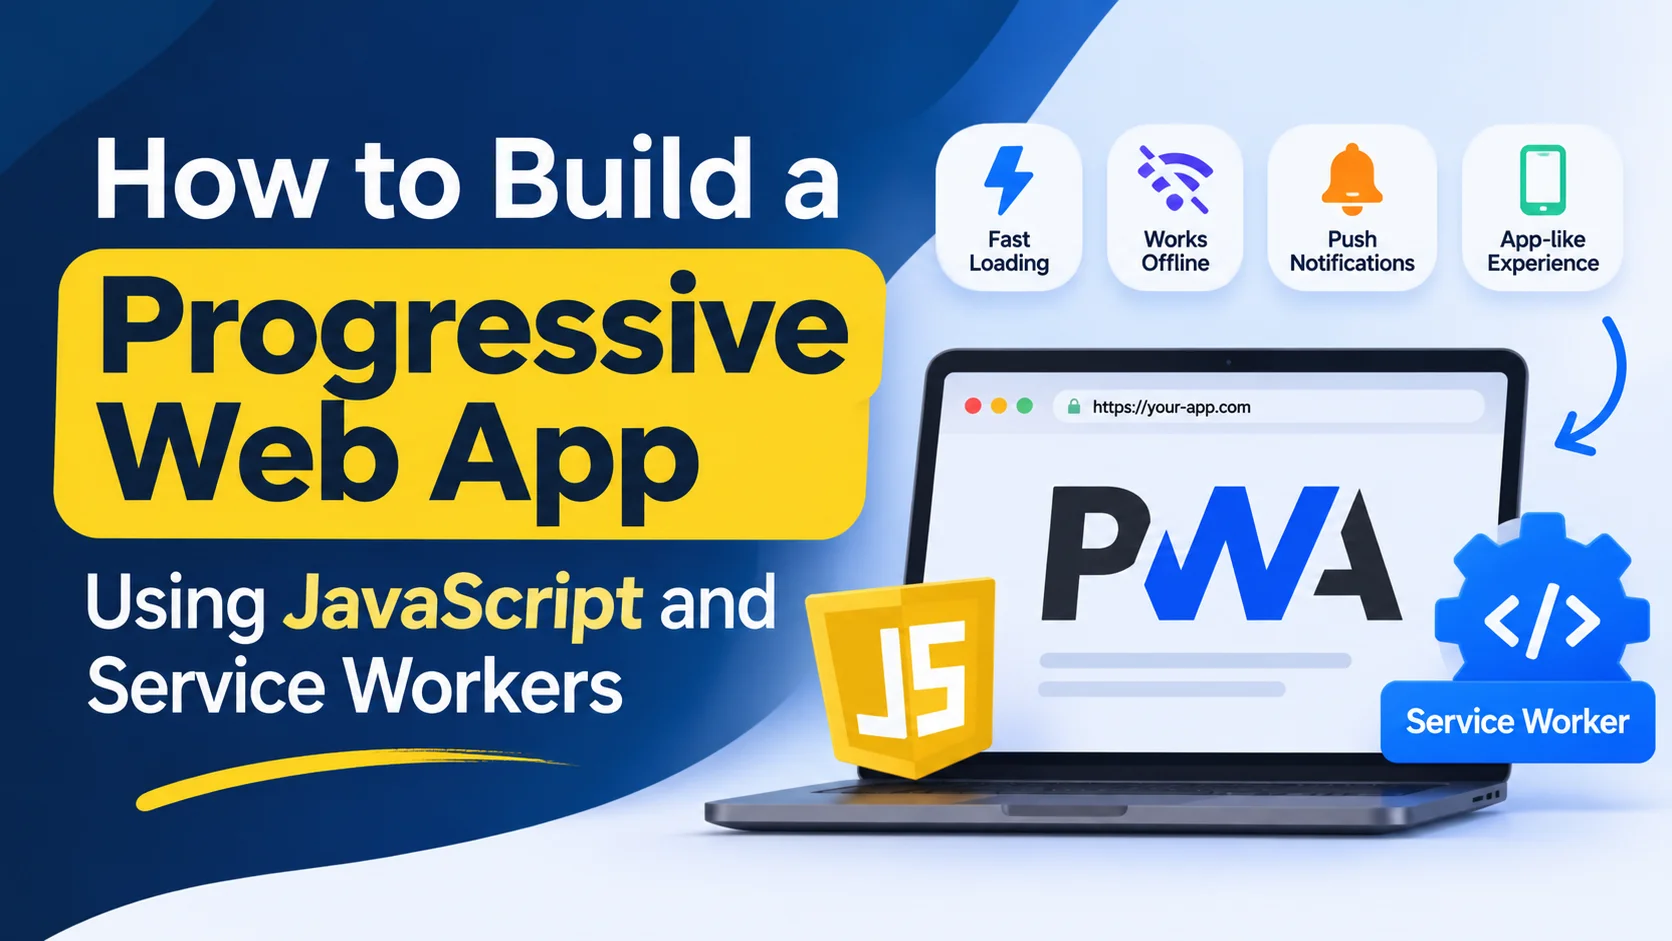
Progressive Web Apps (PWAs) combine the accessibility of websites with several capabilities commonly associated with native mobile applications. They allow users to access web applications through browsers, install them on supported devices, receive notifications, and use selected features even when an internet connection is unavailable.
JavaScript and Service Workers are two important technologies for building PWAs. JavaScript manages application functionality and user interactions, while Service Workers operate in the background to support caching, offline access, and network request handling.
Businesses can use PWAs to build online stores, customer portals, booking systems, dashboards, content platforms, and other web applications without maintaining separate native applications for every platform.
In this guide, we explain how to build a Progressive Web App using JavaScript and Service Workers, including essential features, architecture, development steps, caching strategies, security, testing, and deployment.
1. What Is a Progressive Web App?
A Progressive Web App is a web application developed using standard web technologies that provides an app-like experience through supported browsers.
Unlike traditional websites, PWAs can offer capabilities such as:
- Installation on supported devices.
- Offline access to cached content.
- Background synchronization where supported.
- Push notifications where supported.
- Responsive layouts for mobile and desktop.
- Faster loading through caching.
- Secure access through HTTPS.
A PWA does not necessarily need to be published in a traditional mobile app store. Users can access it through a browser and install it when the platform supports installation.
2. Understand the Core Technologies
Before development, understand the main technologies used to create a PWA.
A. HTML
HTML defines the application’s structure, including navigation, forms, buttons, content sections, and page layouts.
B. CSS
CSS controls the visual appearance and responsive design of the application.
It helps create layouts that work across mobile phones, tablets, laptops, and desktop screens.
C. JavaScript
JavaScript manages application functionality, including:
- User interactions.
- Form validation.
- API requests.
- Dynamic content.
- Application state.
- Service Worker registration.
- Installation prompts.
D. Service Workers
A Service Worker is a JavaScript file that runs separately from the main webpage in a browser-managed background context.
It can intercept network requests, manage cached resources, support offline experiences, and handle supported background events.
Service Workers do not have direct access to the DOM. They communicate with webpages through messaging and browser APIs.
E. Web App Manifest
The Web App Manifest is a JSON file that provides installation-related information about the application.
It commonly defines:
- Application name.
- Short name.
- Start URL.
- Display mode.
- Theme color.
- Background color.
- Application icons.
3. Plan the PWA Architecture
A well-structured PWA separates the user interface, application logic, service worker, cached resources, and backend services.
A typical architecture looks like this:
       User's Browser / Device
                 |
                 v
          PWA Frontend
          HTML / CSS / JS
                 |
       ---------------------
       |                   |
       v                   v
 Web App Manifest    Service Worker
                           |
                  ------------------
                  |                |
                  v                v
               Cache API       Fetch Events
                  |                |
                  v                v
             Cached Files     Network Requests
                                   |
                                   v
                              Backend API
                                   |
                                   v
                               Database
The frontend handles the application interface, while the Service Worker manages supported background operations and resource caching.
4. Set Up the Development Environment
Start by creating a project directory and organizing the application files.
A simple project structure can look like this:
my-pwa/
│
├── index.html
├── style.css
├── app.js
├── sw.js
├── manifest.json
│
└── icons/
    ├── icon-192.png
    └── icon-512.png
Each file has a specific responsibility:
| File | Purpose |
|---|---|
| index.html | Application structure |
| style.css | Responsive application design |
| app.js | Frontend JavaScript logic |
| sw.js | Service Worker functionality |
| manifest.json | Installation metadata |
| icons/ | Application icons |
You can use Visual Studio Code or another code editor for development.
Run the project through a local development server rather than opening the HTML file directly. Service Workers require a secure context, which includes HTTPS and localhost for development.
5. Build the Application Interface
Start by creating the main HTML page.
For example:
<!DOCTYPE html>
<html lang="en">
<head>
    <meta charset="UTF-8">

    <meta name="viewport"
          content="width=device-width, initial-scale=1.0">

    <meta name="theme-color" content="#2563eb">

    <title>My Progressive Web App</title>

    <link rel="stylesheet" href="style.css">

    <link rel="manifest" href="manifest.json">
</head>
<body>

    <header>
        <h1>My PWA</h1>
        <p>Welcome to your Progressive Web App.</p>
    </header>

    <main>
        <section>
            <h2>Application Dashboard</h2>

            <p>
                Access important information
                from your application.
            </p>

            <button id="actionButton">
                Get Started
            </button>
        </section>

        <p id="status"></p>
    </main>

    <script src="app.js"></script>

</body>
</html>
This creates a basic interface that can later be expanded with dashboards, forms, account management, and other application features.
6. Create a Responsive Design
A PWA should work consistently across different screen sizes.
Use CSS media queries and flexible layouts to support mobile and desktop devices.
Example:
* {
    box-sizing: border-box;
}

body {
    margin: 0;
    font-family: Arial, sans-serif;
    background: #f5f7fb;
    color: #222;
}

header {
    padding: 25px;
    background: #2563eb;
    color: white;
    text-align: center;
}

main {
    width: 90%;
    max-width: 900px;
    margin: 30px auto;
}

section {
    padding: 25px;
    background: white;
    border-radius: 10px;
}

button {
    padding: 12px 20px;
    border: none;
    border-radius: 6px;
    background: #2563eb;
    color: white;
    cursor: pointer;
}

@media (max-width: 600px) {
    main {
        width: 95%;
        margin: 15px auto;
    }

    section {
        padding: 18px;
    }
}
For production applications, use responsive navigation, accessible forms, appropriate touch targets, and layouts that adapt to different device orientations.
7. Create the Web App Manifest
The manifest provides information that browsers use when presenting installation options.
Create a file named manifest.json.
{
  "name": "My Progressive Web App",
  "short_name": "My PWA",
  "description": "A sample JavaScript Progressive Web App",
  "start_url": "/",
  "scope": "/",
  "display": "standalone",
  "background_color": "#ffffff",
  "theme_color": "#2563eb",
  "icons": [
    {
      "src": "/icons/icon-192.png",
      "sizes": "192x192",
      "type": "image/png"
    },
    {
      "src": "/icons/icon-512.png",
      "sizes": "512x512",
      "type": "image/png"
    }
  ]
}
Important manifest properties include:
name: Full application name.short_name: Short name displayed where space is limited.start_url: Page opened when the application launches.scope: Navigation scope of the installed application.display: Defines the preferred application display mode.theme_color: Browser interface theme color.background_color: Background used during application launch.icons: Application icon resources.
Use appropriate icon files and test the manifest against the target browsers and platforms.
8. Register the Service Worker Using JavaScript
The browser needs to register the Service Worker before it can manage supported background operations.
Add the following code to app.js:
if ("serviceWorker" in navigator) {

    window.addEventListener("load", async () => {

        try {

            const registration =
                await navigator.serviceWorker.register("/sw.js");

            console.log(
                "Service Worker registered:",
                registration.scope
            );

        } catch (error) {

            console.error(
                "Service Worker registration failed:",
                error
            );

        }

    });

}
This code checks whether the browser supports Service Workers and registers sw.js after the page loads.
Registration does not mean that the Service Worker immediately controls every open page. Its installation, activation, and control lifecycle must be handled correctly.
9. Develop the Service Worker
The Service Worker manages application resources and network requests.
Create sw.js and define the installation, activation, and fetch events.
A. Define the Cache Name
const CACHE_NAME = "my-pwa-cache-v1";

const APP_FILES = [
    "/",
    "/index.html",
    "/style.css",
    "/app.js",
    "/manifest.json",
    "/icons/icon-192.png",
    "/icons/icon-512.png"
];
The cache name includes a version so that older cached resources can be managed during application updates.
B. Install Event
The install event can cache essential application resources.
self.addEventListener("install", (event) => {

    event.waitUntil(

        caches.open(CACHE_NAME)
            .then((cache) => {
                return cache.addAll(APP_FILES);
            })

    );

});
If a required resource cannot be cached, installation may fail. Make sure every listed file exists and is accessible.
C. Activate Event
The activate event can remove outdated caches.
self.addEventListener("activate", (event) => {

    event.waitUntil(

        caches.keys().then((cacheNames) => {

            return Promise.all(

                cacheNames.map((cacheName) => {

                    if (cacheName !== CACHE_NAME) {
                        return caches.delete(cacheName);
                    }

                })

            );

        })

    );

});
This keeps the application’s cache storage organized when a new version is deployed.
D. Fetch Event
The fetch event allows the Service Worker to respond to network requests.
A basic cache-first example is:
self.addEventListener("fetch", (event) => {

    if (event.request.method !== "GET") {
        return;
    }

    const requestURL = new URL(event.request.url);

    if (requestURL.origin !== self.location.origin) {
        return;
    }

    event.respondWith(

        caches.match(event.request)
            .then((cachedResponse) => {

                if (cachedResponse) {
                    return cachedResponse;
                }

                return fetch(event.request);

            })

    );

});
This approach checks the cache first and uses the network when a cached response is unavailable.
For a production application, you should also consider cache expiration, failed network requests, response validation, storage limits, and navigation fallback behavior.
10. Implement Offline Functionality
Offline support is one of the most useful PWA capabilities.
However, caching application files does not automatically make every application feature available offline.
You must decide which pages and data should remain accessible without an internet connection.
Examples include:
- Previously visited pages.
- Saved product information.
- Downloaded documents.
- Cached application assets.
- Recently viewed content.
- Locally stored user preferences.
For dynamic application data, use IndexedDB or another appropriate local storage solution.
A simple offline navigation fallback can be implemented by caching an offline.html page and returning it when a navigation request fails.
For example:
self.addEventListener("fetch", (event) => {

    if (event.request.mode !== "navigate") {
        return;
    }

    event.respondWith(

        fetch(event.request).catch(async () => {

            return await caches.match("/offline.html");

        })

    );

});
The offline page must also be included in the installation cache.
For applications that allow users to create or update records offline, store pending changes locally and synchronize them when connectivity returns.
11. Choose the Right Caching Strategy
Different resources require different caching strategies.
| Strategy | How It Works | Suitable Use Cases |
|---|---|---|
| Cache First | Checks cache before network | Static images, fonts, CSS |
| Network First | Tries network before cache | Frequently updated content |
| Stale While Revalidate | Returns cached content and updates it from network | Product listings and articles |
| Network Only | Always uses the network | Sensitive or real-time operations |
| Cache Only | Uses existing cached resources | Pre-cached offline resources |
The best strategy depends on how frequently data changes and how important freshness is.
For example, static application assets can use cache-first, while account balances and payment operations should generally require trusted server responses.
Do not cache authentication responses, payment information, or sensitive user-specific API data indiscriminately.
12. Add PWA Installation Functionality
Some browsers allow developers to present an installation prompt when the browser determines that the application meets its installation criteria.
You can listen for the beforeinstallprompt event where supported.
Example:
let installPrompt = null;

window.addEventListener(
    "beforeinstallprompt",
    (event) => {

        event.preventDefault();

        installPrompt = event;

        const installButton =
            document.getElementById("installButton");

        if (installButton) {
            installButton.hidden = false;
        }

    }
);

async function installPWA() {

    if (!installPrompt) {
        return;
    }

    installPrompt.prompt();

    const result =
        await installPrompt.userChoice;

    console.log("Installation result:", result.outcome);

    installPrompt = null;

}
Add an installation button to the HTML page and connect its click event to installPWA().
Installation behavior differs between browsers and operating systems. Some platforms use browser menus or other installation interfaces rather than exposing this event.
13. Implement Push Notifications
Push notifications can help businesses communicate important updates to users.
Possible use cases include:
- Order status updates.
- Appointment reminders.
- Delivery notifications.
- Account activity alerts.
- New content notifications.
- Promotional announcements.
A typical push notification workflow includes:
- Request notification permission from the user.
- Register the Service Worker.
- Create a push subscription using the Push API.
- Send the subscription details securely to the backend.
- Trigger notifications from the backend through a push service.
- Handle incoming push events in the Service Worker.
Example Service Worker code:
self.addEventListener("push", (event) => {

    const data = event.data
        ? event.data.json()
        : {};

    const title = data.title || "Application Update";

    const options = {
        body: data.body || "You have a new notification.",
        icon: "/icons/icon-192.png",
        data: {
            url: data.url || "/"
        }
    };

    event.waitUntil(

        self.registration.showNotification(
            title,
            options
        )

    );

});
The backend should manage push subscriptions, notification delivery, expiration, and user preferences.
Push notifications require permission and browser/platform support. They should not be assumed to work identically across all devices.
14. Implement Background Synchronization
Background Sync can allow a supported browser to retry certain operations when network connectivity returns.
For example, a user may submit a form while offline. The application can save the pending operation locally and request synchronization later.
A basic Service Worker handler looks like this:
self.addEventListener("sync", (event) => {

    if (event.tag === "sync-pending-data") {

        event.waitUntil(
            syncPendingData()
        );

    }

});

async function syncPendingData() {

    // Retrieve pending records from IndexedDB.
    // Send them to the backend.
    // Remove successfully synchronized records.

}
This example illustrates the event structure; syncPendingData() must be implemented using an actual local database and backend API.
Background Sync support varies across browsers. Production applications should also provide a fallback, such as retrying pending operations when the application becomes active or online.
For data consistency, use unique operation IDs, server-side validation, and idempotent API endpoints to prevent duplicate submissions.
15. Connect the PWA with Backend APIs
Most business PWAs require backend services to manage accounts, products, transactions, and application data.
A JavaScript frontend can communicate with backend APIs using fetch().
Example:
async function loadProducts() {

    try {

        const response = await fetch("/api/products");

        if (!response.ok) {
            throw new Error("Unable to load products");
        }

        const products = await response.json();

        console.log(products);

    } catch (error) {

        console.error("API error:", error);

    }

}
Possible backend technologies include:
- Node.js with Express or NestJS.
- Laravel.
- Django.
- ASP.NET Core.
- Java Spring Boot.
Use authentication, authorization, input validation, rate limiting, and secure API communication to protect business data.
16. Improve PWA Performance
Performance directly affects the user experience, especially on mobile devices and slower networks.
Important optimization techniques include:
- Minify JavaScript and CSS.
- Compress images.
- Use modern image formats such as WebP or AVIF.
- Lazy-load noncritical images.
- Reduce unnecessary JavaScript dependencies.
- Implement efficient caching.
- Use code splitting for larger applications.
- Optimize API response sizes.
- Apply appropriate cache headers.
- Monitor Core Web Vitals.
Use browser developer tools and Lighthouse audits to identify performance and accessibility issues.
17. Implement PWA Security
Security should be included throughout the development process.
Important practices include:
- Serve the application over HTTPS.
- Use secure authentication and session management.
- Validate all user input.
- Protect backend APIs.
- Apply appropriate Content Security Policy rules.
- Avoid storing sensitive information in Cache Storage.
- Protect private API responses from unintended caching.
- Secure push subscription endpoints.
- Validate background synchronization requests.
- Keep dependencies updated.
A Service Worker can intercept requests within its scope, so developers must review caching rules carefully and avoid returning private or outdated data to the wrong user.
18. Test and Deploy the PWA
Before launch, test the application across supported browsers, devices, and network conditions.
| Testing Type | What to Validate |
|---|---|
| Functional Testing | Navigation, forms, and application logic |
| Service Worker Testing | Registration, installation, activation, and updates |
| Offline Testing | Cached pages and offline fallback |
| Installation Testing | Manifest and installation behavior |
| Push Testing | Permission, subscription, and notification delivery |
| API Testing | Backend communication and error handling |
| Performance Testing | Loading speed and resource usage |
| Security Testing | Authentication and request protection |
| Responsive Testing | Mobile, tablet, and desktop layouts |
Deployment steps generally include:
- Build and optimize frontend assets.
- Configure HTTPS.
- Upload application files to hosting.
- Publish the manifest and Service Worker.
- Configure caching headers.
- Verify Service Worker scope.
- Test installation and offline behavior.
- Monitor errors and application performance.
A PWA can be hosted on platforms such as AWS, Azure, Google Cloud, or other HTTPS-enabled hosting providers.
19. Common PWA Development Challenges
| Challenge | Recommended Solution |
|---|---|
| Outdated cached content | Use versioned caches and update strategies |
| Service Worker update issues | Implement lifecycle management carefully |
| Limited offline functionality | Define offline requirements and store data locally |
| Browser compatibility | Test supported APIs across target platforms |
| Large cache storage | Set cache limits and remove unnecessary resources |
| Duplicate offline submissions | Use idempotent backend operations |
| Push notification restrictions | Provide platform-specific alternatives |
| Sensitive data exposure | Apply strict caching and authentication policies |
| Slow application loading | Optimize assets and network requests |
Planning for these challenges early helps create a reliable PWA.
20. Development Cost and Timeline
The cost of building a PWA depends on application complexity, UI requirements, backend functionality, integrations, and offline capabilities.
A typical development timeline may look like this:
| Development Phase | Estimated Timeline |
|---|---|
| Requirement Analysis | 1–2 weeks |
| UI/UX Design | 1–3 weeks |
| Frontend Development | 3–5 weeks |
| Backend API Development | 3–5 weeks |
| Service Worker and Caching | 1–2 weeks |
| Offline Functionality | 1–3 weeks |
| Push Notifications and Integrations | 1–2 weeks |
| Testing and Deployment | 2–3 weeks |
Estimated overall timeline: 10–18 weeks, depending on the project scope, team size, integrations, and offline requirements. Some activities can run in parallel.
The final development cost should be estimated after defining the required features, supported platforms, backend infrastructure, and maintenance expectations.
Conclusion
Building a Progressive Web App using JavaScript and Service Workers allows businesses to deliver accessible, responsive, and app-like web experiences.
By combining JavaScript, HTML, CSS, Web App Manifests, Service Workers, Cache Storage, and backend APIs, developers can create applications that support installation, offline access, and other modern browser capabilities.
A successful PWA requires more than basic caching. It needs a well-designed architecture, appropriate network strategies, secure data handling, reliable synchronization, and thorough cross-browser testing.
Looking to build a custom Progressive Web App for your business? Dotcube Technologies can help design and develop software tailored to your business requirements.
Contact Dotcube Technologies: https://www.dotcubetechnologies.com/#contact