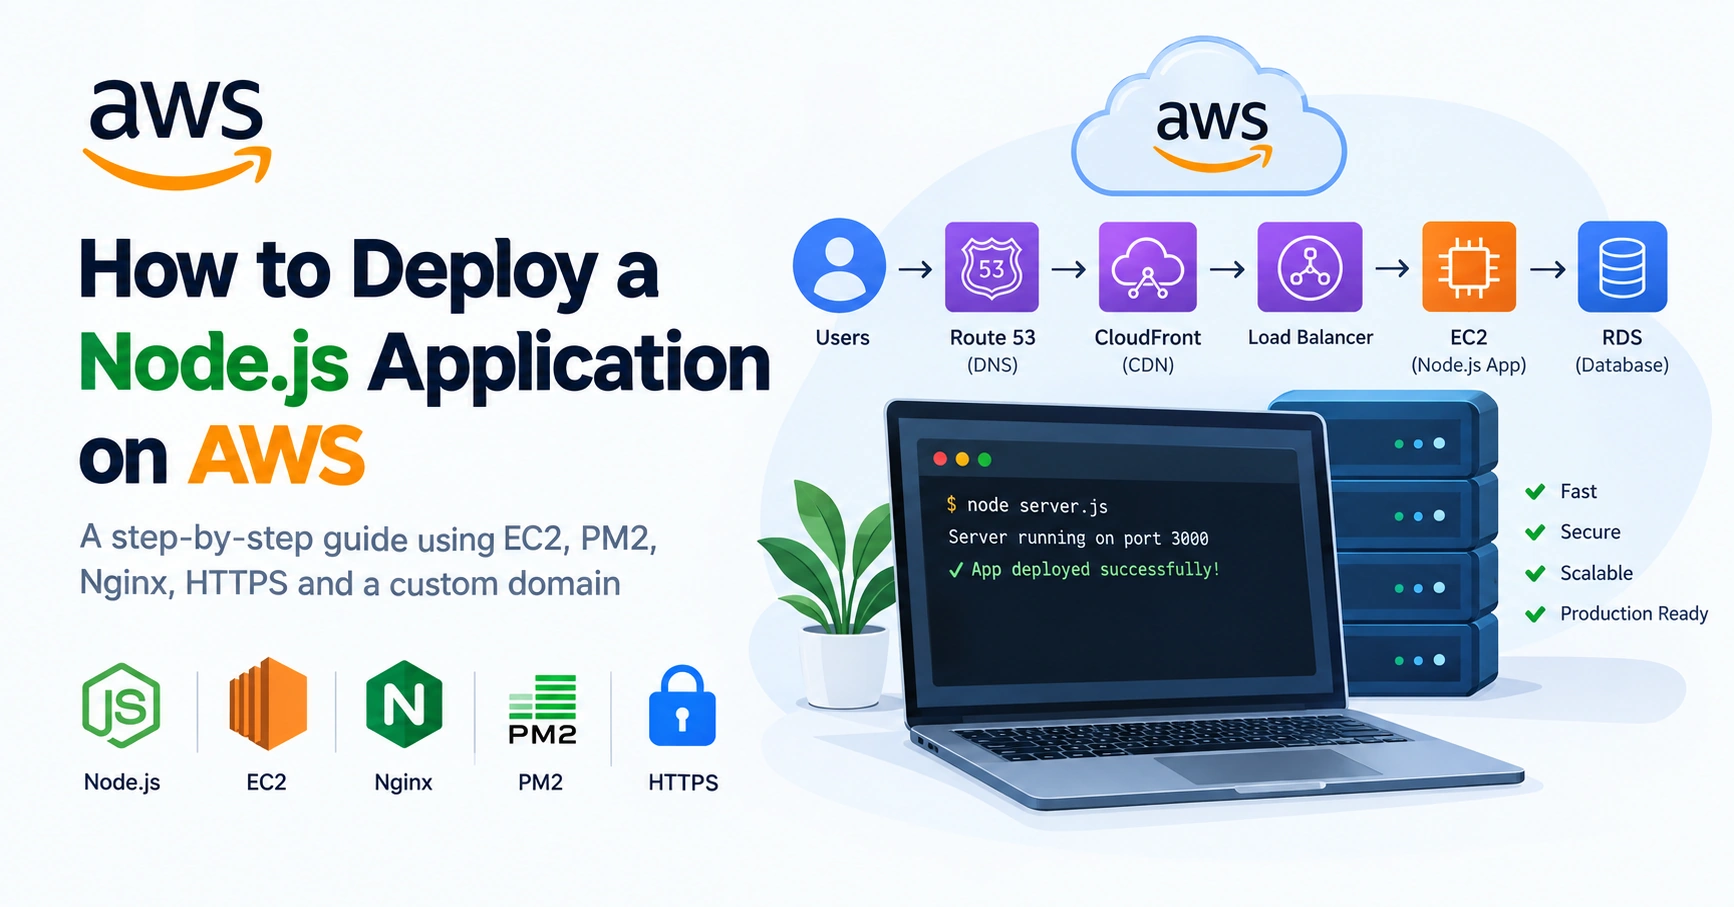
Deploying a Node.js application is an important step in taking your project from a local development environment to a production-ready application that users can access online.
Amazon Web Services (AWS) provides several ways to deploy Node.js applications. Depending on your application’s architecture, traffic, budget, and infrastructure requirements, you can deploy using virtual servers, containers, serverless functions, or managed application platforms.
In this guide, we’ll explain how to deploy a Node.js application on AWS, explore the most common deployment options, and walk through a typical deployment process using an AWS virtual server.
Why Deploy a Node.js Application on AWS?
AWS provides cloud infrastructure that allows developers and businesses to run applications without managing their own physical servers.
A Node.js application deployed on AWS can take advantage of services for:
- Compute
- Storage
- Databases
- Networking
- Load balancing
- Auto scaling
- Monitoring
- Security
- Backup and recovery
AWS can support everything from a small API to a large-scale SaaS application.
Common AWS services used with Node.js include:
- Amazon EC2
- AWS Lambda
- Amazon ECS
- Amazon EKS
- Elastic Beanstalk
- Amazon S3
- Amazon RDS
- Amazon CloudFront
- Amazon Route 53
- Amazon CloudWatch
Common Ways to Deploy Node.js Applications on AWS
There is no single deployment method that is best for every Node.js application.
Here are some of the most common options.
1. Deploy Node.js on Amazon EC2
Amazon EC2 provides virtual servers in the cloud.
You have more control over the server and can install software such as:
- Node.js
- Nginx
- PM2
- Docker
- Databases
- Monitoring tools
A typical architecture might look like:
Users → Domain → Nginx → Node.js Application
EC2 is a popular option when you need flexibility and direct server control.
2. Deploy Node.js Using AWS Lambda
AWS Lambda allows you to run code without managing traditional servers.
Your application logic runs when triggered by events or requests.
A simplified flow might look like:
Client → API Gateway → Lambda → Database
Lambda can be useful for:
- Serverless APIs
- Background jobs
- Event processing
- Webhooks
- Scheduled tasks
However, serverless architecture may not be the best fit for every application.
3. Deploy Node.js Using AWS Elastic Beanstalk
Elastic Beanstalk is a managed deployment platform that can simplify infrastructure management.
You deploy your application, and AWS handles much of the underlying infrastructure configuration.
It can manage components such as:
- EC2 instances
- Load balancing
- Auto scaling
- Health monitoring
This can be useful for teams that want to deploy applications without manually configuring every infrastructure component.
4. Deploy Node.js Using Amazon ECS
Amazon ECS is AWS’s container orchestration service.
You package your Node.js application into a Docker container and deploy it using ECS.
A typical architecture might look like:
Users → Load Balancer → ECS → Docker Container → Database
ECS can be useful when your team already uses Docker and wants a managed way to run containers on AWS.
Choosing the Right AWS Deployment Option
Before deploying, consider your application’s requirements.
| Deployment Option | Best For |
|---|---|
| EC2 | Full server control and flexible infrastructure |
| Lambda | Event-driven and serverless applications |
| Elastic Beanstalk | Simplified managed deployment |
| ECS | Docker-based applications |
| EKS | Kubernetes-based applications |
For this guide, we’ll focus on a common approach:
Deploying a Node.js application on an Amazon EC2 instance using Nginx and PM2.
What You Need Before Deployment
Before starting, you should have:
- An AWS account
- A Node.js application
- A Git repository
- Basic Linux command-line knowledge
- A domain name, if you want to use a custom domain
- SSH access to your EC2 instance
Your Node.js application should also include a package.json file with the required dependencies.
For example, your application should normally have a start command similar to:
{
  "scripts": {
    "start": "node server.js"
  }
}
Depending on your framework, the command may be different.
For example:
{
  "scripts": {
    "start": "node dist/server.js"
  }
}
Step 1: Create an EC2 Instance
Log in to the AWS Management Console and create an Amazon EC2 instance.
Choose a Linux-based operating system, such as Ubuntu or Amazon Linux.
During configuration, select an instance size appropriate for your application.
You will also need to configure a security group.
For a typical Node.js web application, you may need to allow:
- SSH — Port 22
- HTTP — Port 80
- HTTPS — Port 443
Avoid exposing your internal Node.js application port directly to the public internet when using a reverse proxy.
For example, your Node.js application might run internally on:
localhost:3000
Nginx can receive public traffic on ports 80 and 443 and forward requests to the application.
Step 2: Connect to Your EC2 Instance
After the instance is running, connect using SSH.
A typical command looks like:
ssh -i your-key.pem ubuntu@your-server-ip
The exact username depends on the operating system you selected.
For example, it may be:
ubuntu
or:
ec2-user
After connecting, update the system packages.
For Ubuntu:
sudo apt update
sudo apt upgrade -y
For Amazon Linux, use the appropriate package manager for your version.
Step 3: Install Node.js
Install Node.js and verify the installation.
Depending on your server and Node.js version, you can install Node.js using your preferred supported method.
After installation, verify:
node -v
You can also check npm:
npm -v
The commands should return the installed versions.
For production applications, use a supported Node.js LTS release where possible.
Step 4: Install Git and Clone Your Application
Install Git if it isn’t already available.
For Ubuntu:
sudo apt install git -y
Navigate to the location where you want to store the application.
For example:
cd /var/www
Clone your project:
sudo git clone https://github.com/your-username/your-repository.git
Move into the project directory:
cd your-repository
Install dependencies:
npm install
For reproducible production deployments, you may prefer:
npm ci
when your project has a valid lockfile.
Step 5: Configure Environment Variables
Production applications often require environment variables.
Examples include:
NODE_ENV=production
PORT=3000
DATABASE_URL=your_database_connection
JWT_SECRET=your_secret
Never hardcode sensitive credentials directly into your source code.
Instead, use secure environment-variable management and appropriate AWS security services when needed.
Also make sure:
- Secrets are not committed to Git
.envfiles are handled appropriately- Production credentials are different from development credentials
- Access to secrets follows the principle of least privilege
Step 6: Start the Node.js Application
You can test the application manually.
For example:
npm start
If your application starts on port 3000, you can test it locally from the server.
For example:
curl http://localhost:3000
If the application works correctly, stop it before configuring a production process manager.
Step 7: Install PM2
PM2 is a commonly used process manager for Node.js applications.
It can help:
- Keep applications running
- Restart applications after crashes
- Manage multiple processes
- View logs
- Restart applications after server reboots
Install PM2:
sudo npm install -g pm2
Start your application:
pm2 start npm --name "my-node-app" -- start
Check the application:
pm2 status
View logs:
pm2 logs my-node-app
To configure PM2 to restart applications after a server reboot, follow the startup instructions generated by:
pm2 startup
Then save the current process list:
pm2 save
The exact startup command can vary depending on the operating system and user.
Step 8: Install and Configure Nginx
Nginx can work as a reverse proxy in front of your Node.js application.
Install Nginx on Ubuntu:
sudo apt install nginx -y
Check its status:
sudo systemctl status nginx
Create a new Nginx configuration.
For example:
sudo nano /etc/nginx/sites-available/my-node-app
Add a configuration similar to:
server {
    listen 80;
    server_name example.com www.example.com;

    location / {
        proxy_pass http://127.0.0.1:3000;
        proxy_http_version 1.1;

        proxy_set_header Host $host;
        proxy_set_header X-Real-IP $remote_addr;
        proxy_set_header X-Forwarded-For $proxy_add_x_forwarded_for;
        proxy_set_header X-Forwarded-Proto $scheme;
    }
}
Replace the domain name with your actual domain.
Enable the configuration:
sudo ln -s /etc/nginx/sites-available/my-node-app /etc/nginx/sites-enabled/
Test the Nginx configuration:
sudo nginx -t
If the test succeeds, restart Nginx:
sudo systemctl restart nginx
Step 9: Configure Your Domain
If you’re using a custom domain, create a DNS record pointing your domain to your server.
For example, you can create an:
A Record
that points to your EC2 instance’s public IP address.
For production applications, using a stable IP solution such as an Elastic IP can help prevent DNS records from needing updates when an instance’s public address changes.
You can manage DNS through your domain provider or AWS Route 53.
After DNS propagation, your domain should point to the server.
Step 10: Enable HTTPS
Production applications should use HTTPS.
A common approach is to obtain and manage TLS certificates using a trusted certificate authority and configure Nginx accordingly.
For example, Certbot can be used with supported environments to request and install certificates.
Before configuring HTTPS, make sure:
- Your domain points to the correct server
- Port 80 is reachable
- Port 443 is allowed through the security group
- Your Nginx configuration is working correctly
After HTTPS is configured, test your application using:
https://example.com
Step 11: Configure AWS Security
Deployment is not complete without security.
Review your EC2 security group and allow only the traffic you need.
A typical public web server may allow:
| Service | Port | Access |
|---|---|---|
| SSH | 22 | Restricted administrative access |
| HTTP | 80 | Public |
| HTTPS | 443 | Public |
Avoid allowing unrestricted SSH access when possible.
Use stronger access controls, secure credentials, and least-privilege IAM permissions.
You should also consider:
- IAM roles instead of long-lived credentials where appropriate
- Multi-factor authentication
- Regular security updates
- Secure secret management
- Backups
- Monitoring and logging
Step 12: Monitor Your Node.js Application
After deployment, monitor both the application and server.
Useful information includes:
- CPU usage
- Memory usage
- Disk usage
- Application errors
- Response times
- Traffic
- Server health
PM2 can help with application-level process and log management.
AWS CloudWatch can be used for infrastructure monitoring and logging depending on your setup.
Monitoring helps you identify problems before they affect a larger number of users.
A Typical Node.js Deployment Architecture on AWS
A basic production architecture may look like this:
Users
↓
DNS
↓
Nginx / Load Balancer
↓
Node.js Application
↓
Database
As the application grows, the architecture might expand:
Users → CloudFront → Load Balancer → Multiple Node.js Instances → RDS
Additional components might include:
- Redis for caching
- S3 for file storage
- CloudWatch for monitoring
- Auto Scaling for compute capacity
- Managed databases
- CI/CD pipelines for automated deployment
The architecture should grow based on real requirements rather than adding unnecessary infrastructure from the beginning.
Common Node.js Deployment Mistakes
1. Running the Application Without a Process Manager
Starting an application with a temporary terminal session can cause downtime when the session ends or the process crashes.
Use a production process manager or a suitable container/orchestration platform.
2. Exposing the Node.js Port Publicly
When using Nginx as a reverse proxy, the application port can usually remain accessible only internally.
Public traffic should generally enter through the intended HTTP or HTTPS endpoints.
3. Storing Secrets in Source Code
Never commit passwords, API keys, or private credentials to public repositories.
Use environment variables and secure secret-management solutions.
4. Forgetting HTTPS
HTTPS protects data in transit and should be standard for production applications.
5. No Monitoring
Without logs and monitoring, diagnosing production problems becomes much harder.
6. Not Planning for Backups
Applications often depend on databases and uploaded files.
Make sure your data has an appropriate backup and recovery strategy.
7. Ignoring Server Updates
Regularly apply security updates and maintain the operating system and application dependencies.
EC2 vs Lambda vs ECS for Node.js
The best deployment option depends on your requirements.
Choose EC2 When:
- You need direct server control
- Your application has a traditional long-running server architecture
- You need custom system-level configuration
- Your team is comfortable managing servers
Choose Lambda When:
- Your application is event-driven
- You want a serverless architecture
- Workloads can run as short-lived functions
- You want to reduce server management
Choose ECS When:
- Your application uses Docker
- You want to run containerized workloads
- You need easier container orchestration than managing everything manually
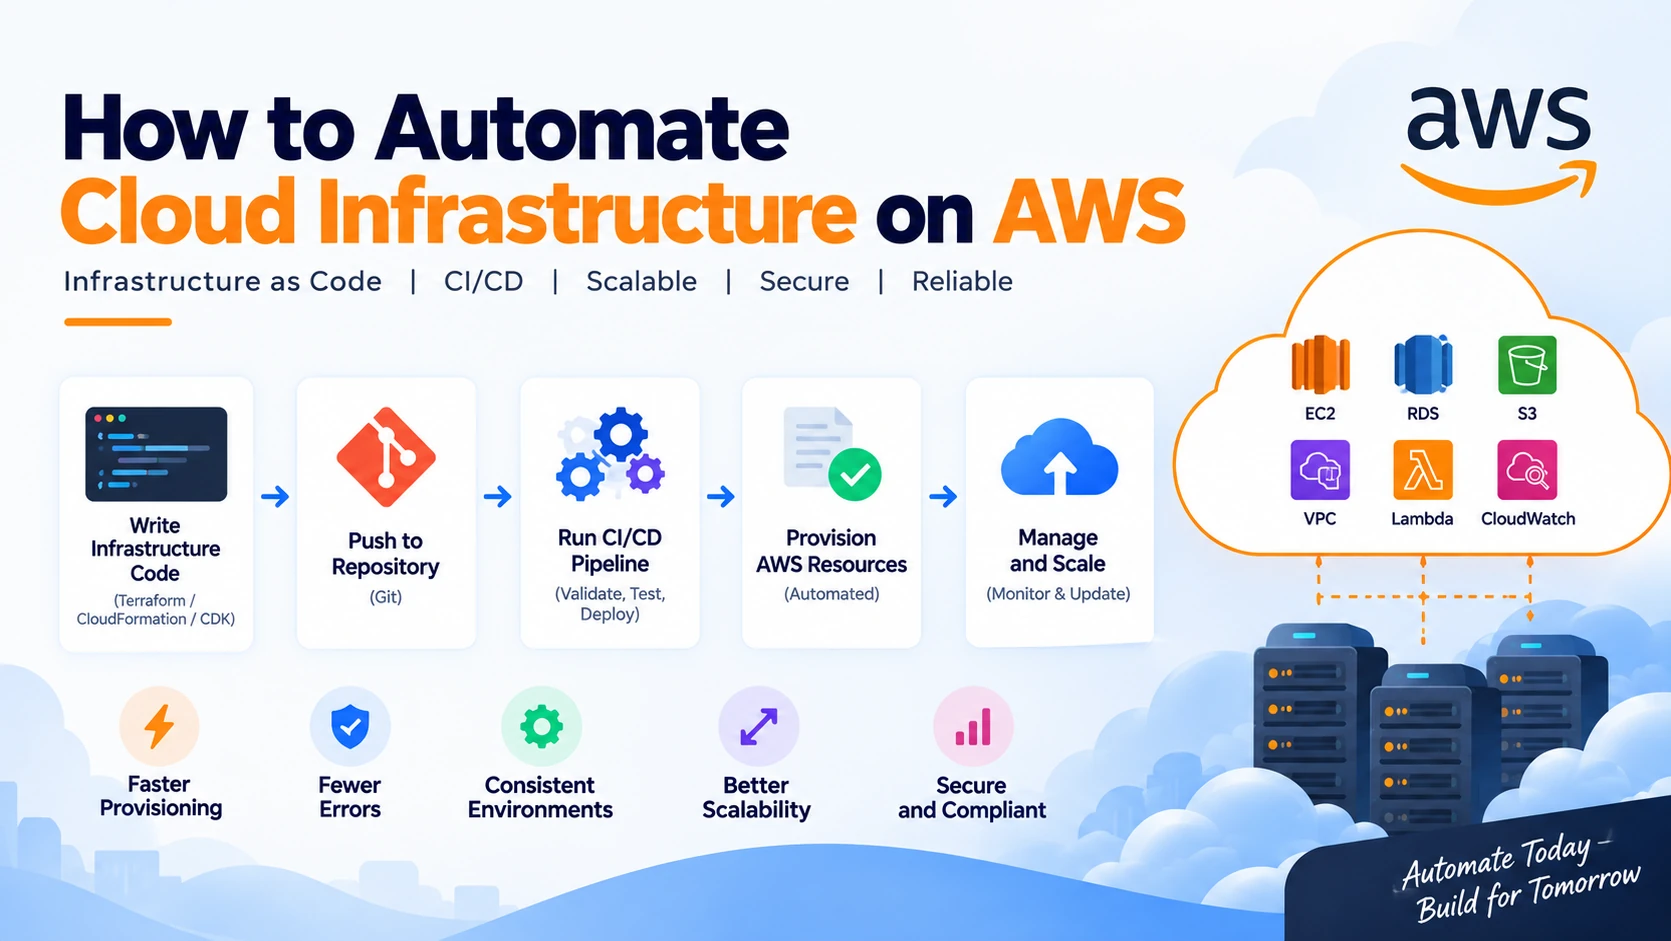
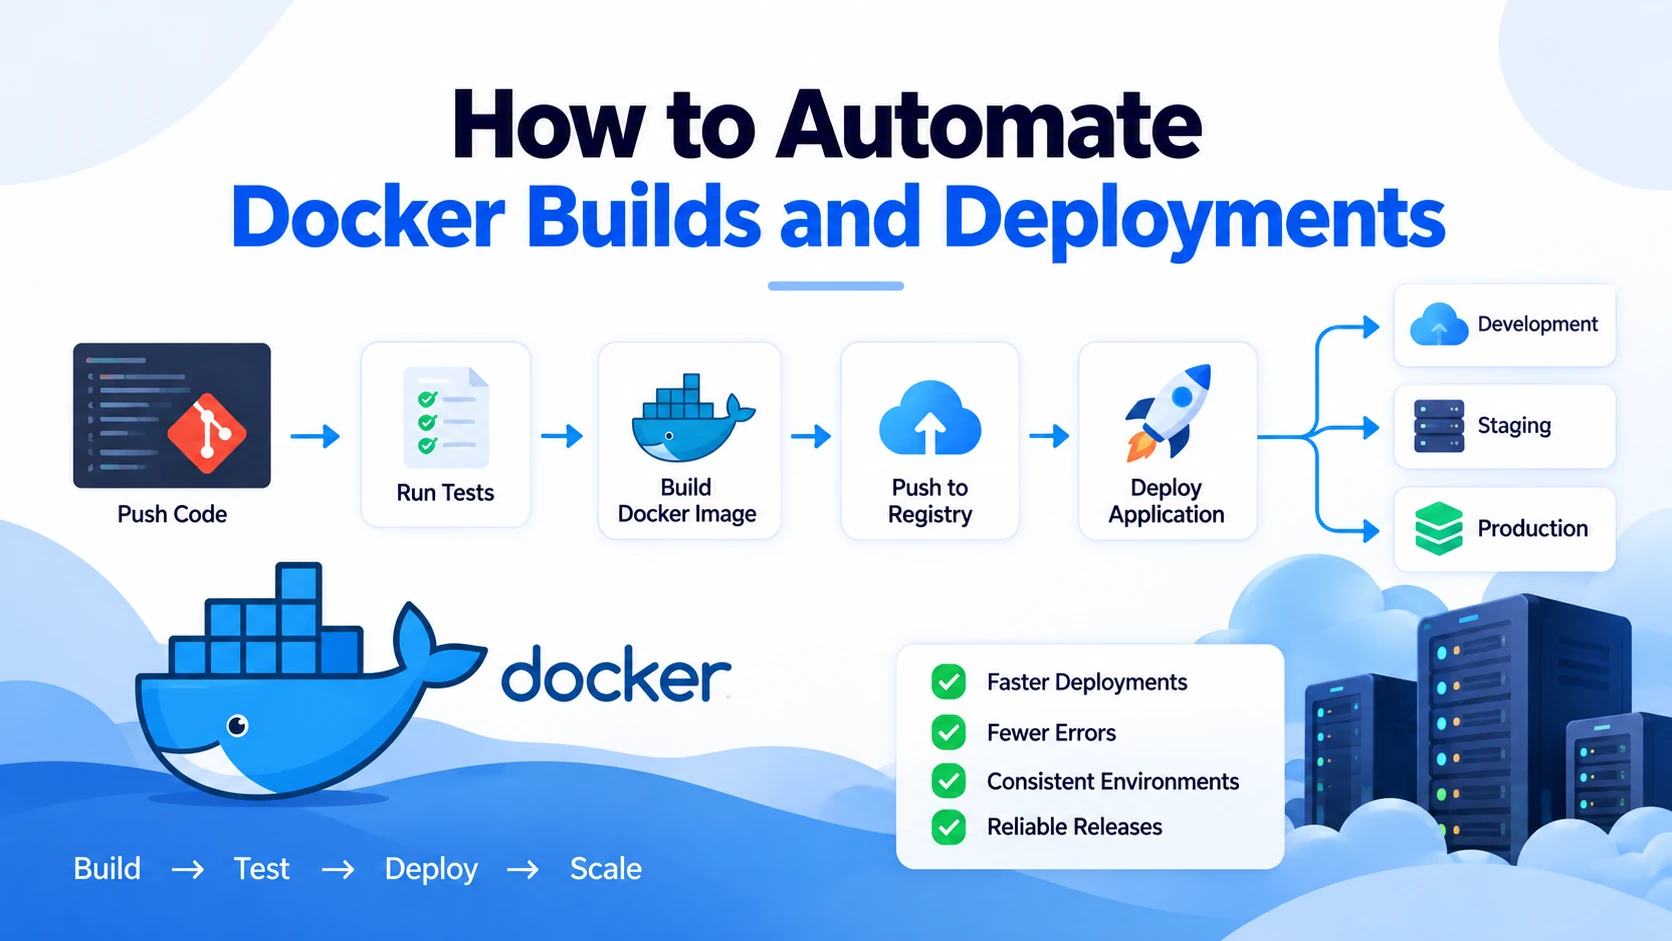
How to Automate Node.js Deployment on AWS
Manually connecting to a server for every deployment can become inefficient.
A CI/CD pipeline can automate the process.
A typical workflow might look like:
Developer Pushes Code
↓
Automated Tests Run
↓
Application Builds
↓
Deployment Starts
↓
Application Health Is Checked
Tools and services that can be part of this process include:
- GitHub Actions
- AWS CodePipeline
- AWS CodeBuild
- Docker
- ECS deployment workflows
Automation can make deployments more consistent and reduce manual errors.
How to Make a Node.js Application Production Ready
Before deploying to production, review the following:
- Use a supported Node.js version
- Set
NODE_ENV=production - Validate environment variables
- Use HTTPS
- Restrict unnecessary ports
- Configure logging
- Configure error handling
- Use secure secrets management
- Configure database backups
- Monitor resource usage
- Implement health checks
- Test your deployment process
- Prepare a rollback strategy
A production-ready deployment is not just about making the application accessible online.
It should also be secure, maintainable, and recoverable.
Frequently Asked Questions
Can I deploy a Node.js application on AWS for free?
AWS may offer free-tier or promotional usage options depending on the service, account, region, and current AWS terms. Always review current pricing before deploying because charges can apply when usage exceeds applicable limits.
Which AWS service is best for Node.js?
It depends on the application. EC2 is suitable when you need server control, Lambda works well for many serverless workloads, and ECS is useful for containerized applications.
Do I need Nginx for Node.js?
Not always. However, Nginx can be useful as a reverse proxy, especially when handling public HTTP/HTTPS traffic and forwarding requests to a Node.js application.
Should I use PM2 in production?
PM2 can be a suitable process manager for traditional Node.js applications running directly on virtual servers. Containerized and serverless deployments may use different process-management approaches.
Can I deploy Node.js with Docker on AWS?
Yes. You can package your application as a Docker container and deploy it using services such as Amazon ECS or EKS.
How do I scale a Node.js application on AWS?
Scaling options can include running multiple application instances behind a load balancer, configuring Auto Scaling, using caching, optimizing database access, and choosing managed services where appropriate.
Conclusion
AWS provides multiple ways to deploy a Node.js application, from traditional virtual servers to containers and serverless functions.
For developers who need flexibility and direct server control, deploying Node.js on an EC2 instance with Nginx and PM2 is a practical approach.
The basic deployment process involves:
- Creating an EC2 instance
- Connecting through SSH
- Installing Node.js
- Deploying your application code
- Installing dependencies
- Configuring environment variables
- Running the application with PM2
- Configuring Nginx as a reverse proxy
- Connecting your domain
- Enabling HTTPS
- Securing and monitoring the infrastructure
As your application grows, you can evolve the architecture by introducing load balancing, auto scaling, managed databases, caching, object storage, containers, and automated CI/CD pipelines.
The best AWS deployment architecture is not necessarily the most complex one.
Start with an approach that fits your application’s current needs, build a secure foundation, and scale the infrastructure as your requirements grow.