Customer registration looks simple on the surface: collect a name, email, phone number, and password, then create an account.
But in a real-world application, registration involves much more:
- Validating user information
- Checking whether the email or phone already exists
- Sending verification emails or OTPs
- Verifying the customer’s identity
- Activating the account
- Handling expired verification codes
- Preventing duplicate requests
- Protecting the registration endpoint from abuse
Doing all of this manually or synchronously can make an application slow and difficult to maintain.
A better approach is to automate the entire customer registration and verification workflow.
In this article, we’ll explore how to design an automated customer registration and verification system using Node.js, TypeScript, MongoDB, Redis, and background jobs.
What Is Customer Registration Automation?
Customer registration automation means automatically handling the steps that happen after a user submits a registration form.
A typical workflow looks like this:
Customer
   |
   v
Registration Form
   |
   v
Validate Input
   |
   v
Check Existing User
   |
   v
Create Account
   |
   v
Generate Verification Token / OTP
   |
   v
Send Email / SMS
   |
   v
Customer Verifies Account
   |
   v
Activate Account
Instead of putting all these operations into a single API request, we can separate them into smaller tasks.
This makes the system more reliable and scalable.
Why Automate Registration?
Imagine a website receives thousands of registrations every day.
For every registration, the backend may need to:
- Validate user data
- Store the user
- Generate a verification token
- Send an email
- Send an SMS
- Create a welcome notification
- Create an initial user profile
- Log the registration event
If all of these operations happen inside one HTTP request, the API can become slow.
For example:
POST /api/auth/register

Validate User
      ↓
Insert MongoDB User
      ↓
Generate OTP
      ↓
Send Email
      ↓
Send SMS
      ↓
Create Notification
      ↓
Return Response
The user might have to wait several seconds.
Instead, we can make the registration API responsible only for the essential operation.
POST /api/auth/register

       |
       v
Create User
       |
       v
Create Verification Job
       |
       v
Return Response
Background workers can handle the remaining tasks.
Recommended Architecture
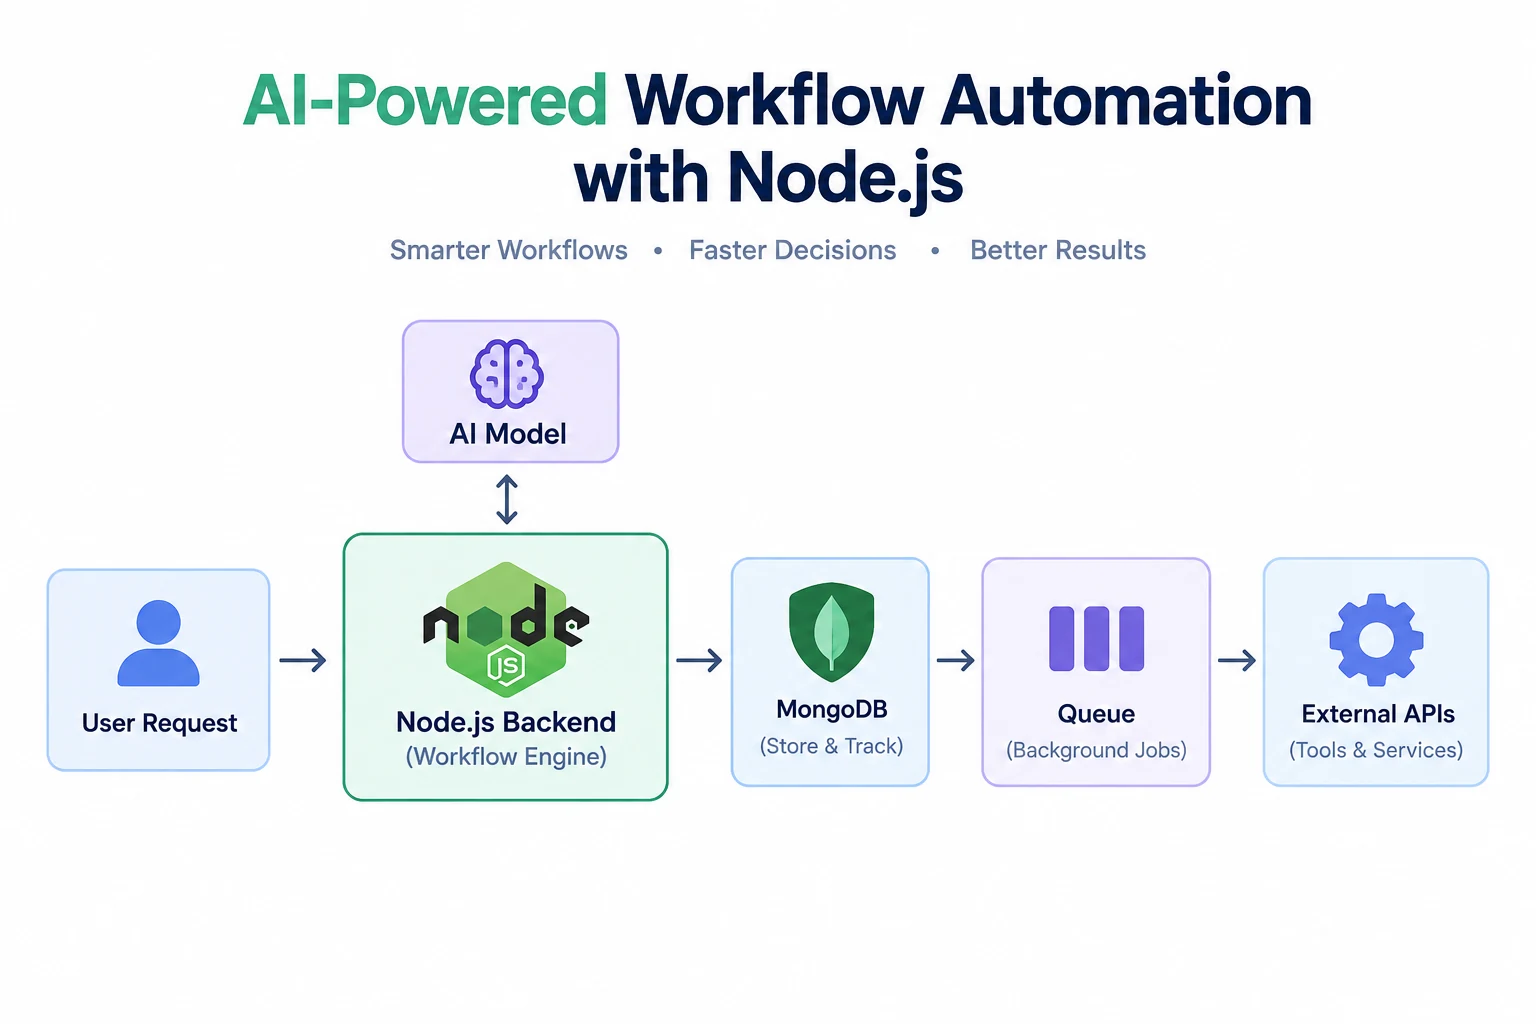
A scalable architecture could look like this:
                    ┌──────────────────┐
                    │     Frontend     │
                    └────────┬─────────┘
                             │
                             ▼
                    ┌──────────────────┐
                    │    Node.js API   │
                    └────────┬─────────┘
                             │
                 ┌───────────┴───────────┐
                 ▼                       ▼
        ┌─────────────────┐      ┌─────────────────┐
        │     MongoDB     │      │      Redis      │
        │     Database    │      │      Queue       │
        └─────────────────┘      └────────┬────────┘
                                          │
                                          ▼
                                ┌──────────────────┐
                                │ Background Worker│
                                └────────┬─────────┘
                                         │
                          ┌──────────────┼──────────────┐
                          ▼              ▼              ▼
                       Email           SMS        Notifications
The API handles the request while the worker handles background operations.
Step 1: Create the Customer Model
With MongoDB and Mongoose, a basic customer model could look like this:
import mongoose, { Schema, Document } from "mongoose";

interface ICustomer extends Document {
  name: string;
  email: string;
  phone?: string;
  password: string;
  isEmailVerified: boolean;
  isPhoneVerified: boolean;
  isActive: boolean;
  verificationToken?: string;
  verificationTokenExpiresAt?: Date;
}

const CustomerSchema = new Schema<ICustomer>(
  {
    name: {
      type: String,
      required: true,
      trim: true,
    },

    email: {
      type: String,
      required: true,
      unique: true,
      lowercase: true,
      trim: true,
    },

    phone: {
      type: String,
      unique: true,
      sparse: true,
    },

    password: {
      type: String,
      required: true,
    },

    isEmailVerified: {
      type: Boolean,
      default: false,
    },

    isPhoneVerified: {
      type: Boolean,
      default: false,
    },

    isActive: {
      type: Boolean,
      default: false,
    },

    verificationToken: String,

    verificationTokenExpiresAt: Date,
  },
  {
    timestamps: true,
  }
);

export const CustomerModel =
  mongoose.model<ICustomer>("Customer", CustomerSchema);
The important part is that account verification is represented explicitly.
For example:
isEmailVerified: false
isPhoneVerified: false
isActive: false
After successful verification:
isEmailVerified: true
isActive: true
Step 2: Validate Registration Data
Never trust data coming from the frontend.
For example, a registration request might contain:
{
  "name": "John Doe",
  "email": "john@example.com",
  "phone": "9876543210",
  "password": "MyPassword123"
}
The backend should validate:
- Required fields
- Email format
- Phone format
- Password strength
- Maximum input length
- Duplicate accounts
Libraries such as Joi, Zod, or class-validator can be used for this.
Example:
const registerSchema = Joi.object({
  name: Joi.string().min(2).max(100).required(),

  email: Joi.string().email().required(),

  phone: Joi.string().pattern(/^[0-9]{10}$/),

  password: Joi.string().min(8).required(),
});
Validation should happen before interacting with the database.
Step 3: Check Existing Customers
Before creating a new account:
const existingCustomer = await CustomerModel.findOne({
  email: email.toLowerCase(),
});

if (existingCustomer) {
  return res.status(409).json({
    status: 0,
    message: "Email already registered",
  });
}
However, application-level checks aren’t enough.
The database should also have a unique index on the email field.
This protects against race conditions where two requests arrive at almost the same time.
Step 4: Hash the Password
Never store a customer’s plain-text password.
Use a password hashing algorithm such as bcrypt or Argon2.
For example:
import bcrypt from "bcrypt";

const hashedPassword = await bcrypt.hash(password, 12);
Then save:
const customer = await CustomerModel.create({
  name,
  email,
  phone,
  password: hashedPassword,
});
The database should contain the hash, not:
MyPassword123
Step 5: Generate a Verification Token
After creating the account, generate a secure verification token.
For example:
import crypto from "crypto";

const token = crypto.randomBytes(32).toString("hex");
Store a hash of the token in the database if you want stronger protection.
You can also generate an OTP for phone verification:
const otp = Math.floor(
  100000 + Math.random() * 900000
).toString();
For security-sensitive applications, use a cryptographically secure random generator rather than relying on Math.random().
Step 6: Add an Expiration Time
Verification codes should never remain valid forever.
For example:
const expiresAt = new Date(
  Date.now() + 10 * 60 * 1000
);
This creates a 10-minute expiration window.
The verification record might look like:
OTP: 483921
Expires: 10 minutes
Used: false
After the expiration time:
OTP → Invalid
Step 7: Move Email Sending to a Background Job
One of the most important automation improvements is moving email delivery out of the registration request.
Instead of:
Register
   ↓
Create User
   ↓
Send Email
   ↓
Response
Use:
Register
   ↓
Create User
   ↓
Add Email Job
   ↓
Response

Background Worker
   ↓
Send Email
A queue such as BullMQ can be used with Redis.
Example:
await emailQueue.add("send-verification-email", {
  customerId: customer._id.toString(),
  email: customer.email,
  token,
});
The API can now respond quickly.
Step 8: Background Worker
The worker processes the job:
emailWorker.process(async (job) => {
  const {
    email,
    token,
  } = job.data;

  await sendVerificationEmail(
    email,
    token
  );
});
If the email provider temporarily fails, the job can be retried.
For example:
Attempt 1 → Failed
Attempt 2 → Failed
Attempt 3 → Success
This is much better than asking the customer to register again.
Step 9: Verification Endpoint
The customer receives an email such as:
https://example.com/verify?token=abc123
The frontend sends the token to the backend:
POST /api/auth/verify-email
The backend checks:
const customer = await CustomerModel.findOne({
  verificationToken: hashedToken,
  verificationTokenExpiresAt: {
    $gt: new Date(),
  },
});
If no customer is found:
{
  "status": 0,
  "message": "Verification token is invalid or expired"
}
Otherwise:
customer.isEmailVerified = true;
customer.isActive = true;
customer.verificationToken = undefined;
customer.verificationTokenExpiresAt = undefined;

await customer.save();
Then return:
{
  "status": 1,
  "message": "Email verified successfully"
}
Step 10: OTP-Based Verification
For mobile applications, OTP verification is common.
The workflow becomes:
Registration
     ↓
Generate OTP
     ↓
Save OTP
     ↓
Send SMS
     ↓
Customer enters OTP
     ↓
Verify OTP
     ↓
Activate Account
For example:
POST /api/auth/send-otp
and:
POST /api/auth/verify-otp
The OTP should have:
- Expiration time
- Maximum attempts
- Rate limiting
- One-time usage
Step 11: Prevent OTP Abuse
A common mistake is allowing unlimited OTP requests.
An attacker could repeatedly call:
POST /send-otp
POST /send-otp
POST /send-otp
POST /send-otp
...
This can increase SMS/email costs.
Instead, implement rate limiting.
For example:
Maximum 3 OTP requests
within 15 minutes
You can store counters in Redis:
otp:user:123 → 2
You can also implement:
Maximum verification attempts: 5
OTP expiry: 10 minutes
Resend cooldown: 60 seconds
Step 12: Automate Welcome Notifications
Once the customer successfully verifies their account, additional workflows can start automatically.
For example:
Email Verified
      |
      ├── Create Welcome Notification
      |
      ├── Send Welcome Email
      |
      ├── Create User Profile
      |
      ├── Add Default Preferences
      |
      └── Start Onboarding Workflow
These tasks don’t necessarily need to happen inside the verification API.
They can become background jobs.
Step 13: Event-Driven Registration
A more scalable design is to use events.
For example:
eventBus.emit("customer.registered", {
  customerId: customer._id,
});
Different workers can subscribe to the event.
customer.registered
        |
        ├── Email Worker
        |
        ├── SMS Worker
        |
        ├── Analytics Worker
        |
        └── Notification Worker
This makes the system easier to extend.
Later, you might add:
customer.verified
customer.login
customer.profile.completed
customer.subscription.started
without modifying the core registration logic.
Complete Automated Workflow
A production-ready registration workflow could look like this:
                    Customer
                       |
                       ▼
                Registration API
                       |
                       ▼
                Validate Request
                       |
                       ▼
                Check Duplicate
                       |
                       ▼
                Hash Password
                       |
                       ▼
                Create Customer
                       |
                       ▼
             Generate Verification
                       |
                       ▼
                  Add Job
                       |
                       ▼
                Return Response
                       |
              ┌────────┴─────────┐
              ▼                  ▼
        Email Worker         SMS Worker
              |                  |
              ▼                  ▼
       Send Verification    Send OTP
              |                  |
              └────────┬─────────┘
                       ▼
                Customer Verifies
                       |
                       ▼
                Verify Token/OTP
                       |
                       ▼
                 Activate User
                       |
                       ▼
               Publish Event
                       |
         ┌─────────────┼─────────────┐
         ▼             ▼             ▼
      Welcome       Profile       Analytics
       Email        Setup           Event
Suggested MongoDB Collections
A simple system can use:
customers
verification_tokens
notifications
For a queue-based architecture, Redis stores temporary job and rate-limit information.
The customer document might contain:
{
  "_id": "customer_id",
  "name": "John Doe",
  "email": "john@example.com",
  "phone": "9876543210",
  "isEmailVerified": true,
  "isPhoneVerified": true,
  "isActive": true,
  "createdAt": "2026-09-15T10:00:00Z"
}
Verification information can also be separated into its own collection. This is useful when the application supports multiple verification methods or needs detailed audit history.
Important Security Considerations
Automation should never come at the cost of security.
1. Hash passwords
Never store plain-text passwords.
2. Use short-lived verification tokens
Verification tokens should expire.
3. Rate-limit registration
Prevent automated registration attacks.
4. Rate-limit OTP requests
This protects against SMS abuse.
5. Limit OTP attempts
For example:
Maximum attempts = 5
6. Don’t reveal sensitive account information
Instead of:
Email does not exist
carefully design responses so attackers cannot easily enumerate registered accounts.
7. Use HTTPS
Registration and verification requests should always be encrypted in transit.
8. Log important events
Track events such as:
customer.registered
verification.sent
verification.failed
customer.verified
Avoid logging passwords, OTPs, or sensitive tokens.
Retry and Failure Handling
Background automation must assume that failures will happen.
For example:
Email Provider
      ↓
Temporary Failure
      ↓
Retry Job
      ↓
Wait
      ↓
Try Again
A queue can implement exponential backoff:
Attempt 1 → Immediately
Attempt 2 → 10 seconds
Attempt 3 → 30 seconds
Attempt 4 → 2 minutes
After the maximum attempts:
Job → Failed
An administrator or monitoring system can then inspect the failed job.
Idempotency Is Important
Suppose a verification request is accidentally submitted twice.
Without proper handling:
Request 1 → Activate Account
Request 2 → Activate Account Again
The operation should be safe to repeat.
For example:
if (customer.isEmailVerified) {
  return res.status(200).json({
    status: 1,
    message: "Email already verified",
  });
}
This concept is called idempotency and is extremely important in automated systems.
Benefits of Registration Automation
A properly designed automation system provides several benefits.
Faster APIs
The API doesn’t need to wait for email or SMS providers.
Better reliability
Failed jobs can automatically retry.
Better scalability
Workers can process thousands of jobs independently.
Better user experience
Customers receive verification messages quickly.
Easier maintenance
Registration logic and notification logic remain separated.
Lower operational risk
Rate limits, expiration, retries, and logging can be centralized.
Recommended Technology Stack
For a modern Node.js implementation, you could use:
Frontend
   ↓
React / Next.js
   ↓
Node.js + TypeScript
   ↓
Express / Fastify
   ↓
MongoDB
   ↓
Redis
   ↓
BullMQ
   ↓
Email / SMS Provider
A practical stack would be:
- Node.js — Backend runtime
- TypeScript — Type safety
- MongoDB — Customer data
- Mongoose — MongoDB ODM
- Redis — Queues, caching, rate limiting
- BullMQ — Background jobs
- JWT — Authentication
- bcrypt/Argon2 — Password hashing
- Joi/Zod — Validation
Final Thoughts
Customer registration is much more than inserting a document into MongoDB.
A production-ready system needs to handle:
Validation
    ↓
Duplicate Detection
    ↓
Password Hashing
    ↓
Account Creation
    ↓
Verification
    ↓
Notifications
    ↓
Retries
    ↓
Rate Limiting
    ↓
Account Activation
By introducing background jobs, queues, Redis, and event-driven workflows, we can turn a simple registration API into a reliable automation pipeline.
The same architecture can later be extended to automate:
- Customer onboarding
- Appointment confirmations
- Payment notifications
- Subscription renewals
- Invoice generation
- Password recovery
- Account suspension
- Marketing campaigns
This is where backend automation becomes especially powerful: instead of writing isolated APIs for every action, you build a system capable of automatically executing business workflows.